Editor Overview
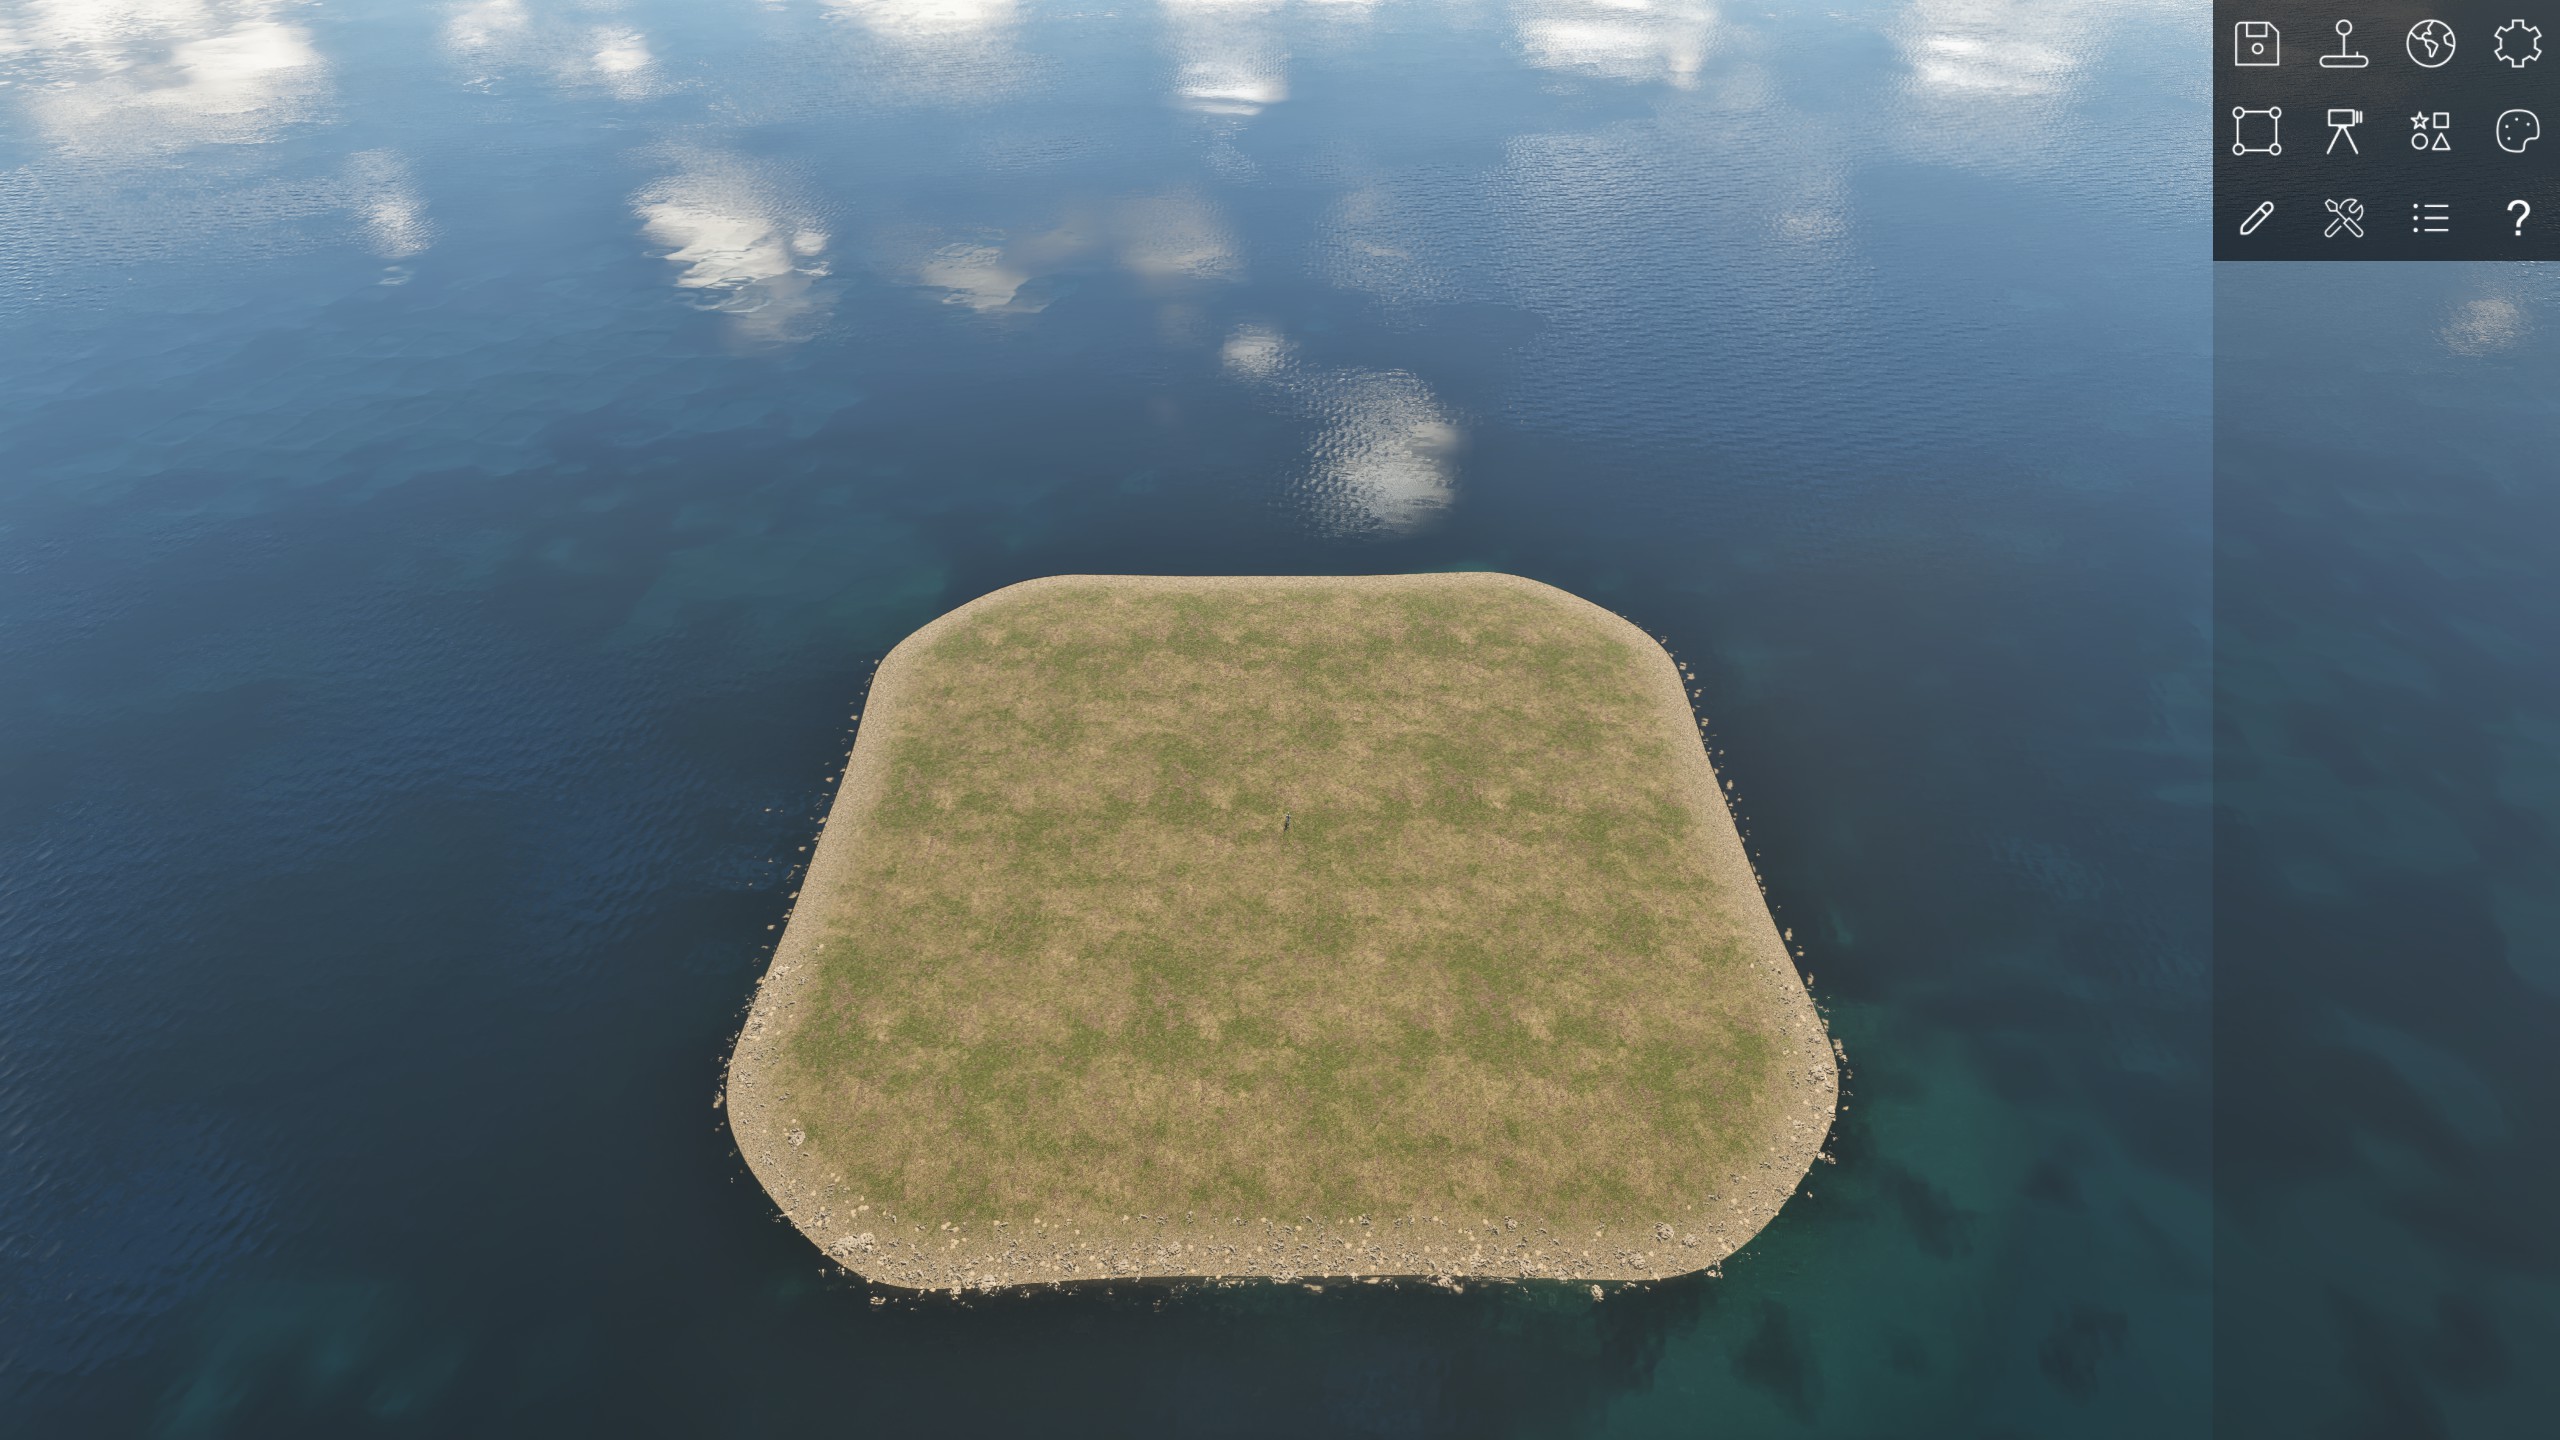
You've installed and opened the game, created your first episode and level, opened the puzzle editor and are finally ready to start building.
Let's not hesitate and get familiar with the editor's user interface.
The editor can be exited at any time by pressing Escape.
Camera controls
First, let's try navigating the camera around the level. The camera movement is based on a simple fly-camera. The camera flight mode is activated by holding down the Right Mouse Button. Now, you can press W, A, S and D to move around, and use your mouse to pan the camera. Furthermore, you can press Q and E while in flight mode to move the camera up or down vertically.
The Mouse Wheel has two functions. Using it while in flight mode (by holding down the Right Mouse Button) will increase/decrease the current movement speed. Turning the Mouse Wheel without being in flight mode will zoom in/out the scene.
Note
As of right now, there is no gamepad support for the puzzle editor user interface.
User interface
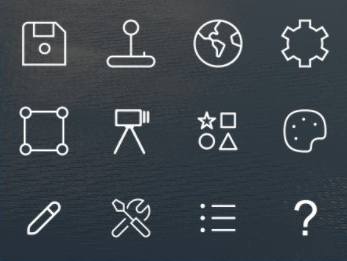
Looking at the top right corner of the editor, you'll be greeted with this palette of buttons in the editor. Let's quickly break down what each of those buttons mean:
| Icon | Description |
|---|---|
| Save (Ctrl + S) Saves the current state of the level to disk. |
|
| Test your level T Enters play mode. |
|
| Tweak level settings Allows tweaking of level-specific parameters, such as the level size, theme or sun position. |
|
| Tweak editor settings Allows tweaking of editor-specific parameters, such as snapping. |
|
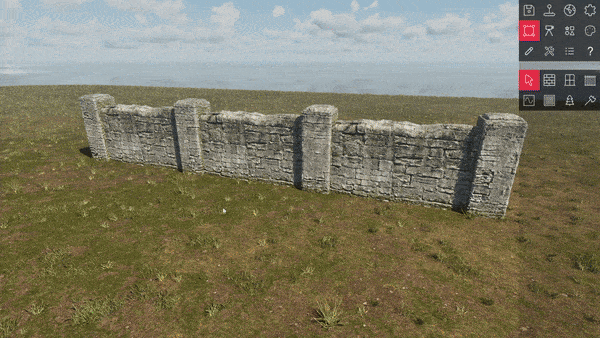
| Drawing tools Gives you a selection of tools to draw walls, windows, fences or doors. |
|
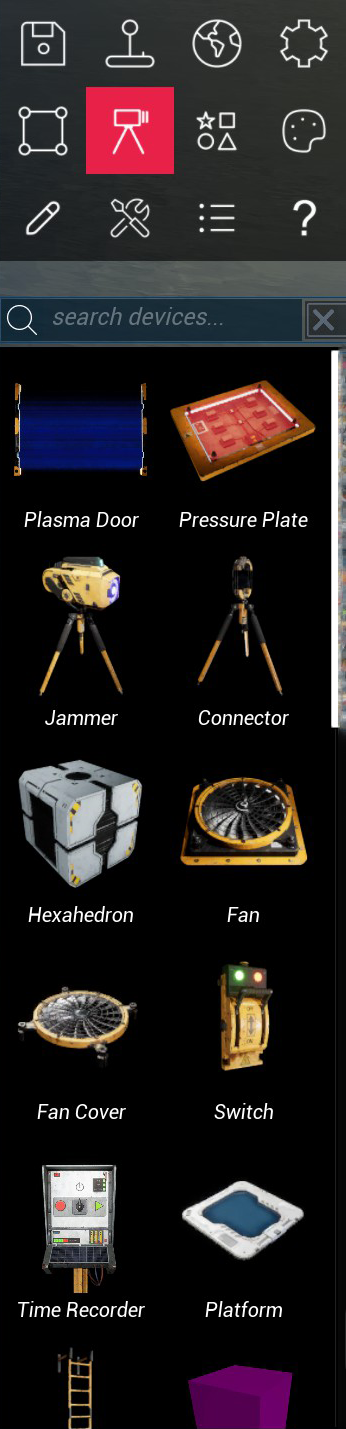
| Insert devices Allows placing various devices (e.g. Jammers, Connectors, Pressure Plates, etc.) |
|
| Insert meshes Extensive browser to find all sorts of 3D objects across themes and object types. |
|
| Galleries Allows the temporary display of "gallery" islands to quickly view and copy objects of a selected theme. |
|
| Actor properties Allows tweaking actor parameters, such as it's position, rotation, or device-specific properties. |
|
| Tools Holds some editor tools, such as Undo/Redo, selection tools or auto-decoration. |
|
| Actors list List of all actors placed in the level. |
|
| Help Allows access to in-game help videos and this wiki. |
Each of those buttons can be activated with a single click, and will open the selected view in the space below the buttons.
Protip: Unpin the menu
The whole panel at the right side of the screen can either be configured to be always visible, or "unpinned", meaning that it will only appear when hovering the right screen border with the mouse. To change this behavior, select ![]() and toggle
and toggle ![]() .
.
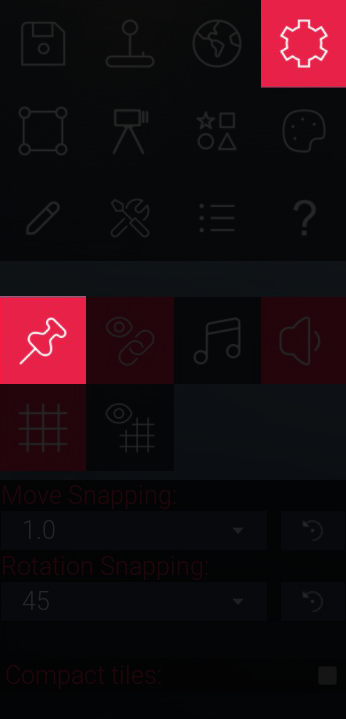
Editor settings
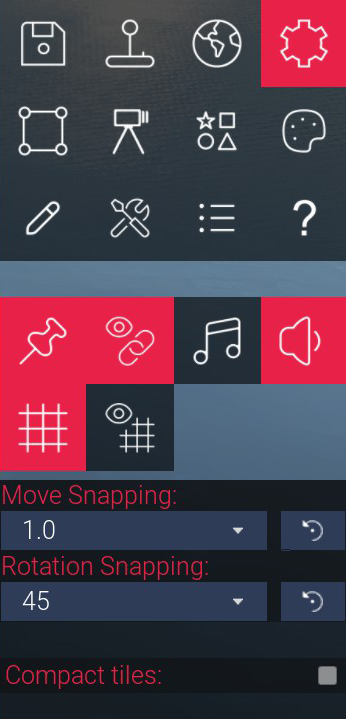
The puzzle editor has a bunch of settings you can tweak to make life easier when working on your creations. Those can be adjusted in the Tweak editor settings ![]() menu.
menu.
The available settings here are:
| Icon | Description |
|---|---|
| Pin Menu Pins/unpins the menu to the right screen border. See Protip: Unpin the menu. |
|
| Render Actor Links (K) Enables or disables the rendering of arrow that visualize connected actors. |
|
| Play music while editing Toggles the playback of the editor music while editing. |
|
| Play editing sounds Toggles editor sound effects. |
|
| Toggle position and rotation snapping (Shift + S) Enables or disables grid snapping while moving objects around in the level. |
|
| View ground grid (Shift + G) Toggles visibility of the snapping grid. |
When position and rotation snapping ![]() is enabled, the snap size for both position and rotation control can be altered with the drop-down menus below.
is enabled, the snap size for both position and rotation control can be altered with the drop-down menus below.
Actors in the scene
Selecting actors
Every object that can be placed in the level is called an actor. When starting from scratch, every level contains a first actor: the Player Start.
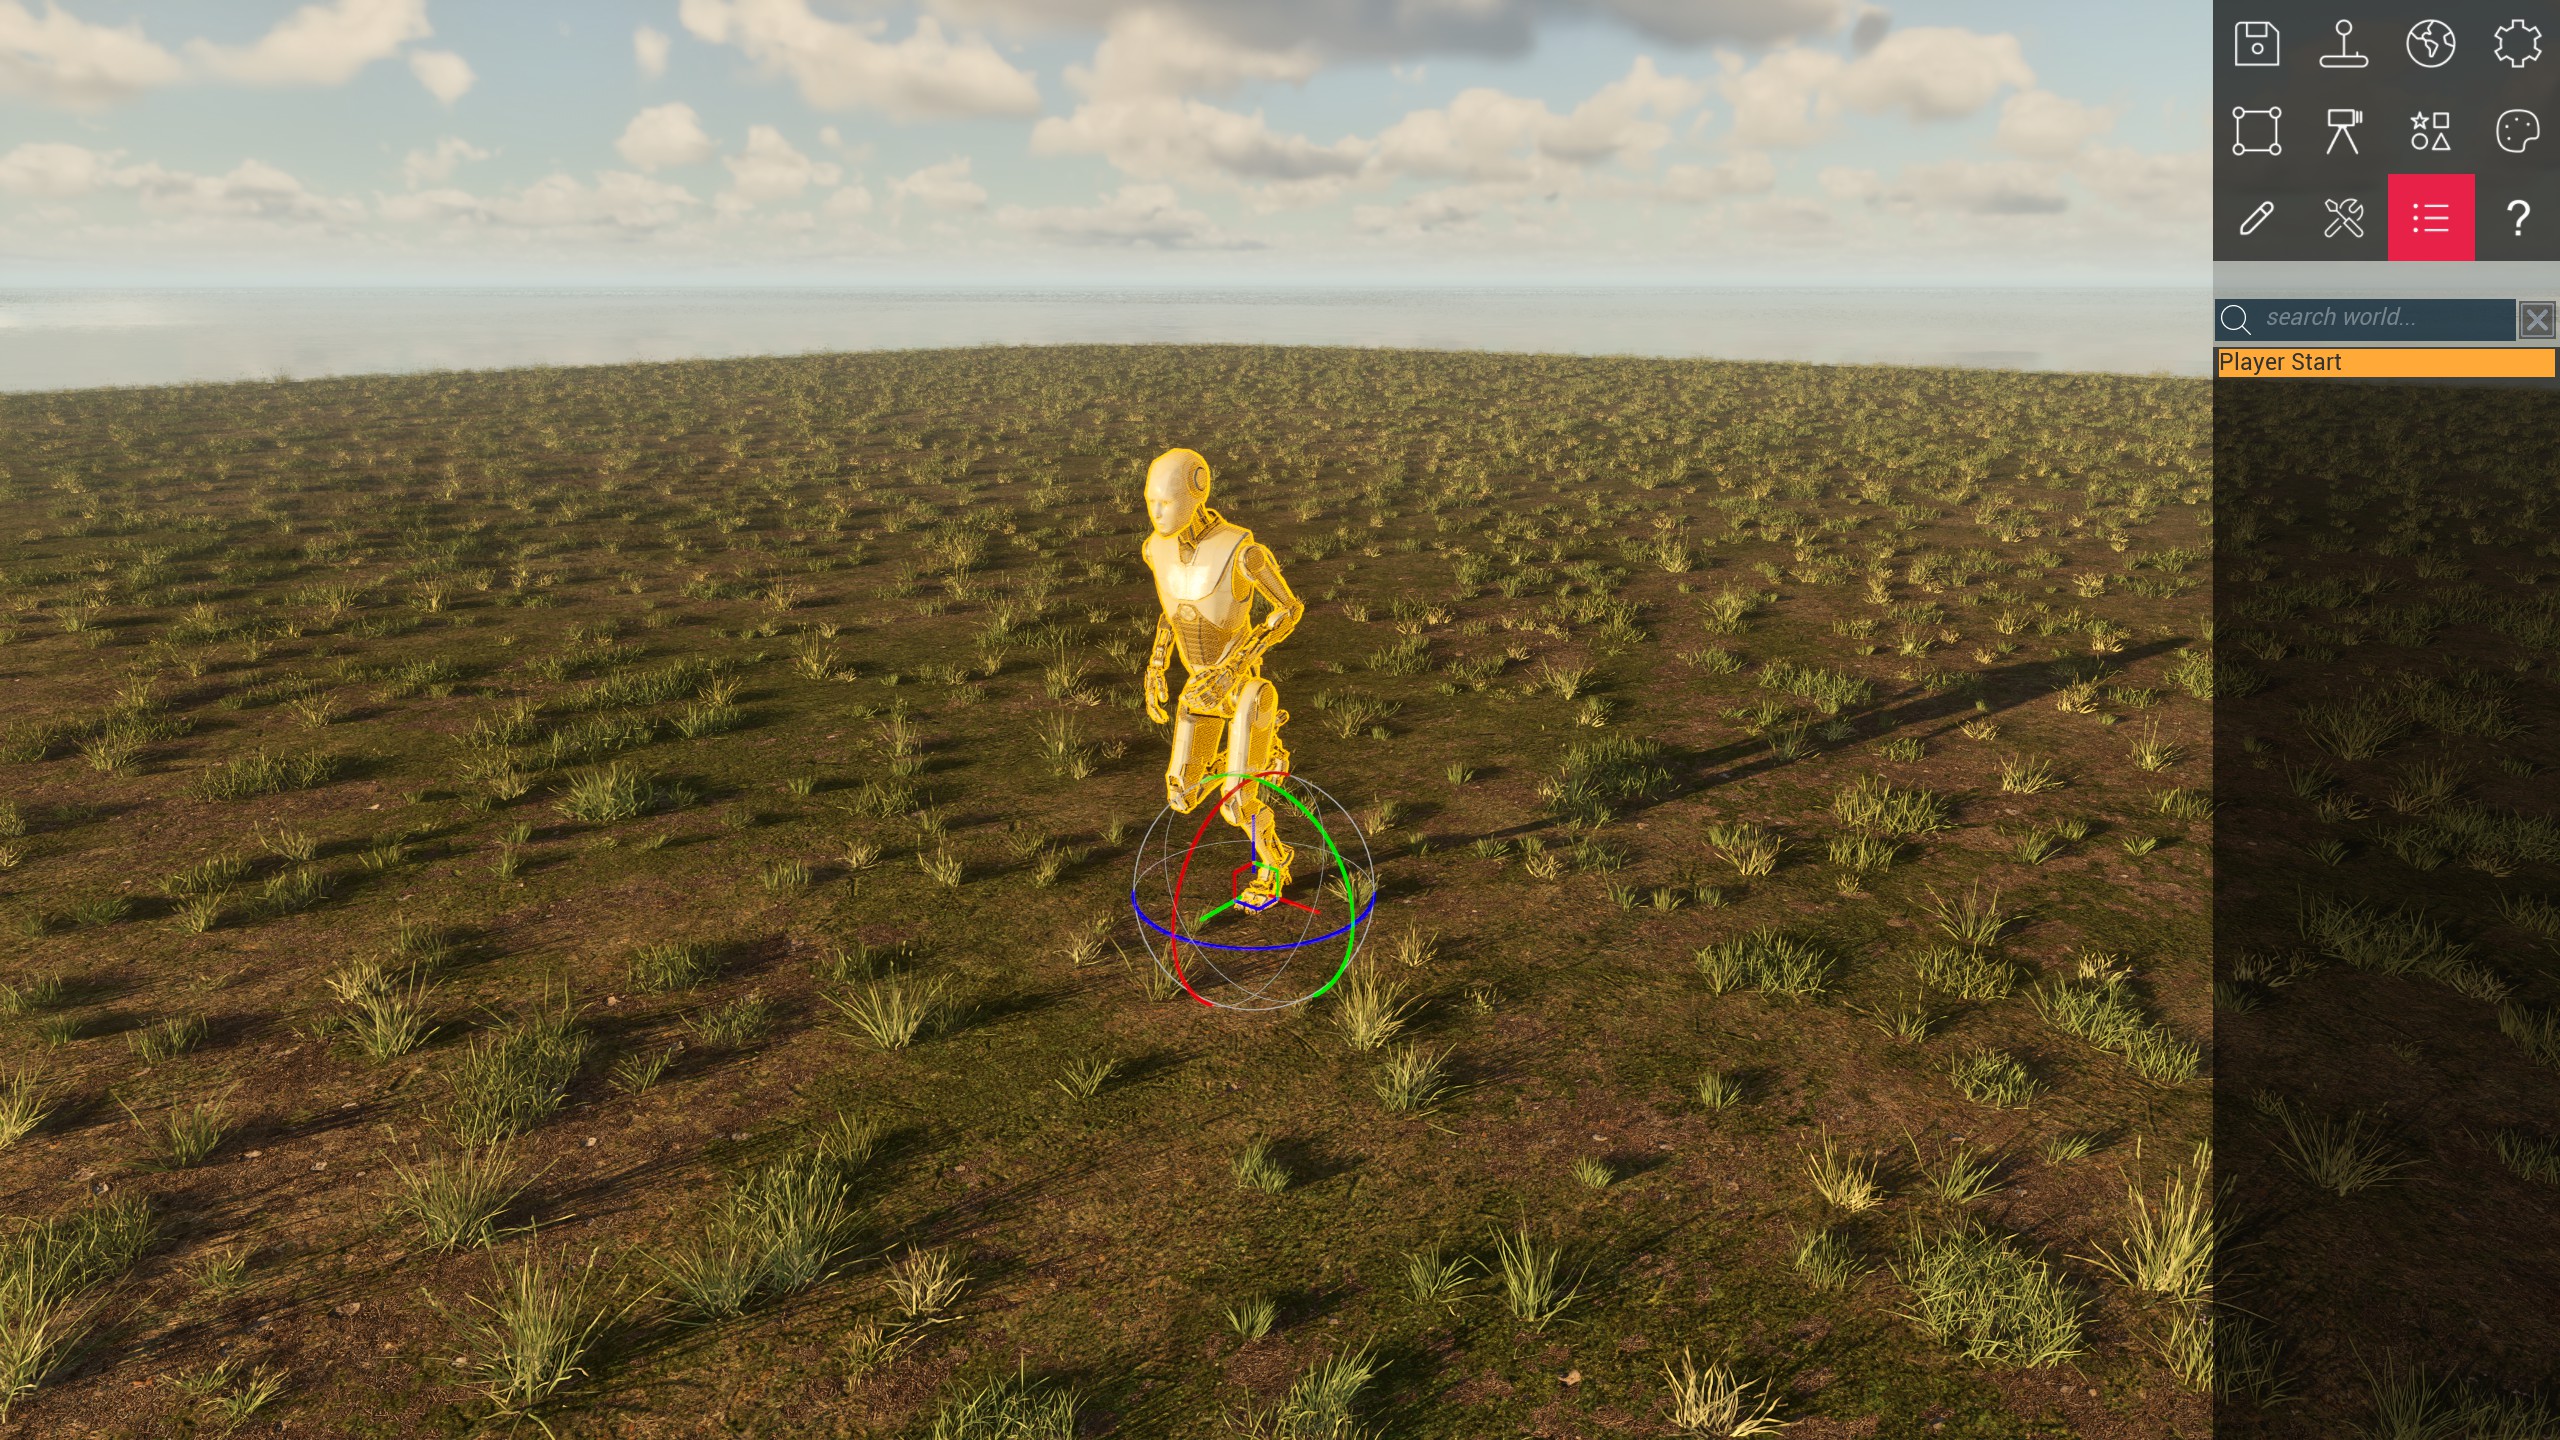
The Player Start defines the "spawn" point of the level. Players that start your level will spawn at this position.
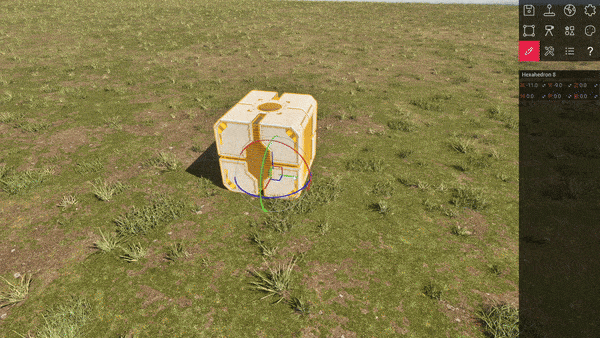
To edit an actor's properties - or just alter it's transform, you need to select it. Actors can be selected in multiple ways: the simplest one is to simply click on it with the Left Mouse Button. The yellow highlight effect indicates that the actor has been selected.
Another way is by opening up the Actors list ![]() . Simply click on the desired entry in the list to select the actor in the level.
. Simply click on the desired entry in the list to select the actor in the level.
To focus the camera on a selected actor, simply press A.
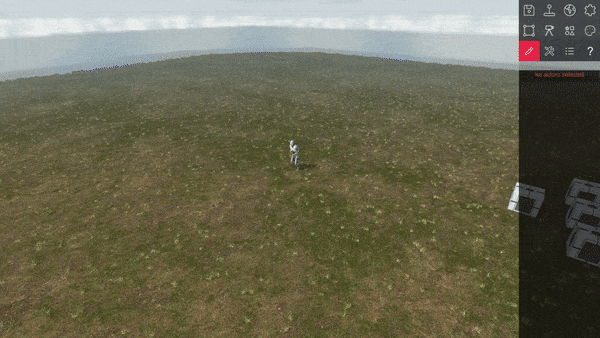
To select multiple actors in the scene, you can simply drag a selection rectangle across the screen, just like this:
Adjusting actor transform and properties
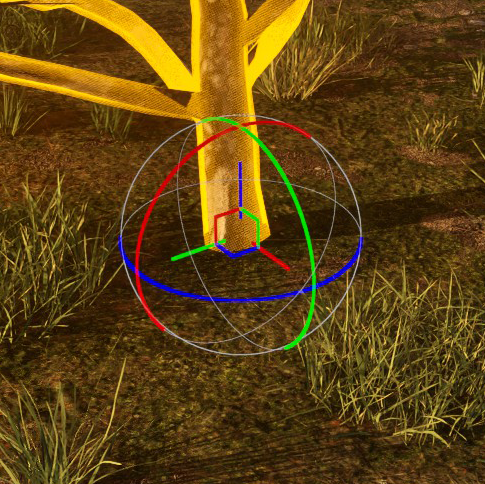
Now that you've selected an actor, you'll surely want to adjust it's properties, or move/rotate it around the level. When an actor is selected, a location and rotation gizmo appears.
The puzzle editor follows a Z-up coordinate system. Dragging the red (X-axis), green (Y-axis) and blue (Z-axis) lines in the gizmo's center will adjust the actor's translation in that specific direction.
Using the three rotation handles will alter the actor's rotation heading (around the Z-axis, blue), pitch (around the Y-axis, green) and bank (around the X-axis, red).

If you're in for a more fine-grained control, you can hold down Shift to temporarily disable grid snapping. You can also always find the actor's transform in the Actor properties ![]() . There, you get some numerical entries for the translation and rotation of the selected actor, as well as the actor's scale.
. There, you get some numerical entries for the translation and rotation of the selected actor, as well as the actor's scale.
Info
Editing the scale of an actor is only support for some actor types, such as Meshes.
In addition, every actor can have a name, which is displayed at the top of the properties window. Actors receive a default name when they get spawned, but you're free to rename them to your likings, which can help to organize some bigger levels.
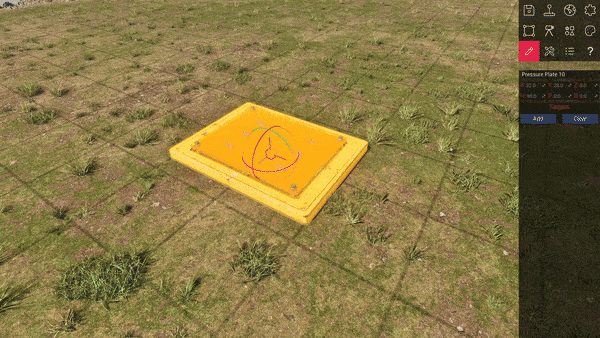
Depending on the actor type, additional properties can be altered here. See this Jammer for example:
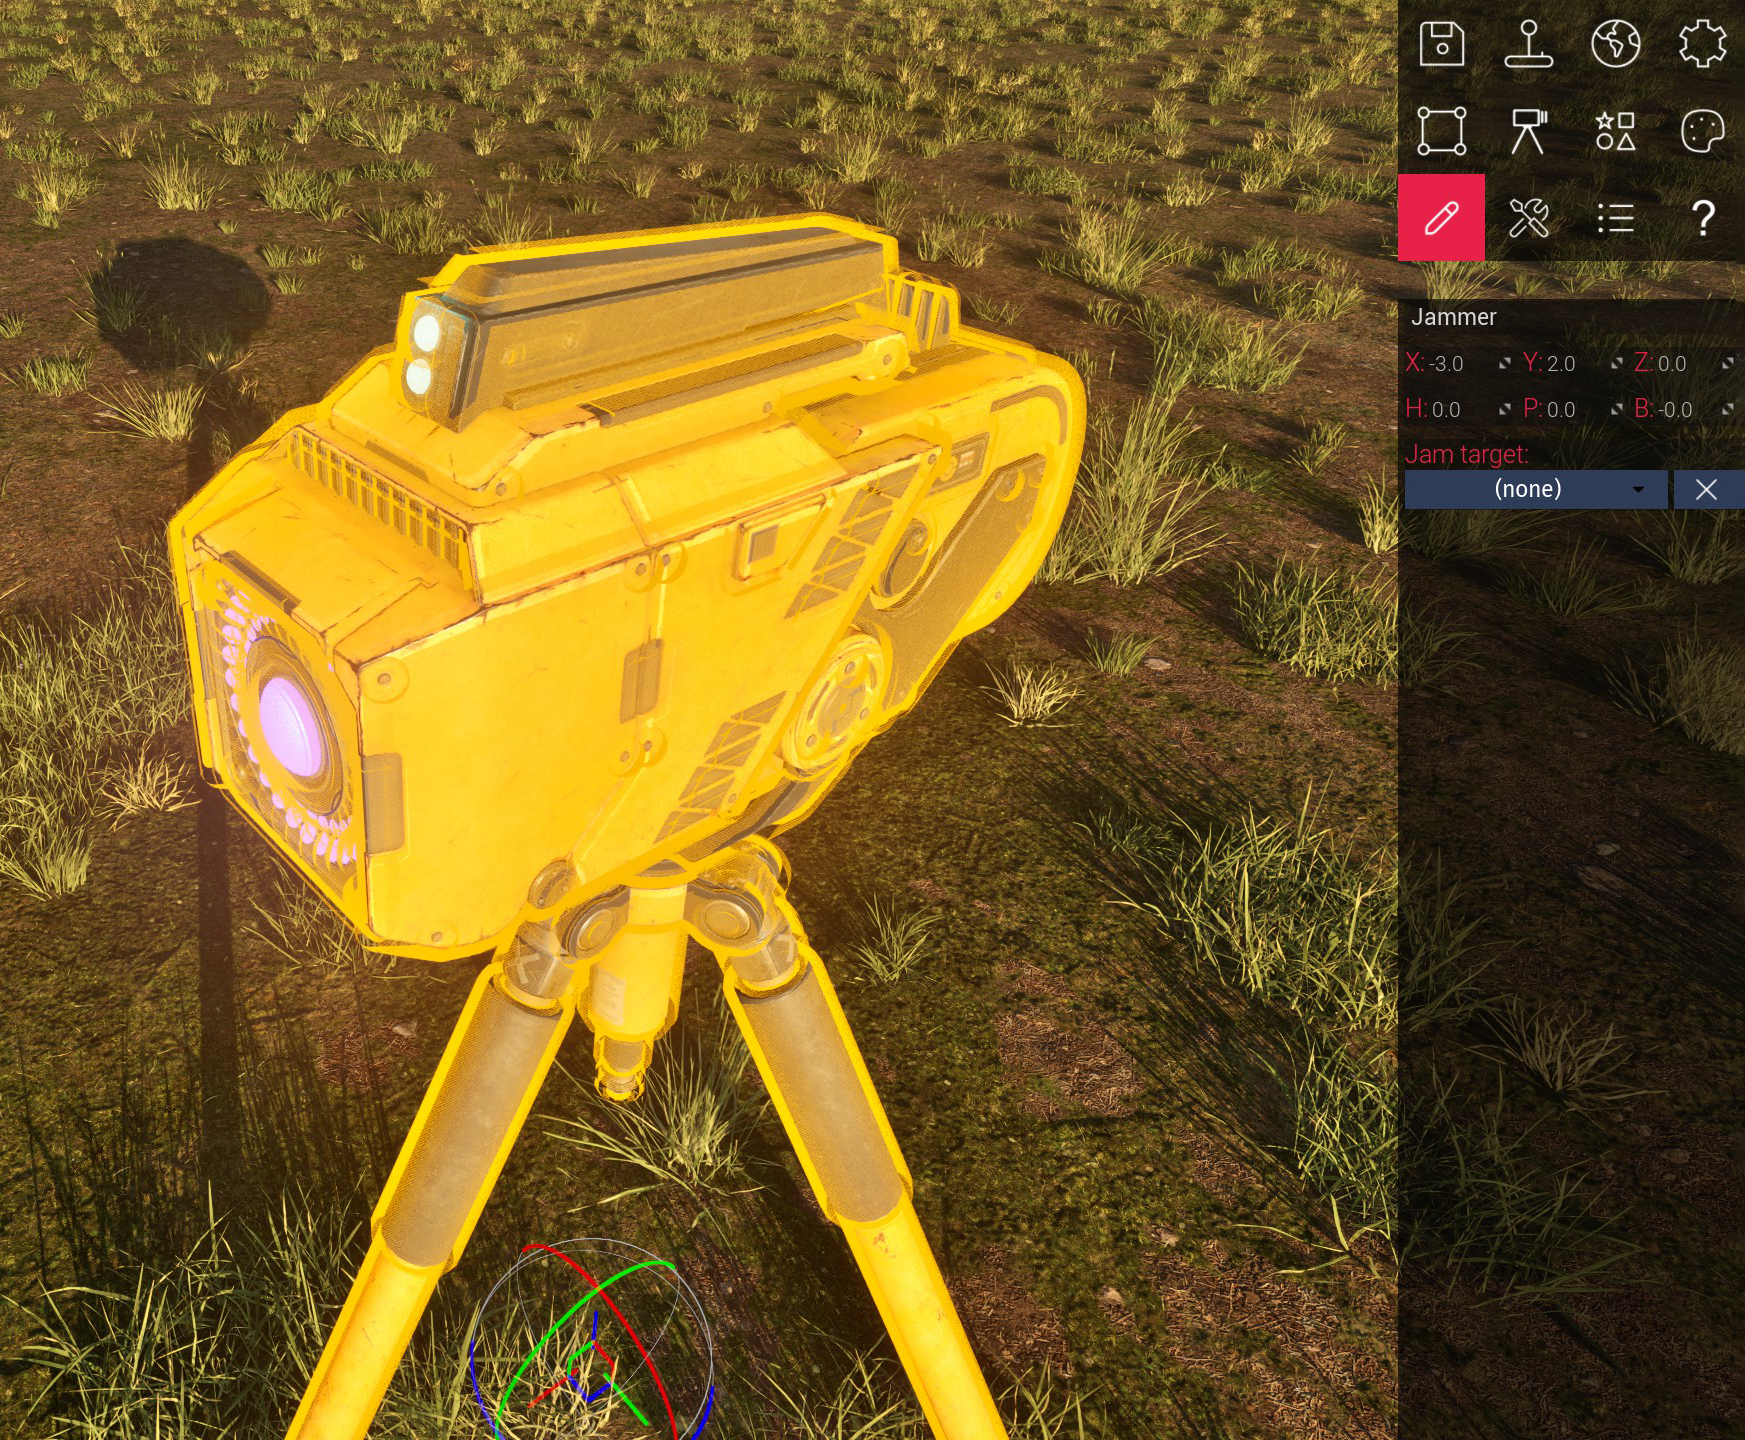
Next to the translation and rotation properties, a jammer can also be set up to jam a specific actor right from the start. Many gameplay actors (devices) therefore have their own set or properties that can be edited to customize their behavior.
Edit tools
Alright, we've learned that actors can be moved and rotated across the scene, and have properties that can be altered. While working on your levels, you'll quickly learn that you might want to save yourself from extra work that can be done with a few tools and shortcuts instead.
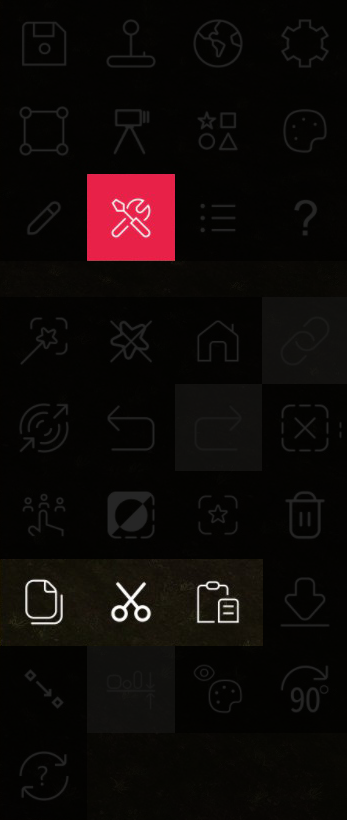
That includes the copy and paste functionality. Having an actor selected, you can press Ctrl + C at any point to copy, and Ctrl + V to paste an actor to the current mouse position (or, if you like to, you can use Ctrl + X to cut an actor, which copies it to the clipboard and then deletes it). These functions can also be found in the Tools ![]() window.
window.
Of course, selected actors can easily be deleted by pressing the Del key, or by using the relevant Delete selected actors ![]() button in the Tools menu.
button in the Tools menu.
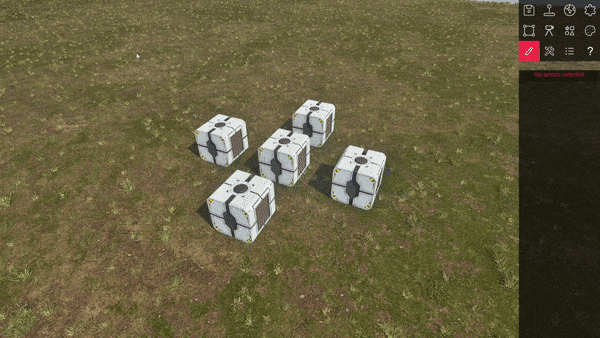
Another fantastic time-saver is the Alt hotkey. Try holding Alt while dragging the translation handles of an actor's gizmo. This will automatically duplicate the selected actor, keeping the original actor where it was. This way, you can quickly create e.g. big parts of level geometry without having to copy and paste.
If you notice that your actor is floating mid-air, and you want to bring it down, you can use the Drop to ground feature ![]() (hotkey: Page Down). This will try to bring any selected actor down to the floor.
(hotkey: Page Down). This will try to bring any selected actor down to the floor.
In many cases, it can be helpful to rotate actors 90° around (for instance, to make a Pressure Plate on the ground match up with a wall). For this, you can use the Rotate 90° ![]() tool, or conveniently press Tab.
tool, or conveniently press Tab.
One last tip: if you find that your actor is not snapped to the current grid, but should be, you can use the Snap selected actors to grid feature ![]() (hotkey: Alt + S).
(hotkey: Alt + S).
Placing actors
There are different types of actors that can be placed in your level: devices, and meshes.
Devices are gameplay elements - the ones you'll often find in The Talos Principle puzzles, such as Plasma Doors, Jammers or Pressure Plates. You will use these a lot to craft your actual puzzles.
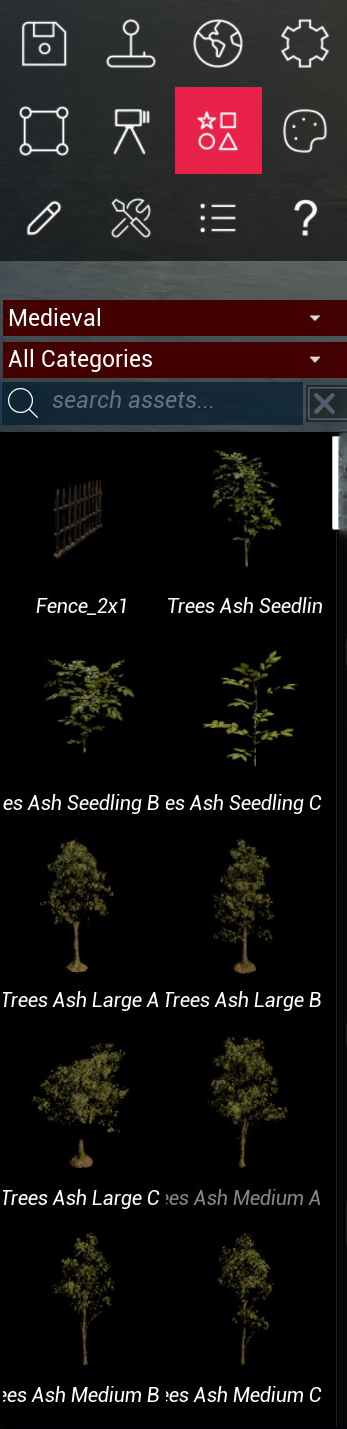
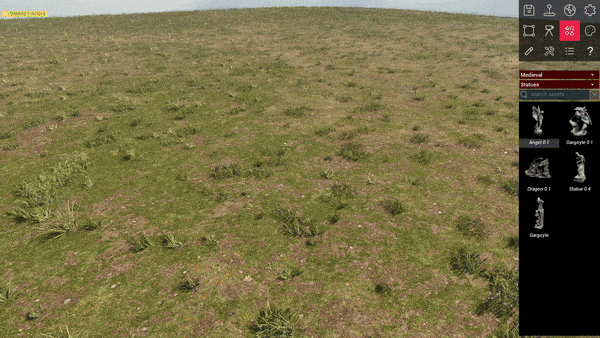
Meshes however have a purely visual nature. They're grouped into themes (Egypt, Rome, Medieval, Wood, Metal) and categories (Walls, Windows, Fences, Decorations, etc.).
Both devices and meshes feature a text search at the top, so you can quickly find what you're looking for. To place an actor in the level, simply drag'n'drop it from the devices or meshes panel. The actor will be placed where you dropped it - respecting any potentially enabled snapping.
Another way of quickly placing devices is by using your Right Mouse Button. Simply click on the ground or on a wall to reveal a quick placement menu.
This menu is context-sensitive, so it will try to pick actors for selection that make sense in the current context.
Playtesting
While editing your level, you'll surely want to playtest, whether it might be for fun - or because you want to make sure your puzzles are actually solvable. Luckily, this is very easy.
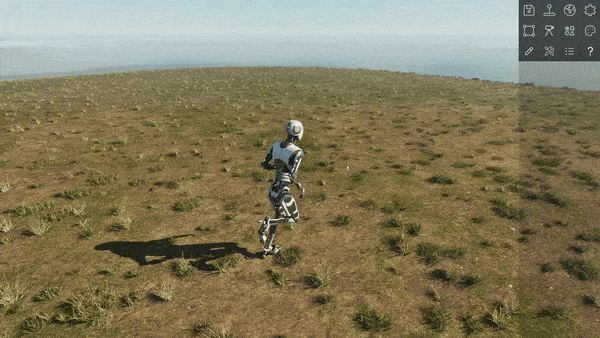
You can either simply click Test your level ![]() in the main editor's toolbar - or press the shortcut T. This will enter play mode and spawn the player at the Player Start actor in your level.
in the main editor's toolbar - or press the shortcut T. This will enter play mode and spawn the player at the Player Start actor in your level.
From there, you can play the game as you're used to, having access to all gameplay features you have in the regular game. If you're done testing, you can get back by pressing Escape.
Conclusion
Alright, you've learned how to move around in the editor, use the UI, what actors are, how to manipulate them and how to jump into playtesting to play your level. That's great - because you'll need this a lot in the upcoming chapter Building a level. There, you'll learn how to draw walls and windows, place and link gameplay devices, and make your first playable puzzle.
If anything didn't work out well for you, don't forget our Discord community - we're happy to assist!