Device Reference
In this chapter we'll go over the different devices you can use in your puzzle designs, and check out the properties they bring with them and how you can utilize them.
Feel free to use the sidebar to the left to navigate through the list of devices if you're looking for something specific.
Plasma Door
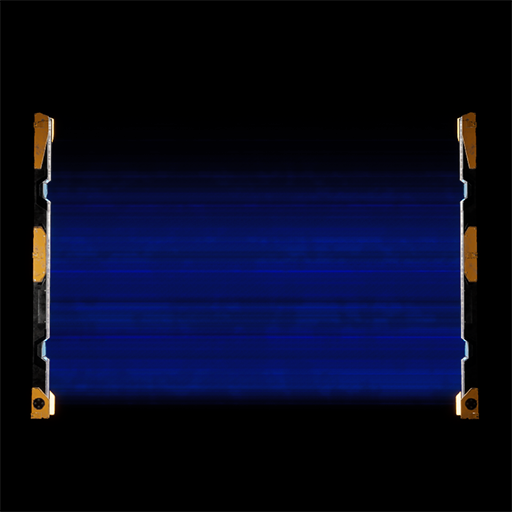
A classic among puzzle fans, and one of the first puzzle elements ever designed for The Talos Principle!
The Plasma Door acts as a normally-closed doorblock and can be opened either by the player using a Jammer or by using the Activator system.
| Property | Description | Type | Default Value |
|---|---|---|---|
| Height | The height of this plasma door (in meters) (get's automatically set when using the drawing tool) | Number | 3.0 |
| Length | The length of this plasma door (in meters) (get's automatically set when using the drawing tool) | Number | 6.0 |
| Condition | Whether this actor requires any, or all activators to be active in order to activate | Condition | Any |
| Invert activation | Whether the activation state should be inverted | Boolean | false |
| Activators | List of actors that activate this actor | Activator list | Empty |
Pressure Plate
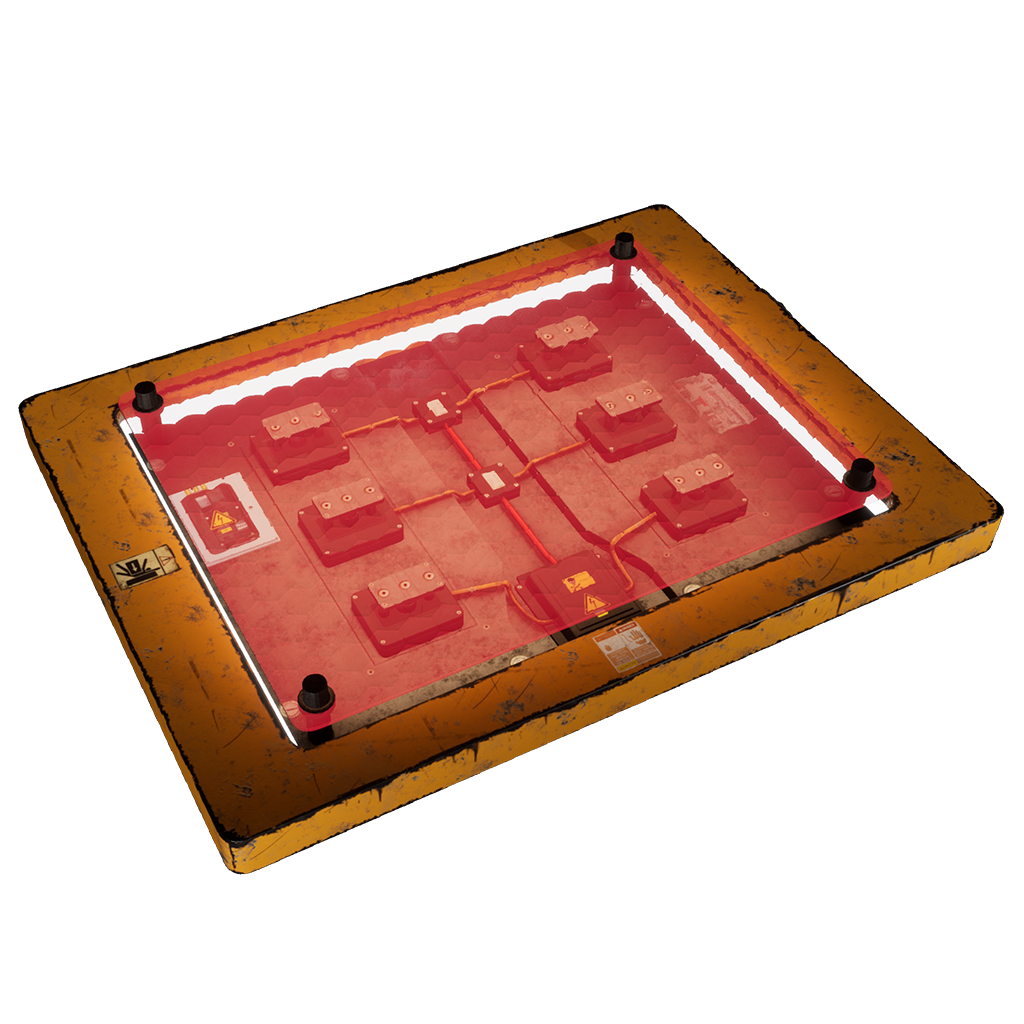
The Pressure Plate is activated either by the player standing on it, or by placing devices (such as a Jammer, Connector, or a Cube) on it.
| Property | Description | Type | Default Value |
|---|---|---|---|
| Targets | List of actors that should be activated by this actor | Target list | Empty |
Jammer
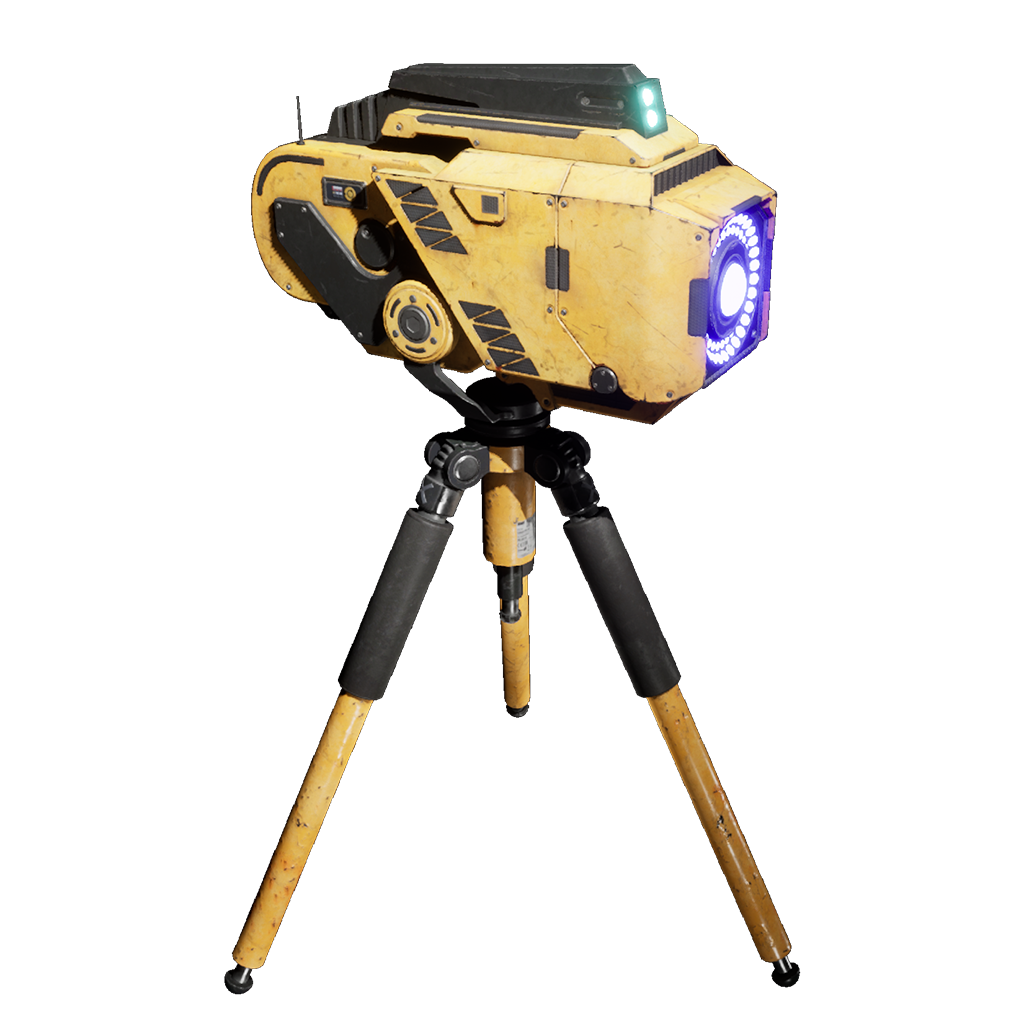
Being one of the more simpler The Talos Principle devices, and an absolute classic, the Jammer only provides one property in the puzzle editor.
The Jammer is used by the player to jam certain devices, such as the Plasma Door, a Mine or any other device that supports it.
| Property | Description | Type | Default Value |
|---|---|---|---|
| Jam Target | When set, the Jammer will jam this actor by default upon starting the level. | Actor Reference | (none) |
Connector
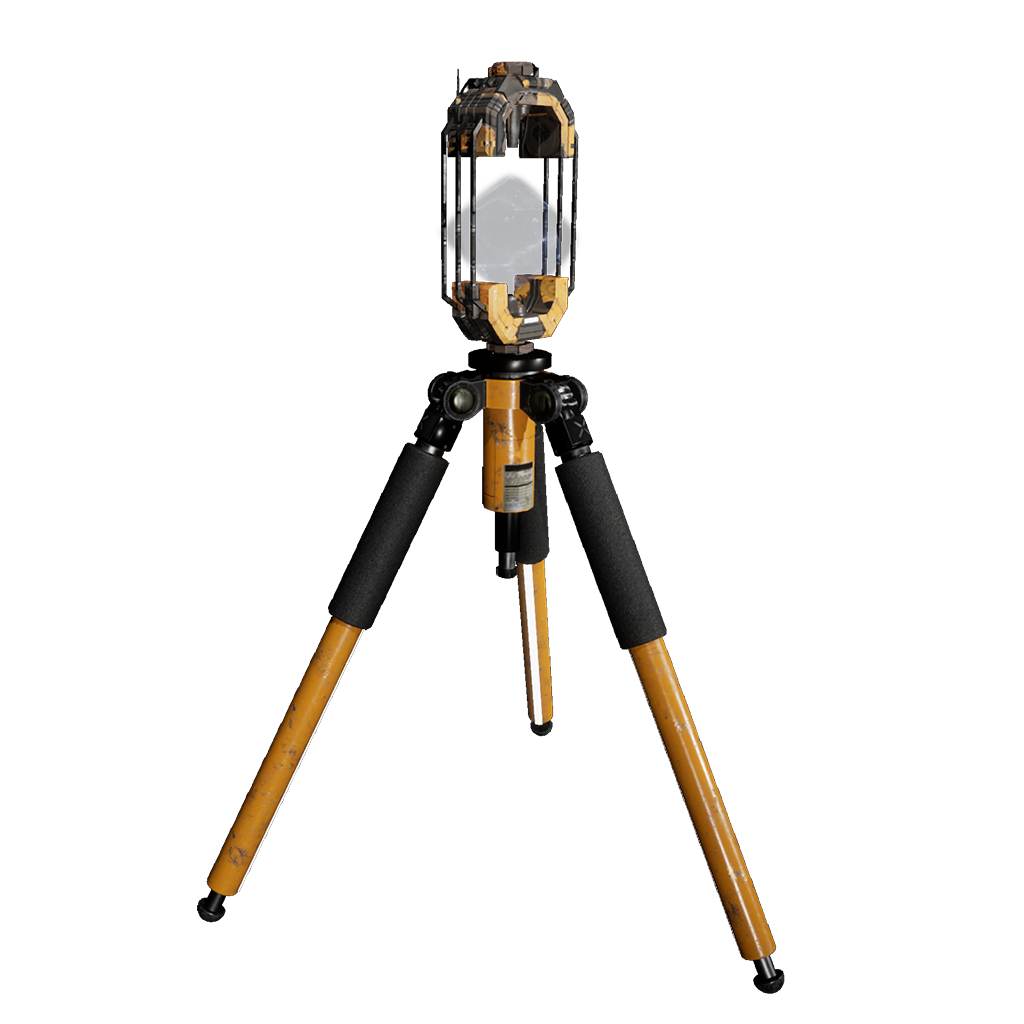
Connectors are a tool used by the player to connect a number of Energy Generators and Energy Receivers together (limitations apply).
| Property | Description | Type | Default Value |
|---|---|---|---|
| Energy nodes | The connector will connect to these energy nodes (generators, receivers and other connectors) by default upon starting the level. | Energy node list | Empty |
Energy Generator
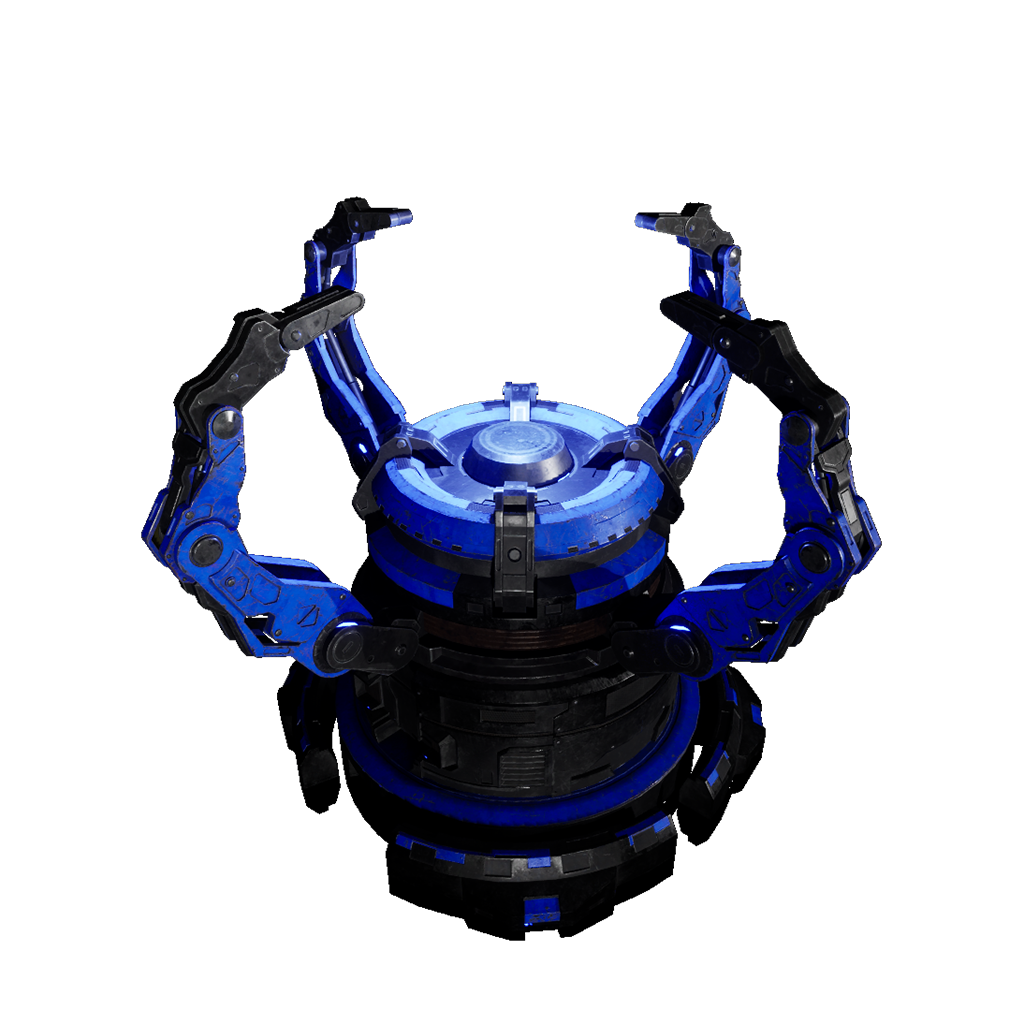
The Energy Generator generates a energy source that can be connected to Energy Receivers by using the Connector device.
| Property | Description | Type | Default Value |
|---|---|---|---|
| Color | Saves you from placing a new generator every time. Valid options are Red, Green and Blue |
List | depends on which generator was placed |
| Energy nodes | The generator will connect to these energy nodes (connectors and receivers) by default upon starting the level | Energy node list | Empty |
Energy Receiver
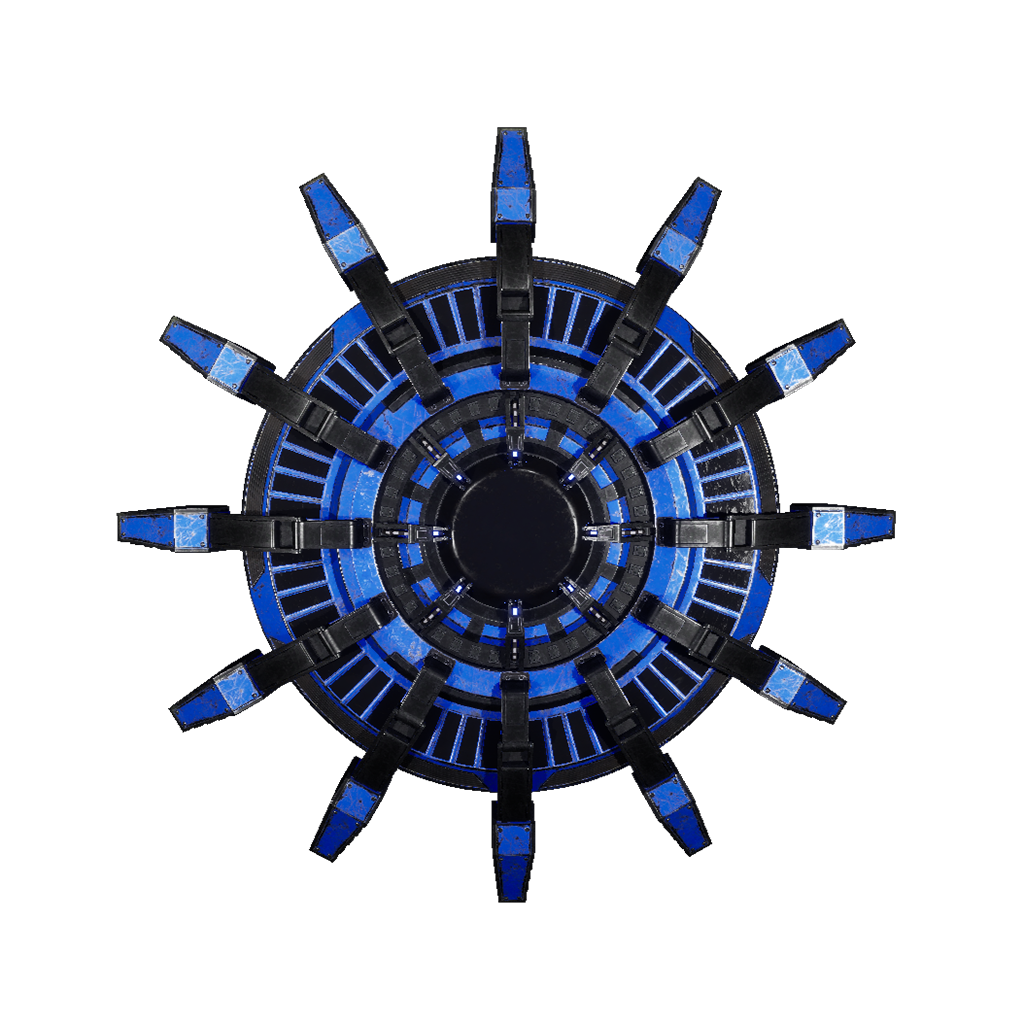
The Energy Receiver is the significant other of the Energy Generator. It can receive an energy beam of the same color, using Connectors.
| Property | Description | Type | Default Value |
|---|---|---|---|
| Color | The receiver's color. Valid options are Red, Green and Blue |
List | depends on which receiver was placed |
| Charge duration | Number of seconds it takes this receiver to fully charge up | Number | 1.5 |
| Targets | List of actors that should be activated when this receiver fully charged up | Target list | Empty |
| Energy nodes | The receiver will connect to these energy nodes (connectors and generators) by default upon starting the level | Energy node list | Empty |
Energy Accumulator
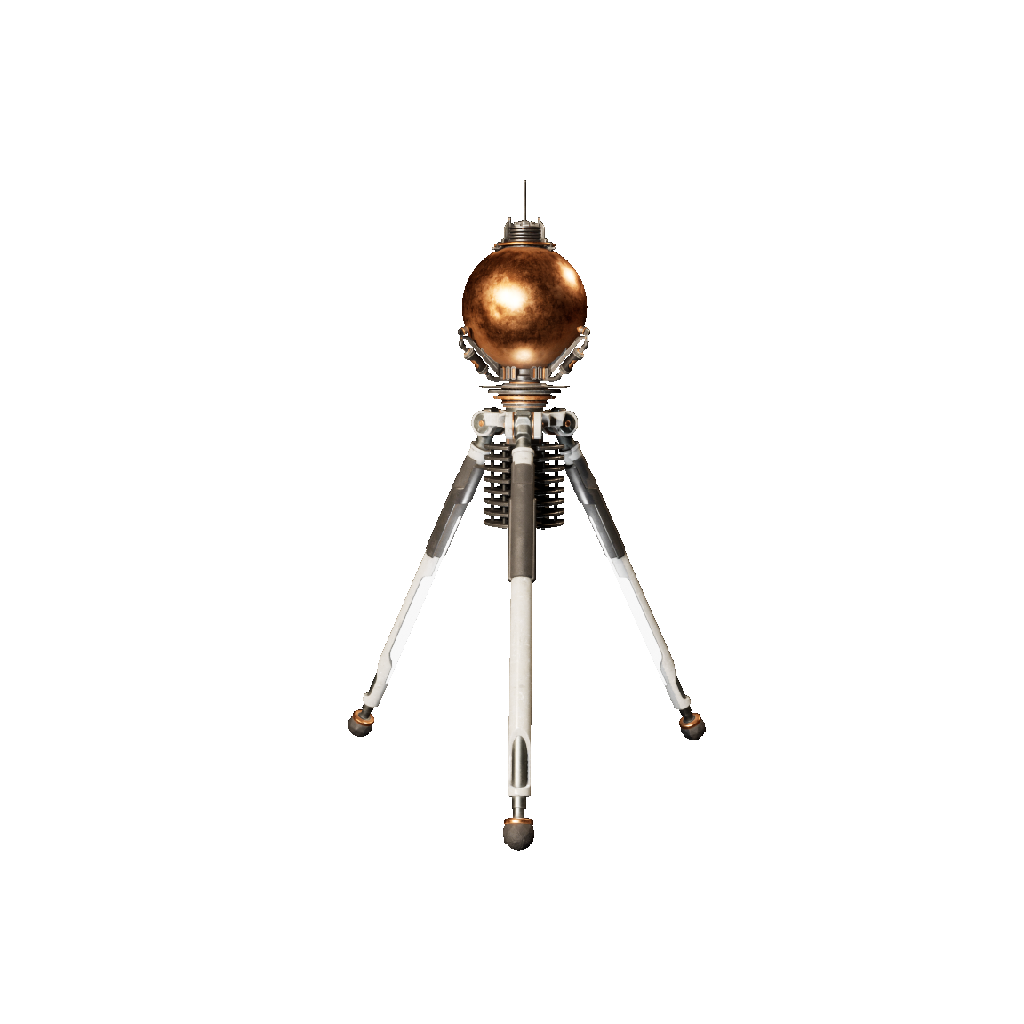
The Energy Accumulator is a device introduced in The Talos Principle 2 and connects up to the energy grid. After it is connected with an energy beam of any color for a short amount of time, the Accumulator can be disconnected from the grid and placed elsewhere, essentially acting as a portable Energy Generator.
| Property | Description | Type | Default Value |
|---|---|---|---|
| Initial Charge | The initial charged color. Valid options are Red, Green, Blue or no color. |
List | None |
| Energy nodes | The accumulator will connect to these energy nodes by default upon starting the level | Energy node list | Empty |
Energy Mixer
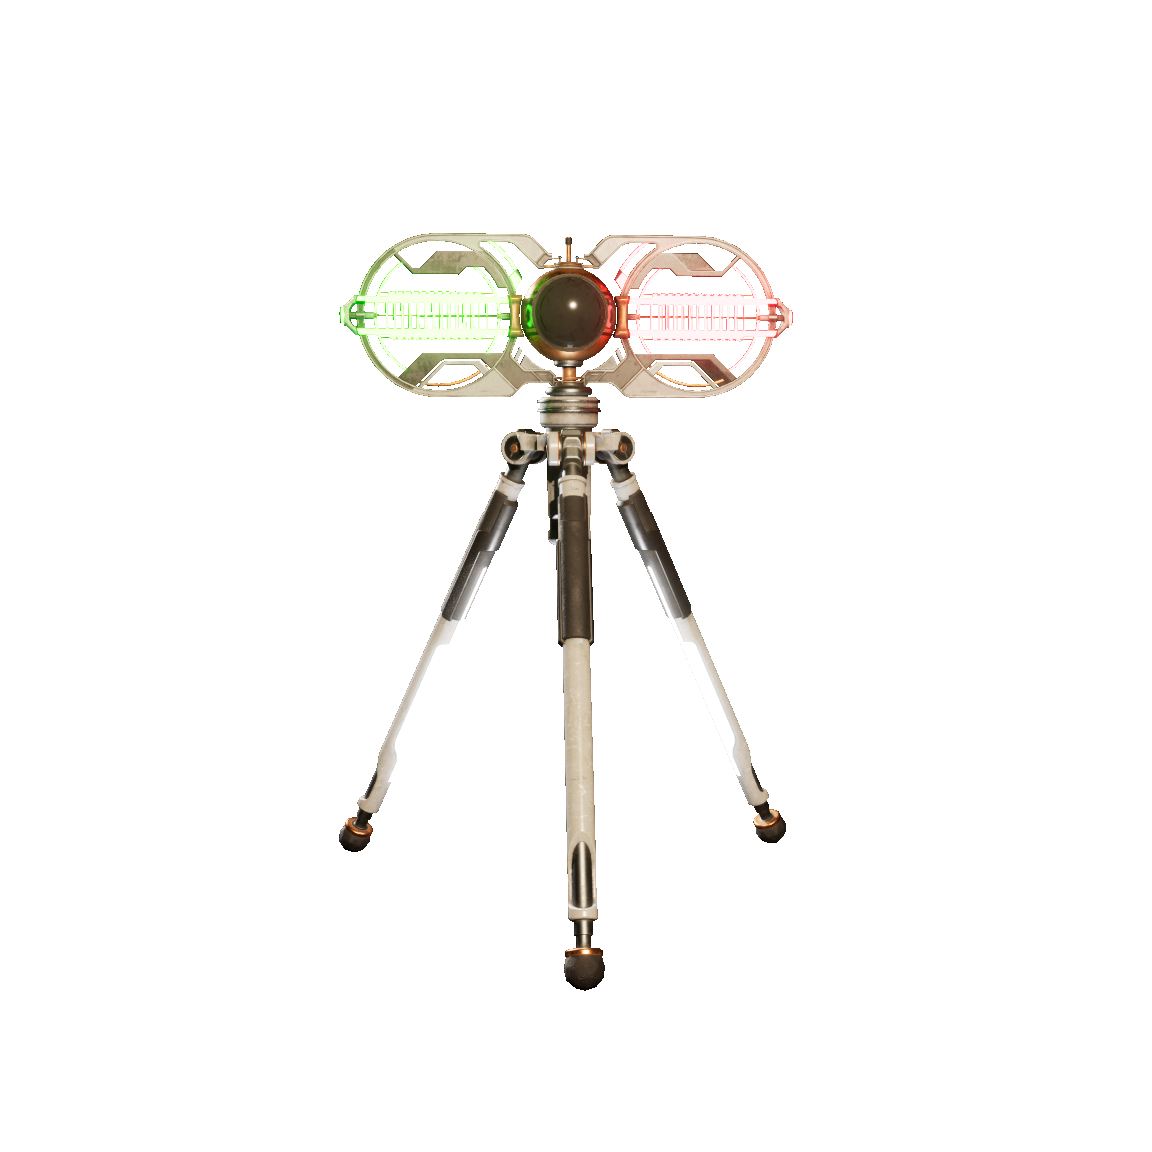
The Energy Mixer is a device introduced in The Talos Principle 2. It works like a Connector, but when multiple colors are connected to the same Energy Mixer, the colors are combined into a third, new color. For example, combining a red and a green source results in a blue output color.
| Property | Description | Type | Default Value |
|---|---|---|---|
| Energy nodes | The mixer will connect to these energy nodes by default upon starting the level | Energy node list | Empty |
Energy Inverter
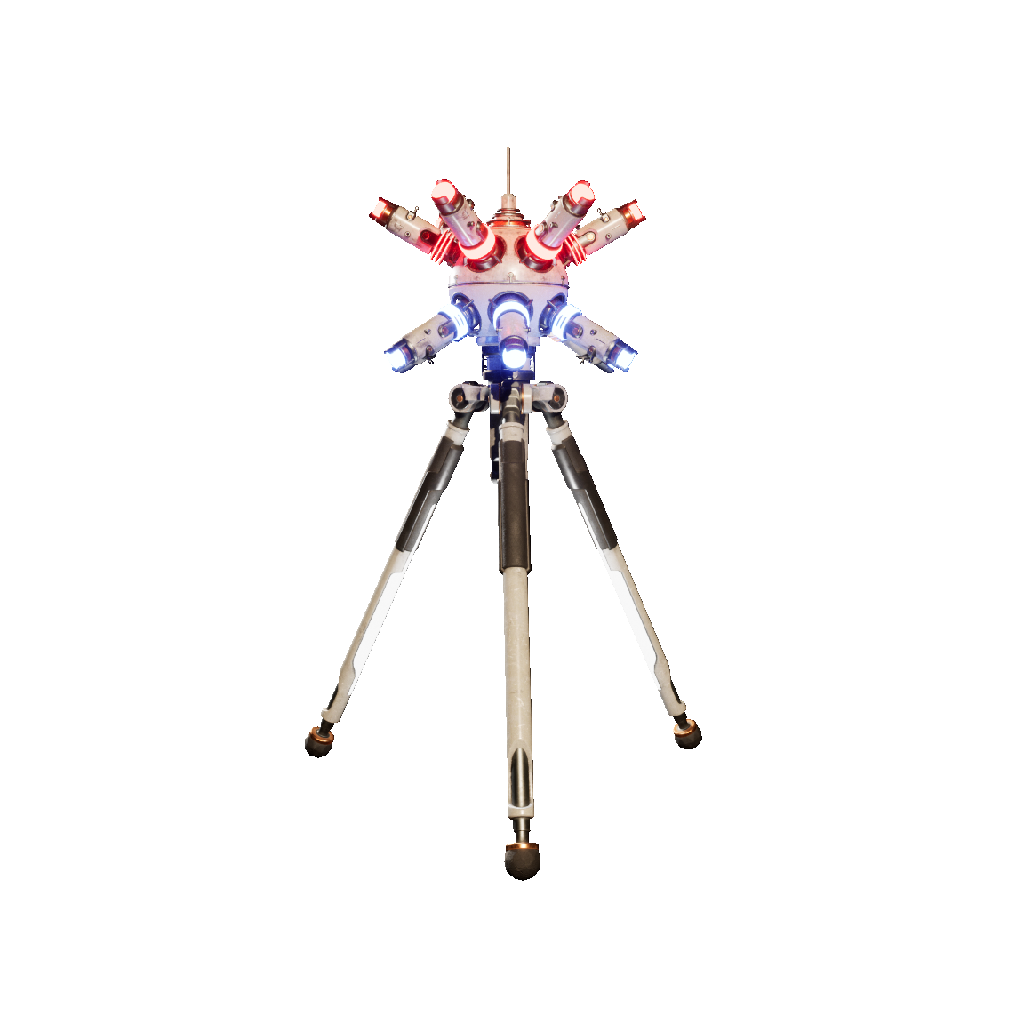
The Energy Inverter is a device introduced in The Talos Principle 2. When connected to a blue energy source, it will invert it to a red color, and vice versa. Green energy sources are not handled.
| Property | Description | Type | Default Value |
|---|---|---|---|
| Energy nodes | The inverter will connect to these energy nodes by default upon starting the level | Energy node list | Empty |
Activator
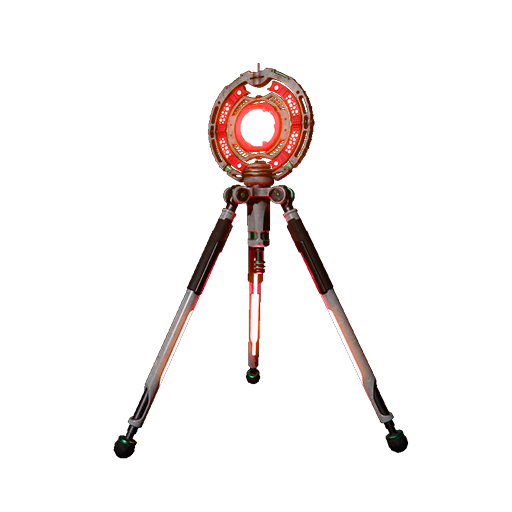
The Activator is a device introduced in The Talos Principle 2. It can be configured to receive one of the three energy sources (red, green and blue). Once connected, every device in it's radius is automatically activated.
| Property | Description | Type | Default Value |
|---|---|---|---|
| Color | The color required to activate this Activator. Valid options are Red, Green and Blue. |
List | Red |
| Energy nodes | The activator will connect to these energy nodes by default upon starting the level | Energy node list | Empty |
Driller
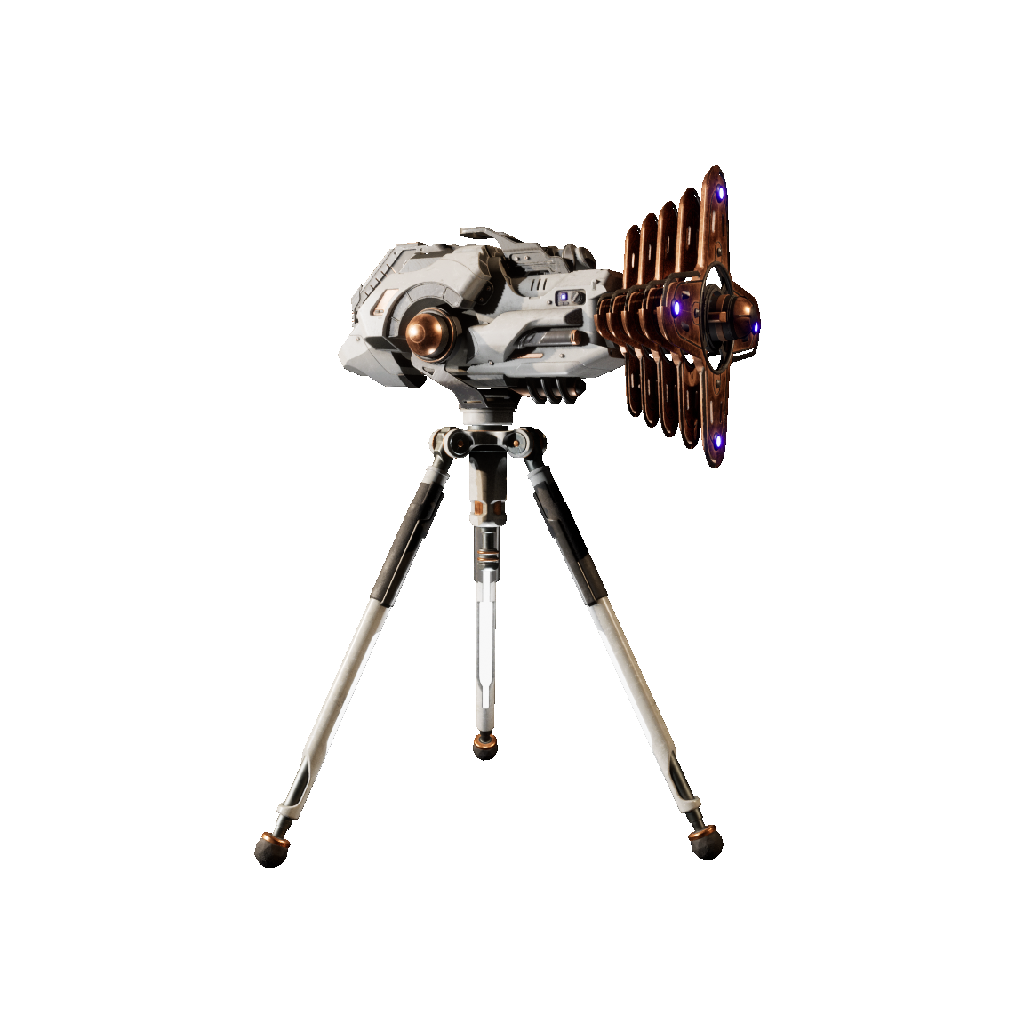
The Driller is a device introduced in The Talos Principle 2. It can be picked up by the player and is used to create hole openings in Drillable Walls.
Drillers have no properties.
Drillable Wall
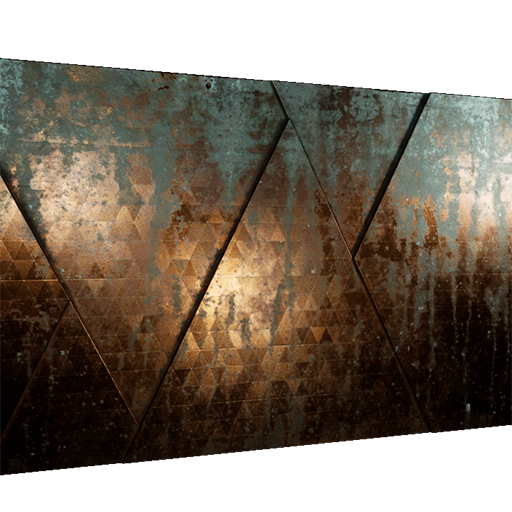
The Drillable Wall is a device introduced in The Talos Principle 2. It can be placed freely in the world and is a target for the Driller.
| Property | Description | Type | Default Value |
|---|---|---|---|
| Wall Size | The size of the wall. | List | 8x3 |
Gravitron
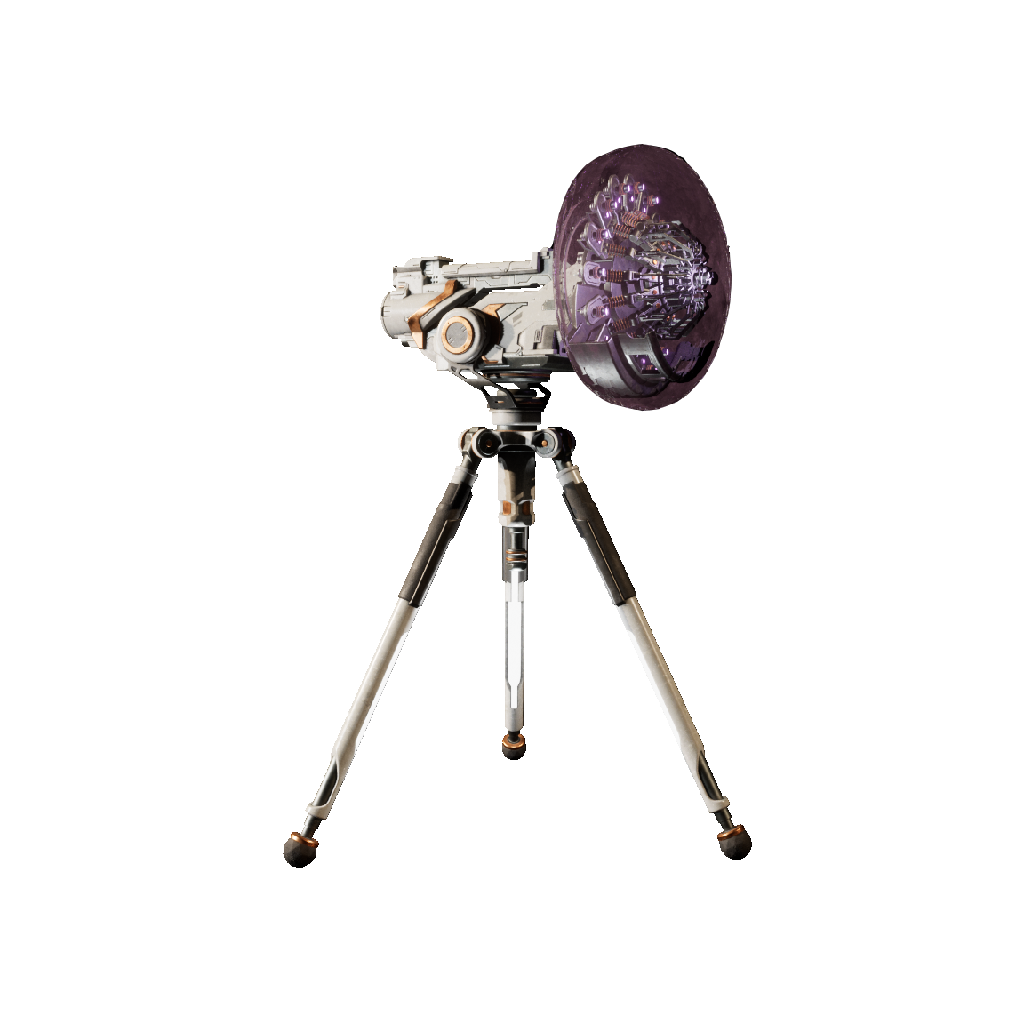
The Gravitron is a device introduced in The Talos Principle 2. It can be picked up by the player and is used to create gravity tunnels on Gravity Walls.
They have no properties.
Gravity Wall
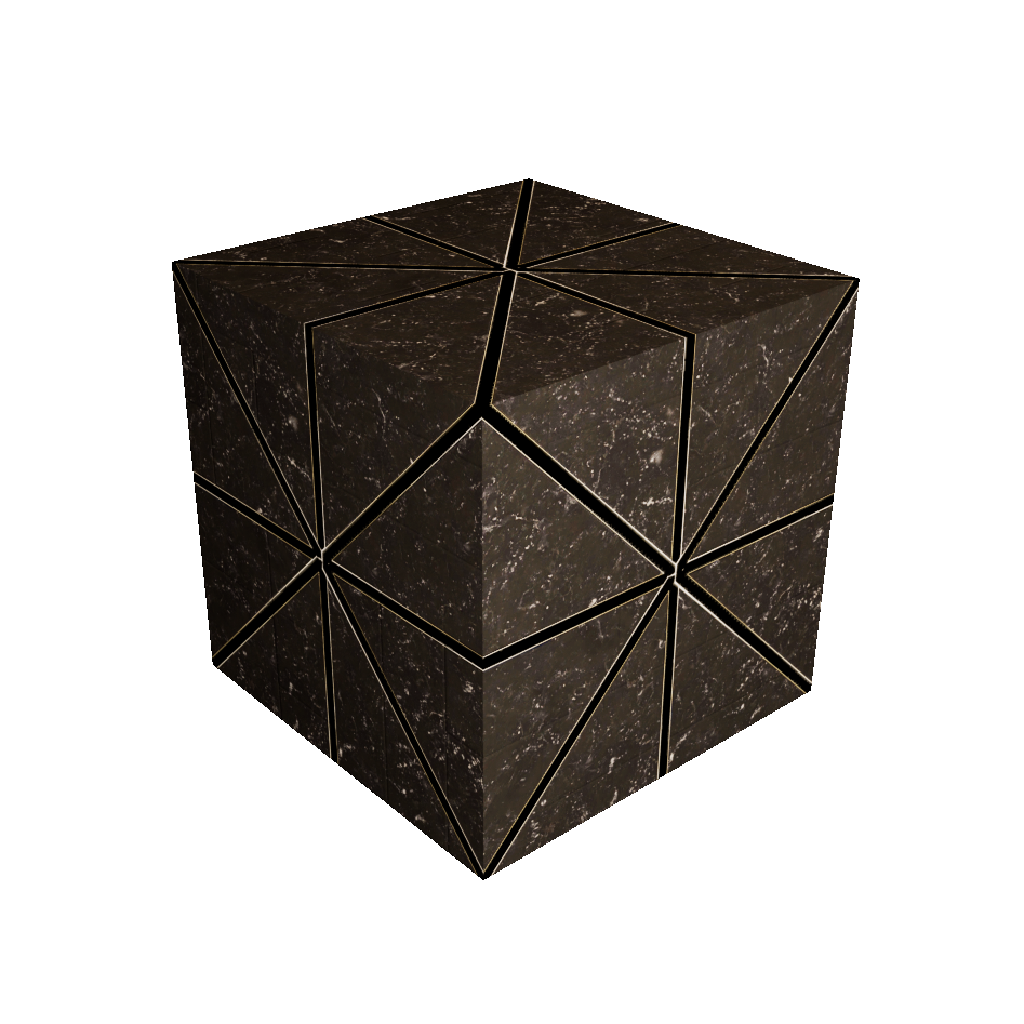
The Gravity Wall is a device introduced in The Talos Principle 2. It acts as a target for the Gravitron and can be scaled dynamically to suit level design needs.
They have no properties.
Checkpoint
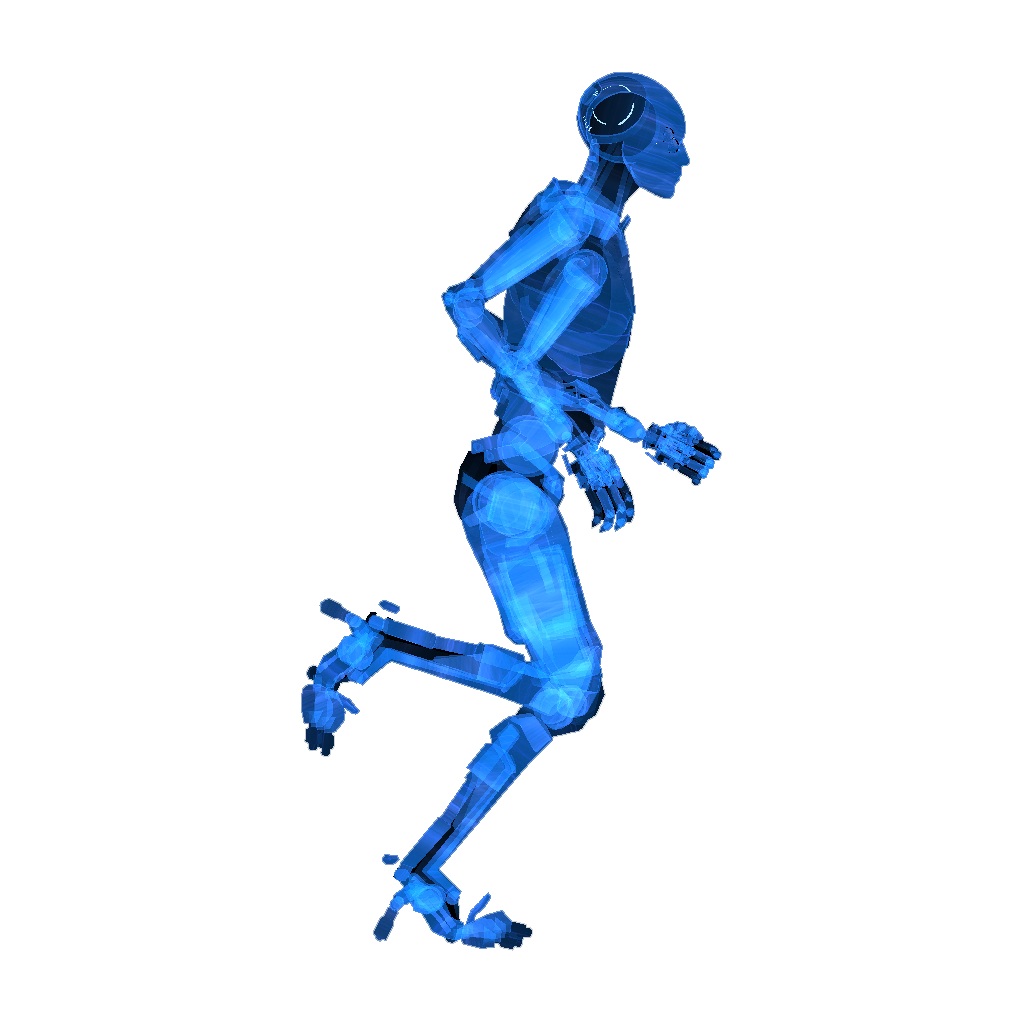
The Checkpoint can be used as a safety net for players to save their position, i.e. before a dangerous part of the level. The Checkpoint needs an activation and, once activated, saves that it was reached.
Upon the player's death, the player is not restarted at the beginning of the puzzle, but rather the last activated Checkpoint, if any.
| Property | Description | Type | Default Value |
|---|---|---|---|
| Condition | Whether this actor requires any, or all activators to be active in order to activate | Condition | Any |
| Invert activation | Whether the activation state should be inverted | Boolean | false |
| Activators | List of actors that activate this actor | Activator list | Empty |
Waypoint
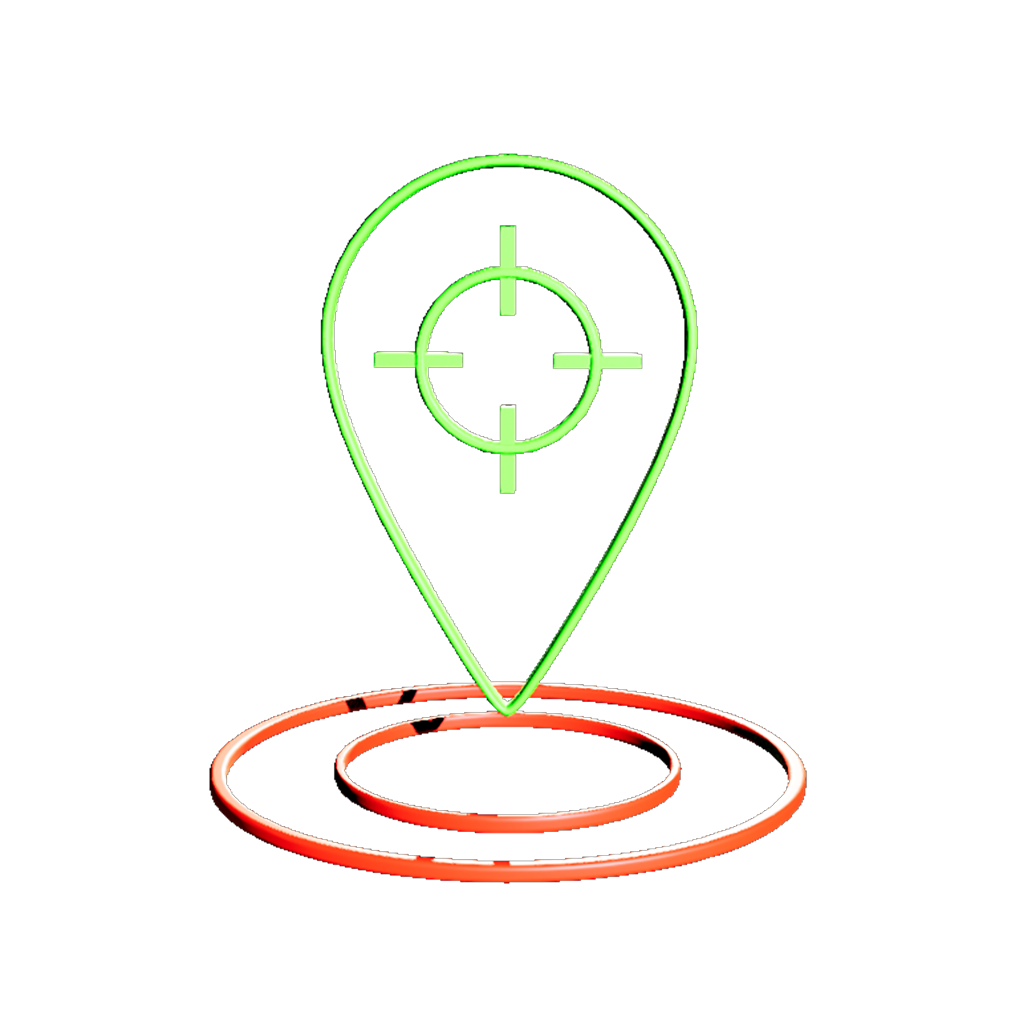
The Waypoint is a fictive device with no real-world representation. Upon activation (or, if no activators have been configured - always), the Waypoint is displayed in the player's compass bar at the top border of the screen. It can be configured to suit level designs.
| Property | Description | Type | Default Value |
|---|---|---|---|
| Condition | Whether this actor requires any, or all activators to be active in order to activate | Condition | Any |
| Invert activation | Whether the activation state should be inverted | Boolean | false |
| Activators | List of actors that activate this actor | Activator list | Empty |
| Icon | Which icon should be displayed in the compass bar | List | Default |
| Stick to Compass | When enabled, the Waypoint is always visible | Boolean | false |
| Blinking | When enabled, the Waypoint is blinking to draw attention by the player | Boolean | false |
| Blink Period | When Blinking is enabled, use this to control the blink frequency |
Number | 1.0 |
| Hide when Far | When enabled, the Waypoint is hidden when it is too far away from the player | Boolean | false |
| Icon Padding | How much room around the icon is allocated | Number | 10.0 |
End Game
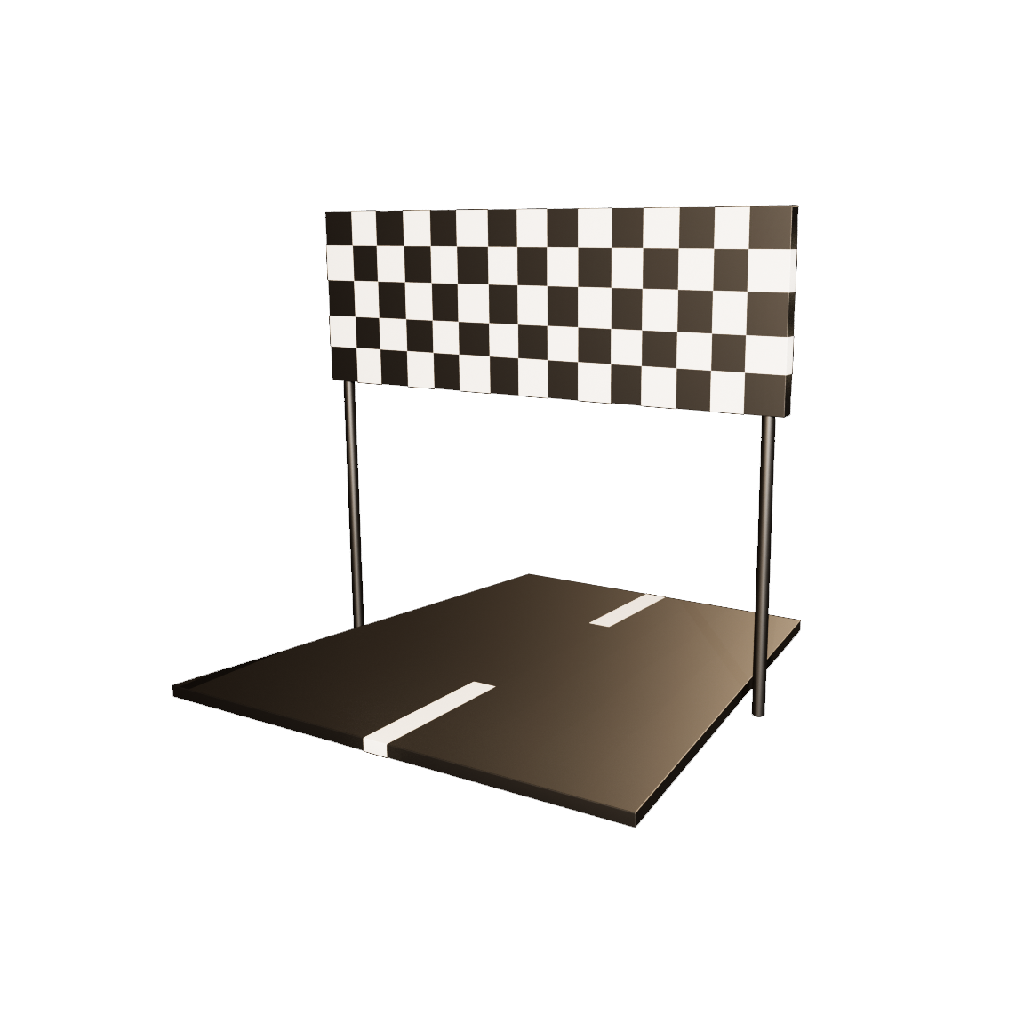
The End Game device is a fictive device with no real-world representation. Upon activation, is simply ends the current level and brings the player back to the title screen.
| Property | Description | Type | Default Value |
|---|---|---|---|
| Condition | Whether this actor requires any, or all activators to be active in order to activate | Condition | Any |
| Invert activation | Whether the activation state should be inverted | Boolean | false |
| Activators | List of actors that activate this actor | Activator list | Empty |
Light

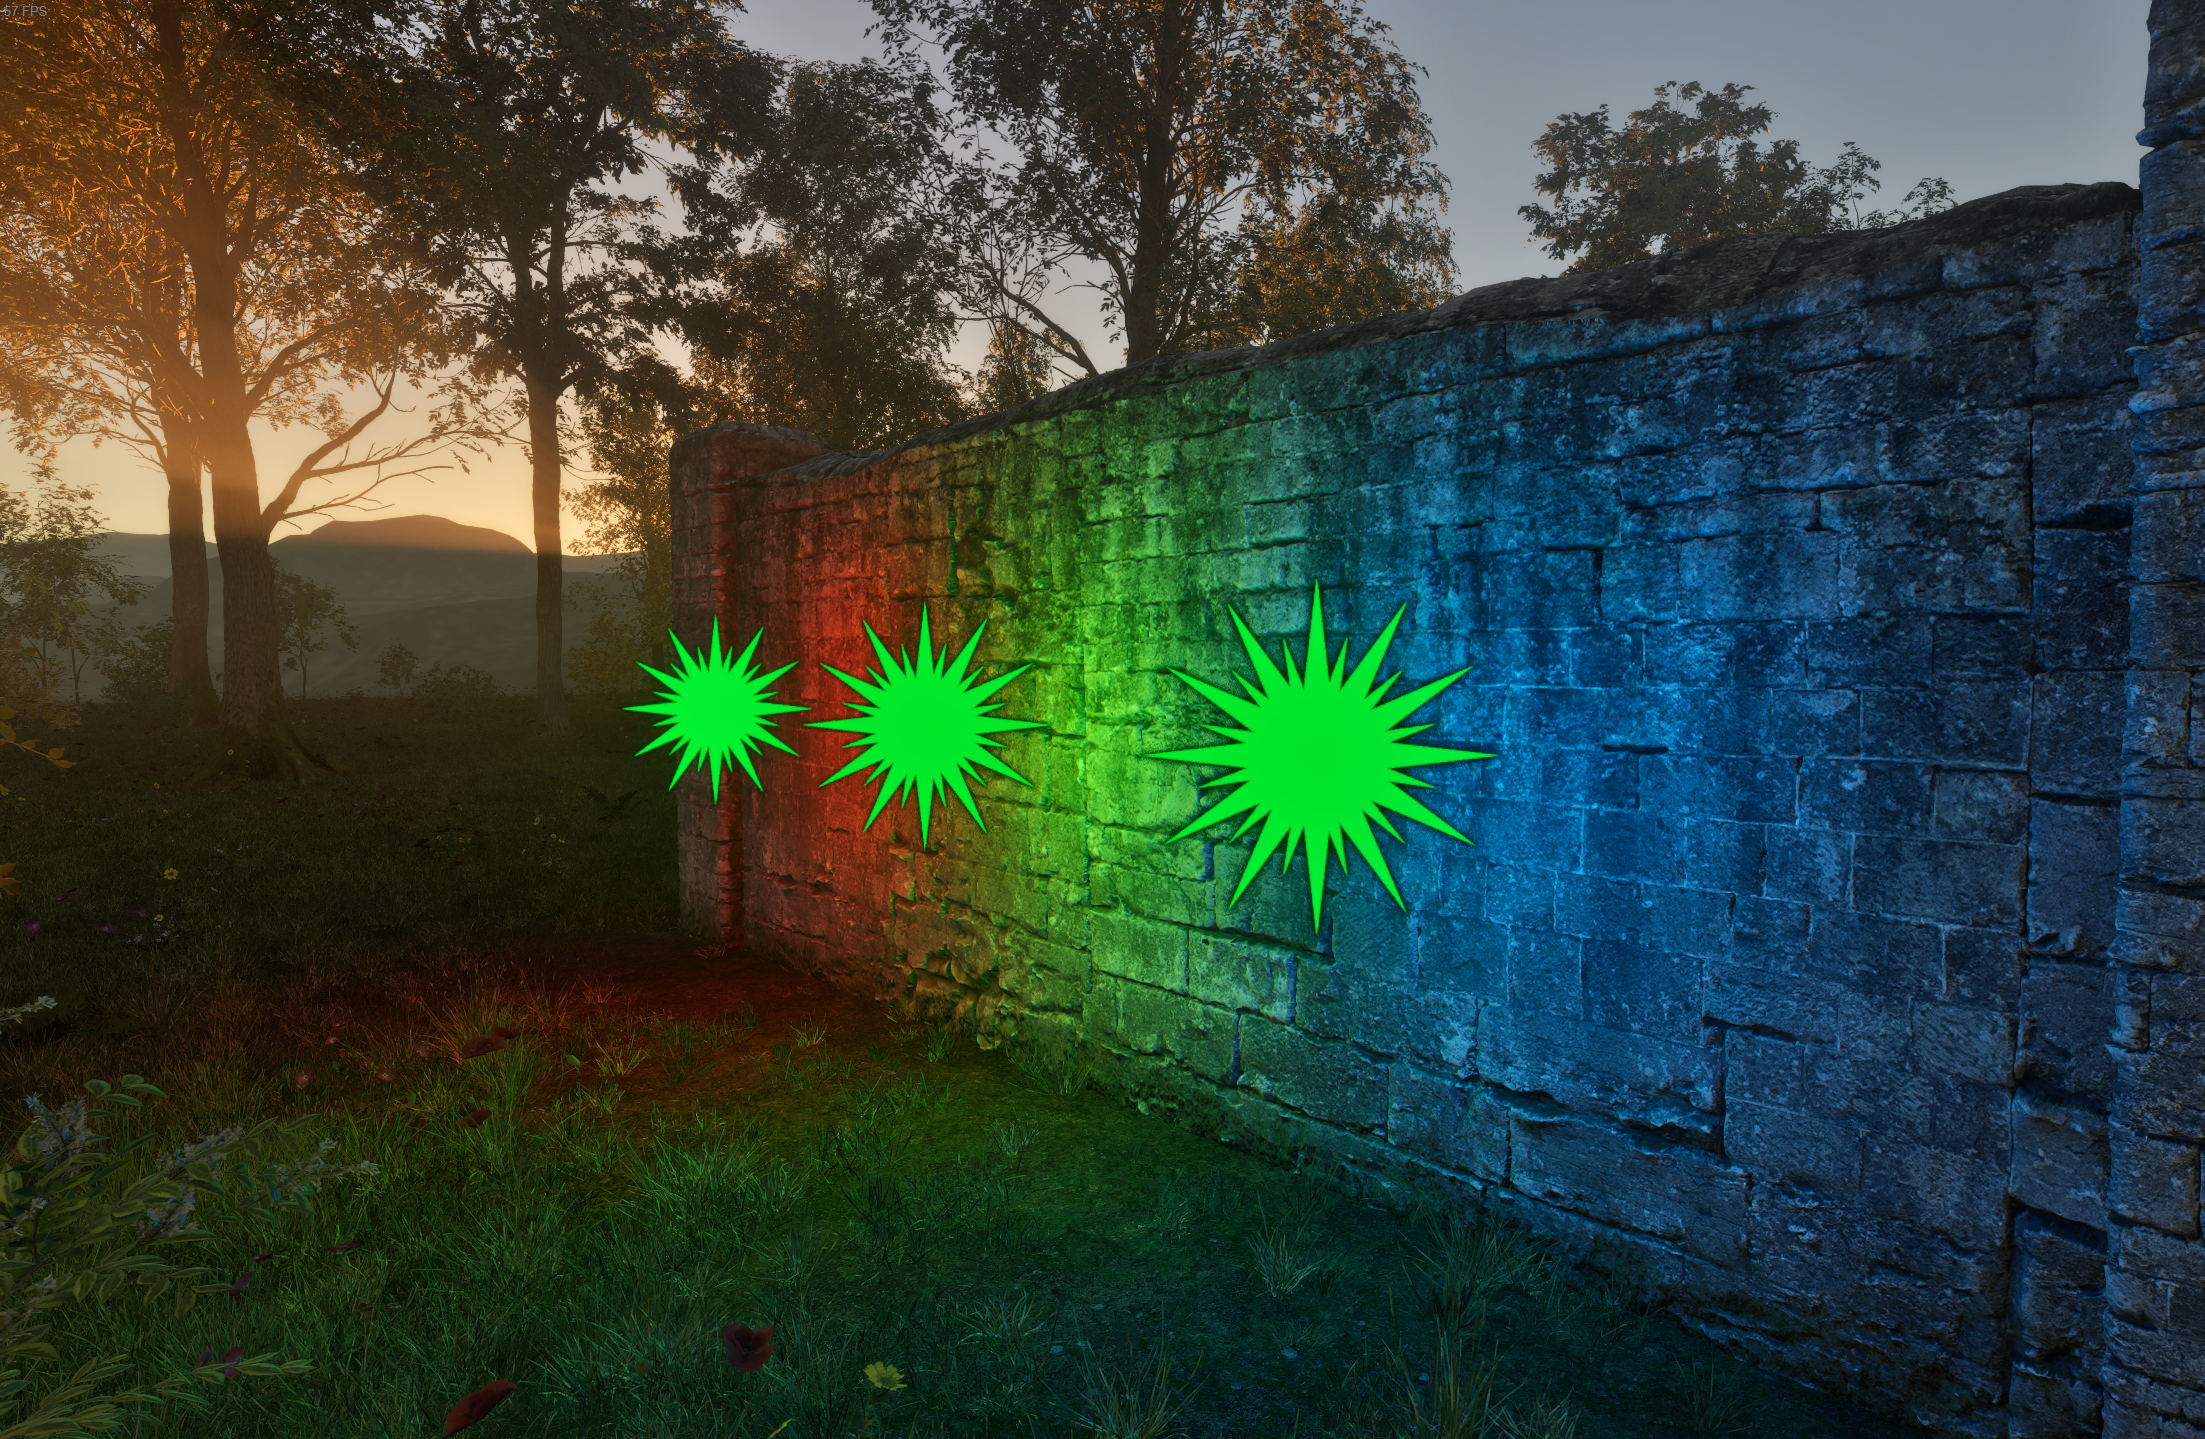
Lights are purely visual devices. Their function is simple. When they're not linked to any activators, Lights are always enabled and illuminate the environment in their specified color, intensity and radius.
If a light is linked to one or more activators, the light will be enabled or disabled based on the activator conditions.
| Property | Description | Type | Default Value |
|---|---|---|---|
| Cast shadows | When checked, this light can cast shadows. Note that this will increase the performance requirements a little bit. | Boolean | false |
| Intensity | The intensity of this light. Higher values result in brighter light. | Number | 7.0 |
| Radius | The radius in which the light affects it's environment. Higher numbers increase the performance requirements. | Number | 4.0 |
| Color | The color of the light | Color | White |
| Condition | Whether this actor requires any, or all activators to be active in order to activate | Condition | Any |
| Invert activation | Whether the activation state should be inverted | Boolean | false |
| Activators | List of actors that activate this actor | Activator list | Empty |
Cube
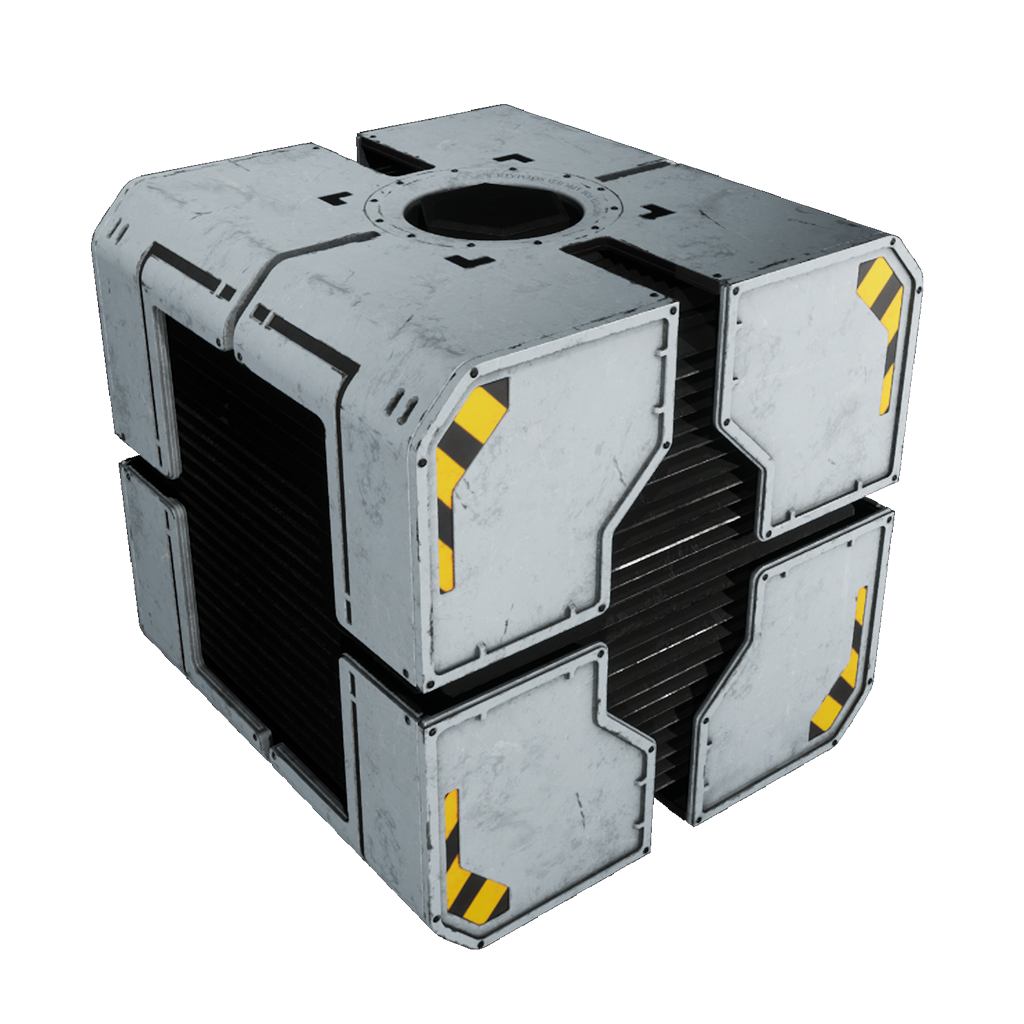
Cubes aren't very complex. You can pick them up and place them elsewhere, use them as a stepping stone, place devices on them or or as a weight for Pressure Plates.
They have no properties.
Level Changer
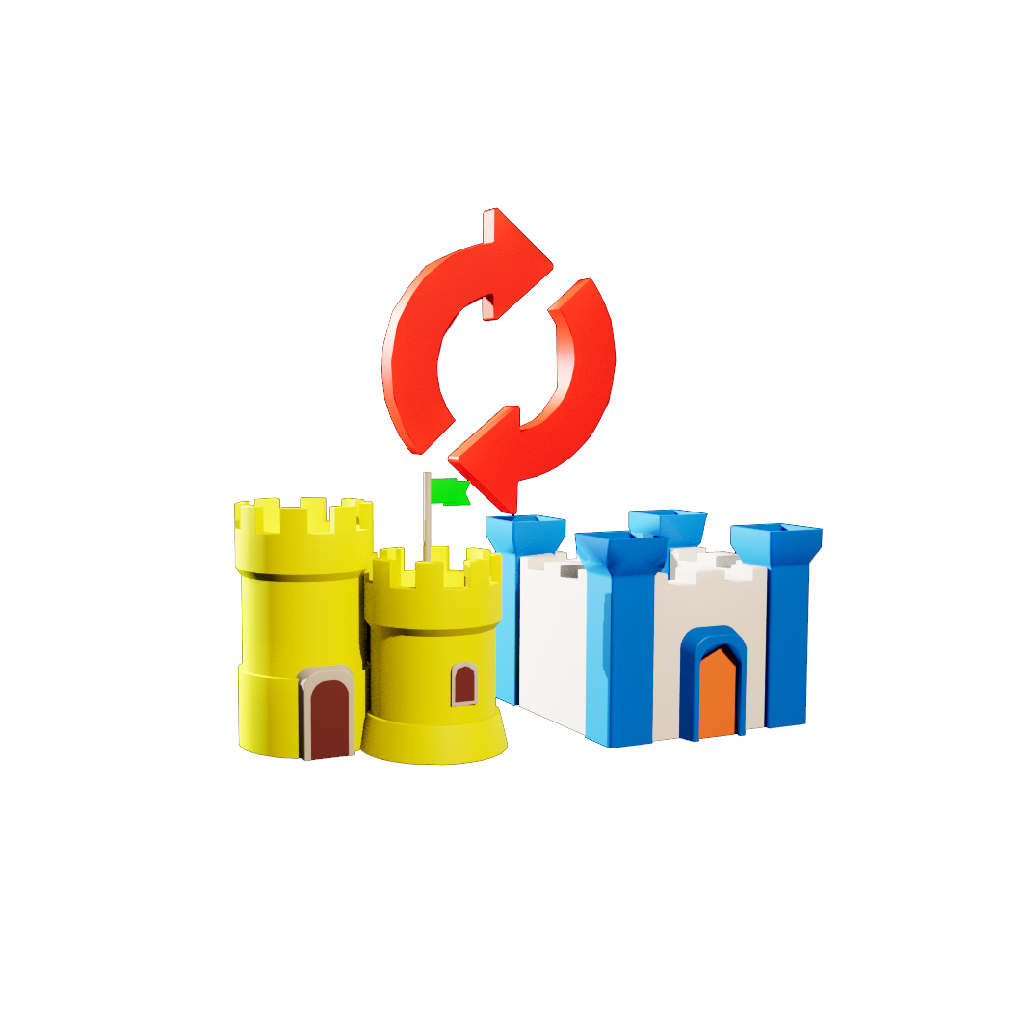
The Level Changer is a fictive device with no real-world representation. Upon activation, it loads the specified level to a given checkpoint.
| Property | Description | Type | Default Value |
|---|---|---|---|
| Condition | Whether this actor requires any, or all activators to be active in order to activate | Condition | Any |
| Invert activation | Whether the activation state should be inverted | Boolean | false |
| Activators | List of actors that activate this actor | Activator list | Empty |
| Level | The level to load. Has to be part of the same campaign. | Level list | Empty |
| Checkpoint | The checkpoint to place the player at, or the default player start | Checkpoint reference | Player Start |
Fan
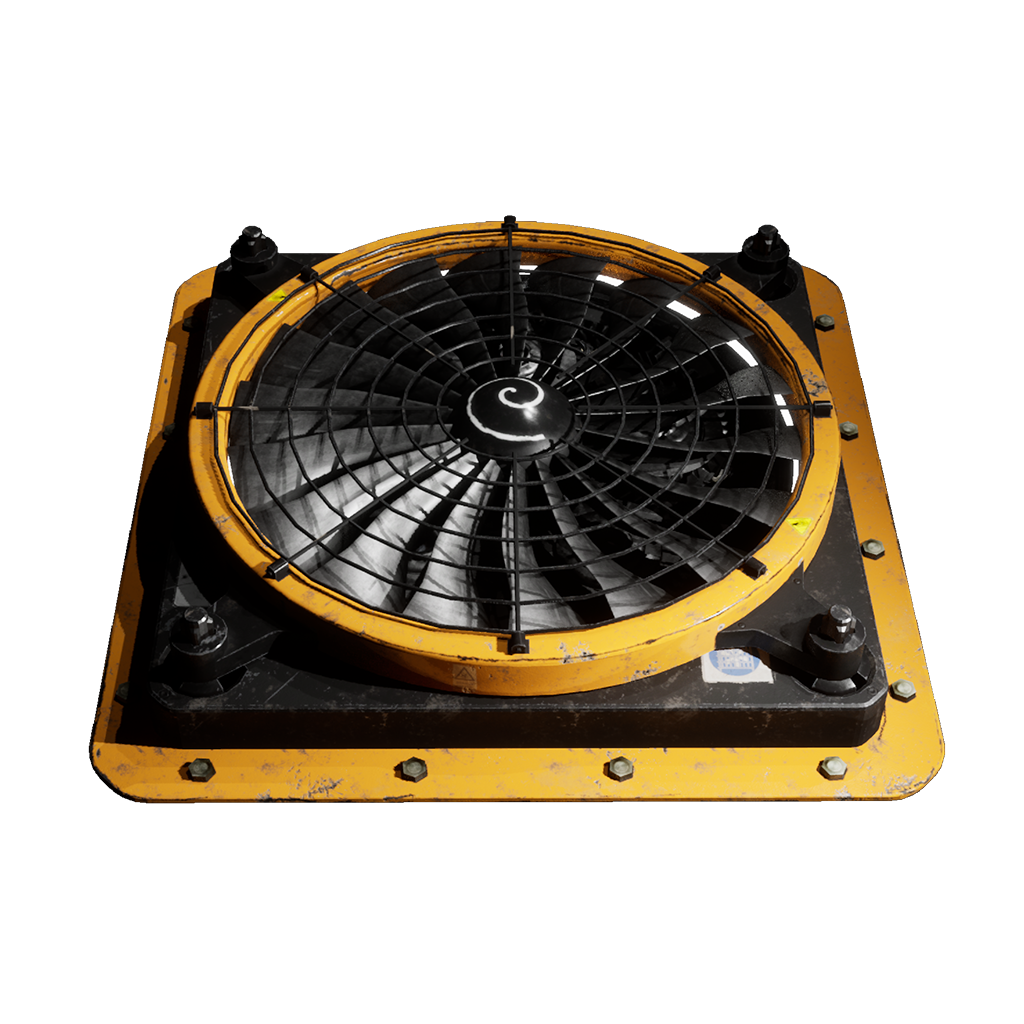
One could say, I'm a big fa-... okay, I'll let myself out.
Fans can, when activated, levitate the player or Cubes (including devices that might be stacked on top). They can either have a detachable Fan cover (which is what holds the actual fan blades), or a fixed one.
Additionally, fans can be set up in an angle, or on a flat surface. The editor features a fan stream visualizer which helps you estimating where a play would end up when being pushed by the Fan.
| Property | Description | Type | Default Value |
|---|---|---|---|
| Stream angle | If >0, this will define the angle of the fan, also adding a platform under the fan. | Number | 0° |
| Stream size | Defines the size of the air stream | 3D Vector | 4.0, 1.5, 1.5 |
| Push speed | The force with which the player is pushed along the fan stream | Number | 9.0 |
| Cover type | Attached: the fan cover is detachable, but installed by default No cover: a fan cover needs to be attached Fixed: the fan has no detachable fan cover and can always function |
List | Attached |
| Air control | A factor which defines how much the player can move while being in the air stream | Number | 0.4 |
| Vertical oscillation | Whether items or the player in thee fan's stream should be vertically oscillating. Can be turned off to increase stability of floating actors | Boolean | true |
| Condition | Whether this actor requires any, or all activators to be active in order to activate | Condition | Any |
| Invert activation | Whether the activation state should be inverted | Boolean | false |
| Activators | List of actors that activate this actor | Activator list | Empty |
Fan Cover
This is the detachable Fan Cover. To be used with Fans that don't have one attached by default.
They have no properties.
Switch
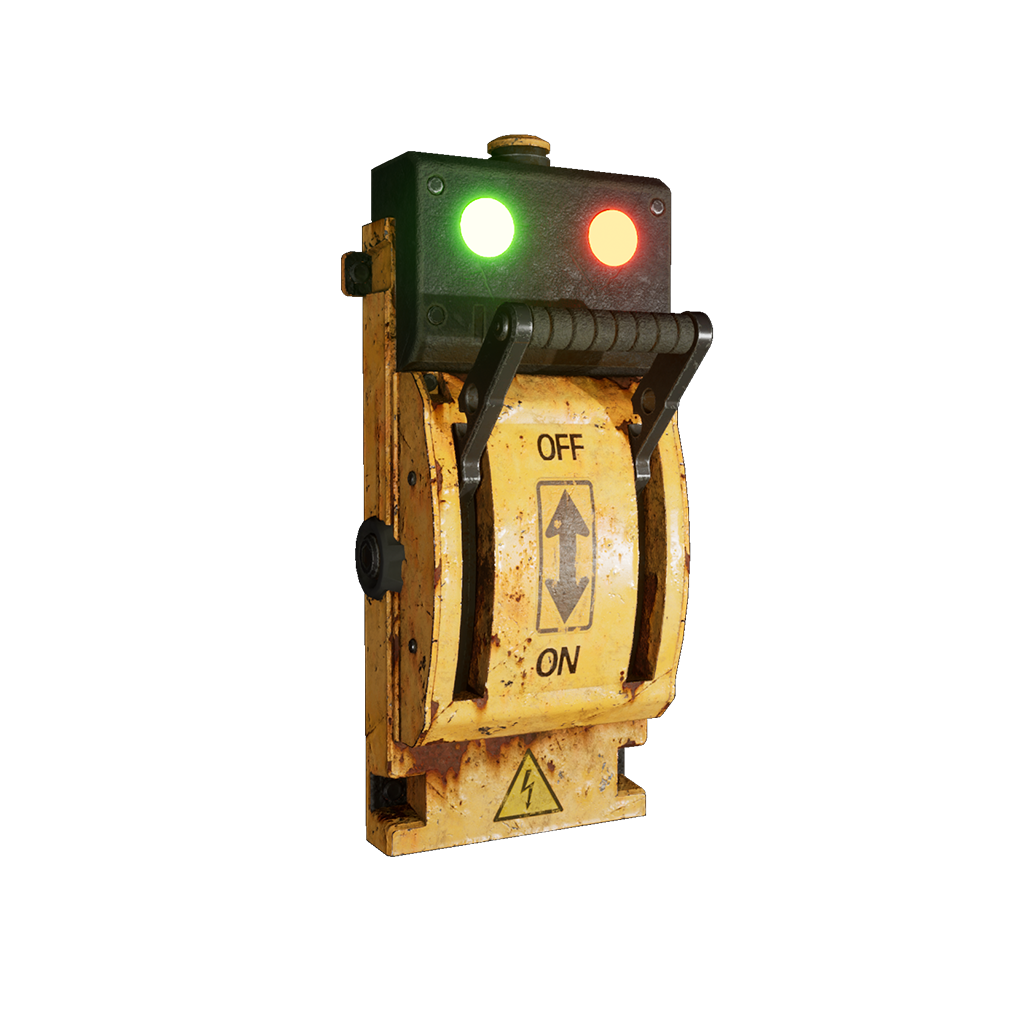
The Switch is another device that can toggle the activation state of other devices, similar to the Pressure Plate. It is activated by the player interacting with it.
You might notice that the Switch has both an Activators property and a Targets property. This is due to the fact that the Switch can both activate devices, but also be disabled/enabled by other devices.
| Property | Description | Type | Default Value |
|---|---|---|---|
| Initial state | The initial state of the Switch | Boolean | false |
| Condition | Whether this actor requires any, or all activators to be active in order to activate | Condition | Any |
| Invert activation | Whether the activation state should be inverted | Boolean | false |
| Activators | List of actors that activate this actor | Activator list | Empty |
| Targets | List of actors that should be activated by this actor | Target list | Empty |
Time Recorder
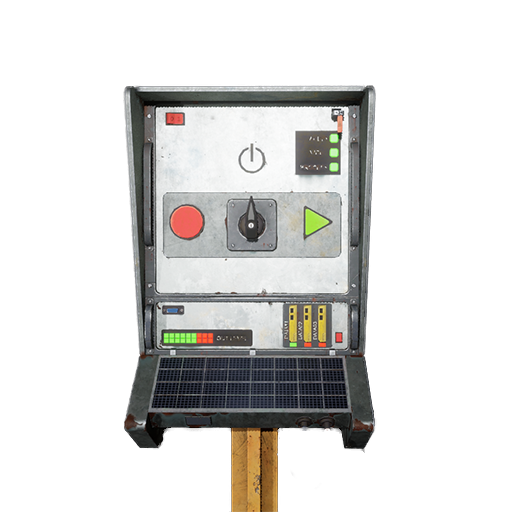
The Time Recorder was probably one of the hardest mechanics to tackle in the original The Talos Principle. But we reworked it's mechanics a lot in The Talos Principle: Reawakened, so we're happy to celebrate a comeback of this complex mechanic!
The main idea of the Time Recorder is that player can activate it and the Recorder will record everything the player does, from simple movement to picking up items and activating components. Once the Time Recorder is stopped, a ghost will spawn, replicating the recorded player. As an addition to the original The Talos Principle, so-called Pause Points can be created while recording.
The Time Recorder however has no properties that can be adjusted. Place it, and have fun!
Platform
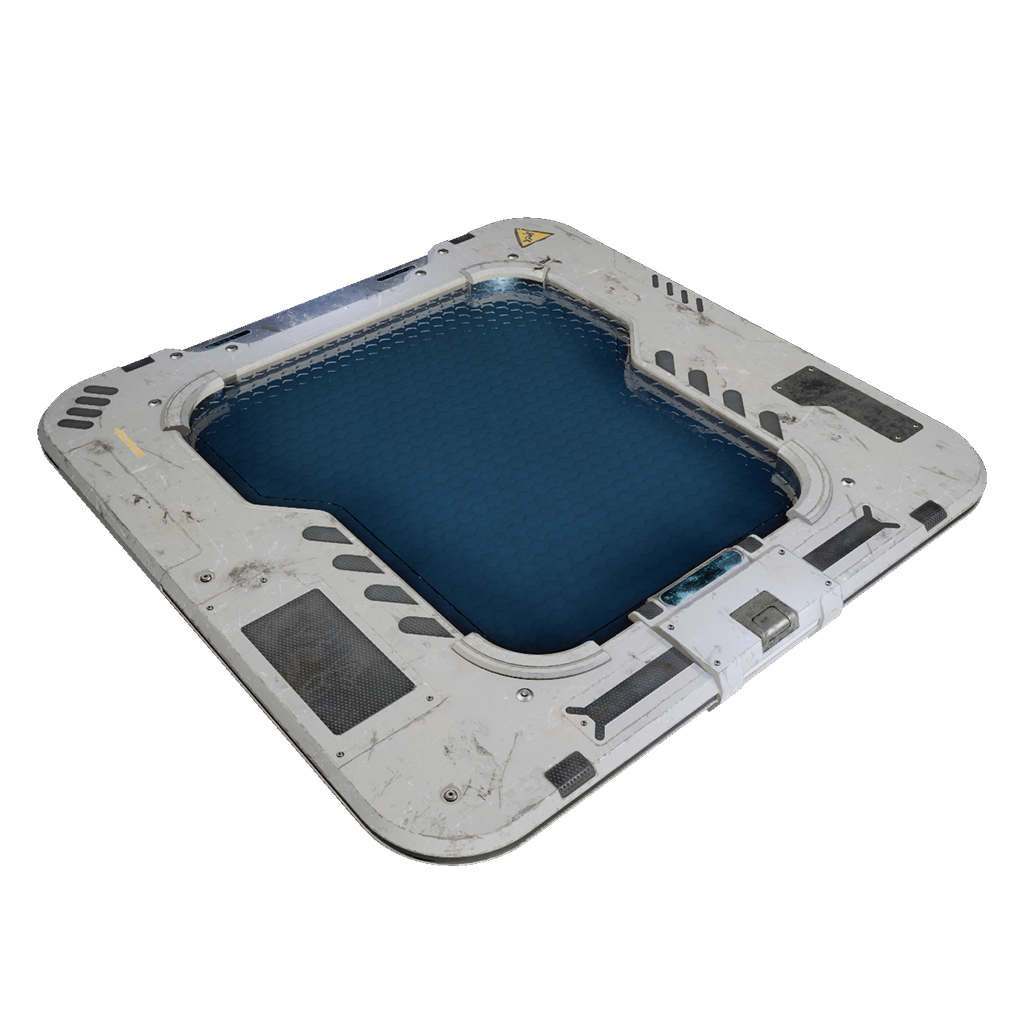
The Platform is a simple device that can be picked up by the player. The player can use a Platform to carry items ON the Platform. Platforms are often used in puzzle constellations with the Time Recorder.
The Platform has no properties.
Ladder
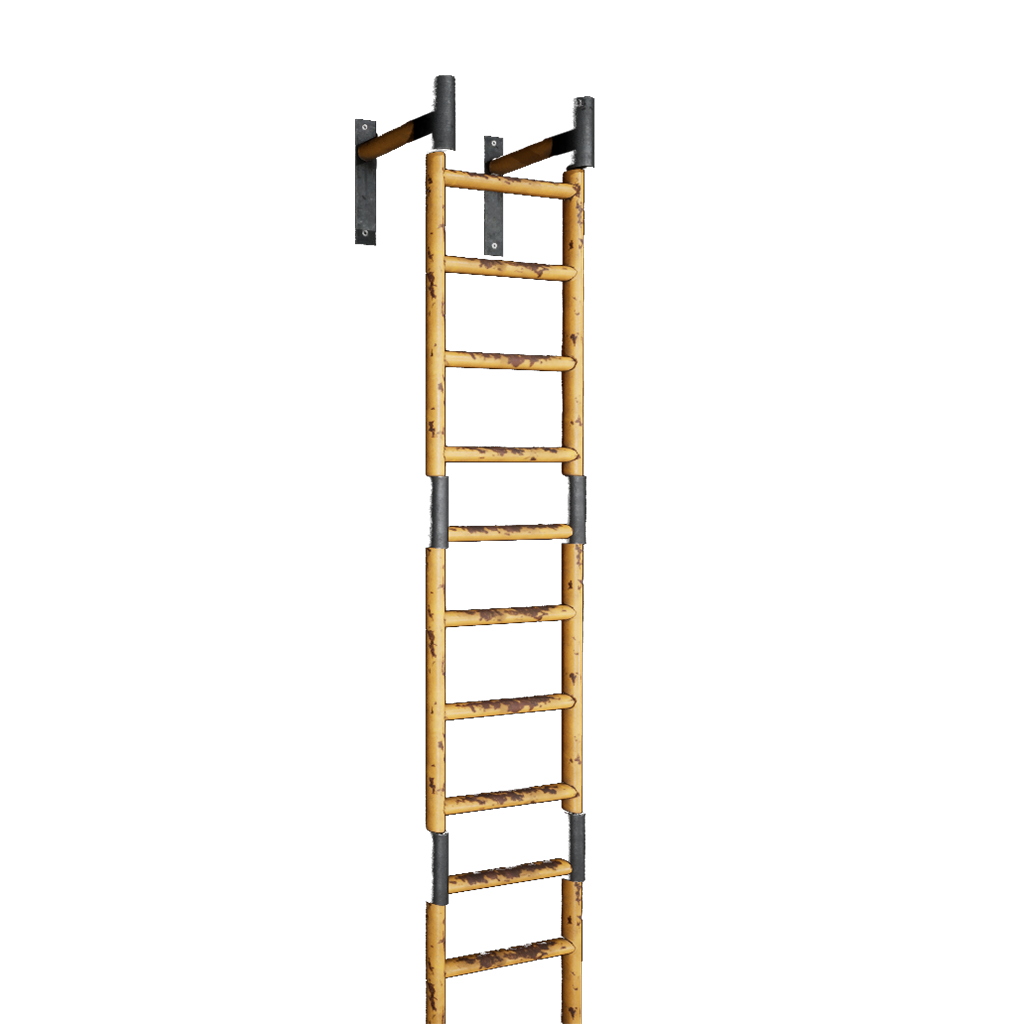
The Ladder is a simple actor that allows the player to climb to higher places.
| Property | Description | Type | Default Value |
|---|---|---|---|
| Num segments | Defines the length of a ladder (in segments) | Number | 3 |
Detector Area

The Detector Area is an interesting device, because it's not visible and therefore doesn't exist as a known device like the rest of the devices.
It serves as an invisible volume which can activate a target once the player enters, and deactivate a target once the player leaves.
| Property | Description | Type | Default Value |
|---|---|---|---|
| Targets | List of actors that should be activated by this actor | Target list | Empty |
Tetromino
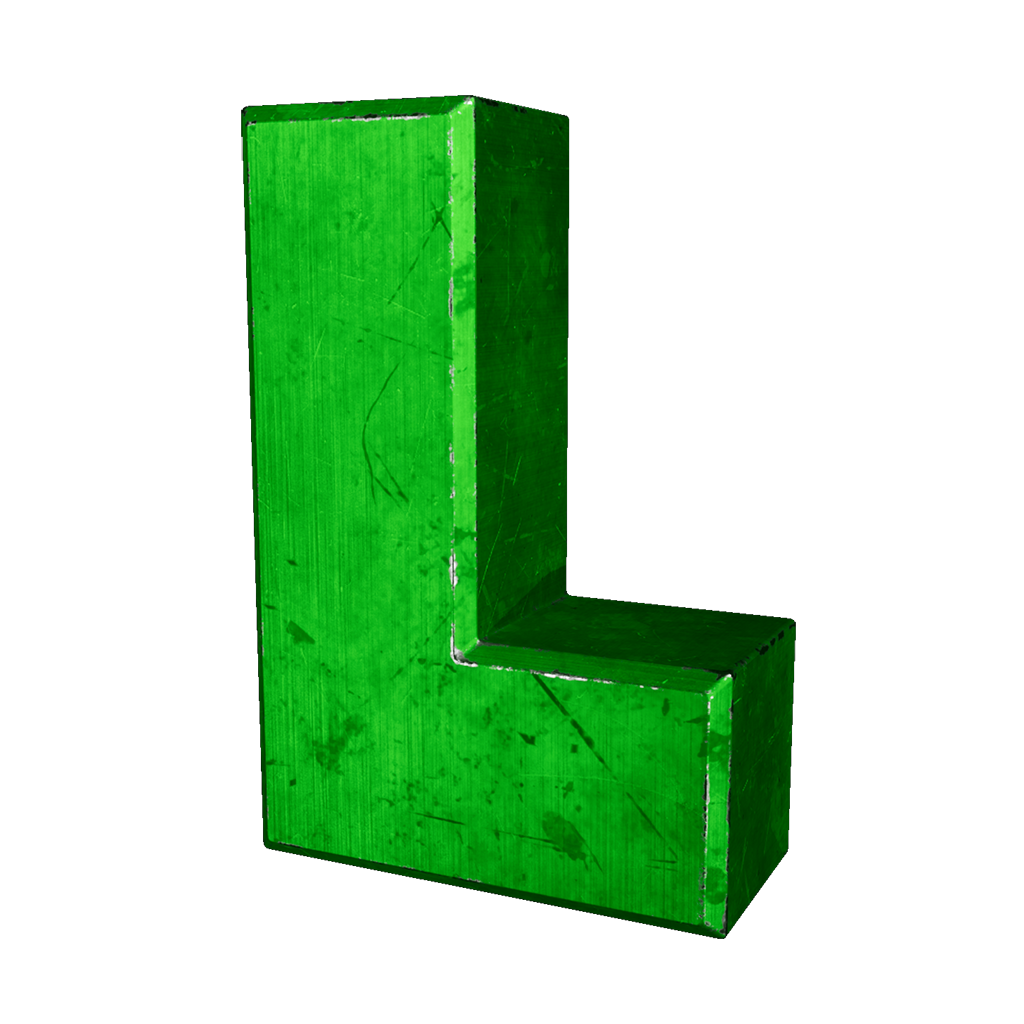
Tetrominos were the main collectible objective in the original The Talos Principle. They exist in the colors green, gold, red, white and blue, as well as the shapes I, J, L, O, S, T, Z.
Info
The sigil names of a Tetromino (e.g. I, J or Z) are related to the shape of the Tetromino piece. Look at them and see the resemblance!

Tetrominos can be displayed on Signs, and be used for Tetromino Doors to unlock specific parts of a level only if enough sigils have been collected.
| Property | Description | Type | Default Value |
|---|---|---|---|
| Color | The color of the Tetromino. Can be Green, Gold, Red, White and Blue. |
List | Green |
| Shape | The shape of the Tetromino. Can be I, J, L, O, S, T, Z. |
List | L |
| Targets | List of actors that should be activated when this Tetromino is picked up | Target list | Empty |
Star

The Star serves as another collectible objective in a puzzle, next to Tetrominos. Stars can be used for Star Doors and also Tetromino Doors, where players need to solve a puzzle using the otherwise unobtainable star sigils.
| Property | Description | Type | Default Value |
|---|---|---|---|
| On screen message | This message is displayed to the player when the star is picked up | String | Empty |
| End game | If true, the game will automatically end upon the pickup of this star | Boolean | false |
| Targets | List of actors that should be activated when this Star is picked up | Target list | Empty |
Sign
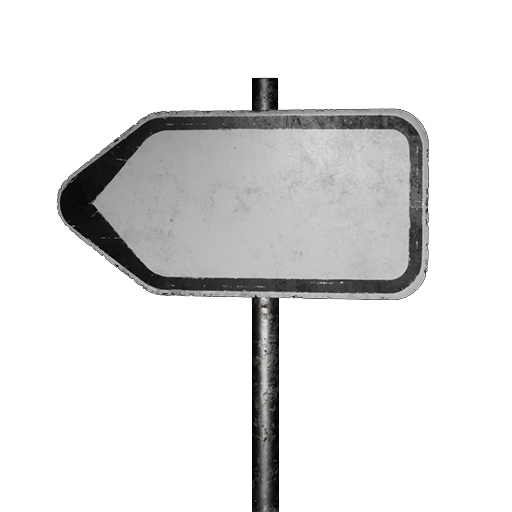
The Sign can be used as a level design tool to point players to objectives, such as Tetrominos or Stars.
| Property | Description | Type | Default Value |
|---|---|---|---|
| Collectibles | List of stars which should be visible on the sign | List | Empty |
| Sign direction | Can either be Left, Right or Simple (which does not have any direction) |
List | Left |
Red/Blue Generator
The Energy Generator generates a energy source that can be connected to Energy Receivers by using the Connector device.
| Property | Description | Type | Default Value |
|---|---|---|---|
| Color | Saves you from placing a new generator every time. Valid options are Red and Blue |
List | depends on which generator was placed |
| Energy nodes | The generator will connect to these energy nodes (connectors and receivers) by default upon starting the level | Energy node list | Empty |
Red/Blue Receiver
The Energy Receiver is the significant other of the Energy Generator. It can receive an energy beam of the same color, using Connectors.
| Property | Description | Type | Default Value |
|---|---|---|---|
| Color | The receiver's color. Valid options are Red and Blue |
List | depends on which receiver was placed |
| Charge duration | Number of seconds it takes this receiver to fully charge up | Number | 1.5 |
| Targets | List of actors that should be activated when this receiver fully charged up | Target list | Empty |
| Energy nodes | The receiver will connect to these energy nodes (connectors and generators) by default upon starting the level | Energy node list | Empty |
Plasma Barrier
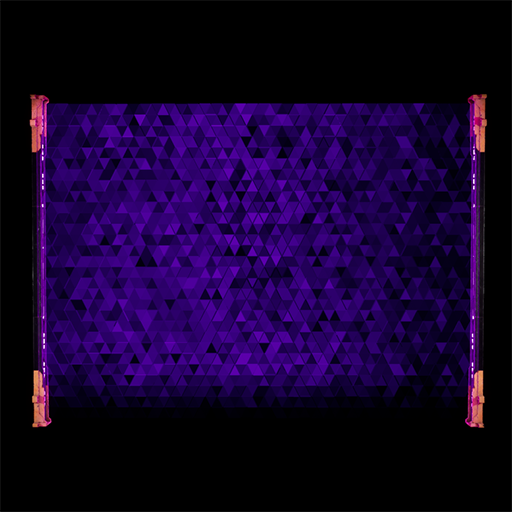
The Plasma Barrier is usually placed at a puzzle entrance to ensure players are not taking any devices with them into a puzzle, but it can also be used inside puzzles to ensure the same thing.
| Property | Description | Type | Default Value |
|---|---|---|---|
| Puzzle name | When placed at a puzzle entrance, a puzzle name to be displayed can be entered here | String | Empty |
| Show frame | When enabled, the barrier has a frame mesh around it | Boolean | true |
| Height | The height of the Plasma Barrier (automatically set when placed by a drawing tool) | Number | 2.0 |
| Length | The length of the Plasma Barrier (automatically set when placed by a drawing tool) | Number | 4.0 |
Mine
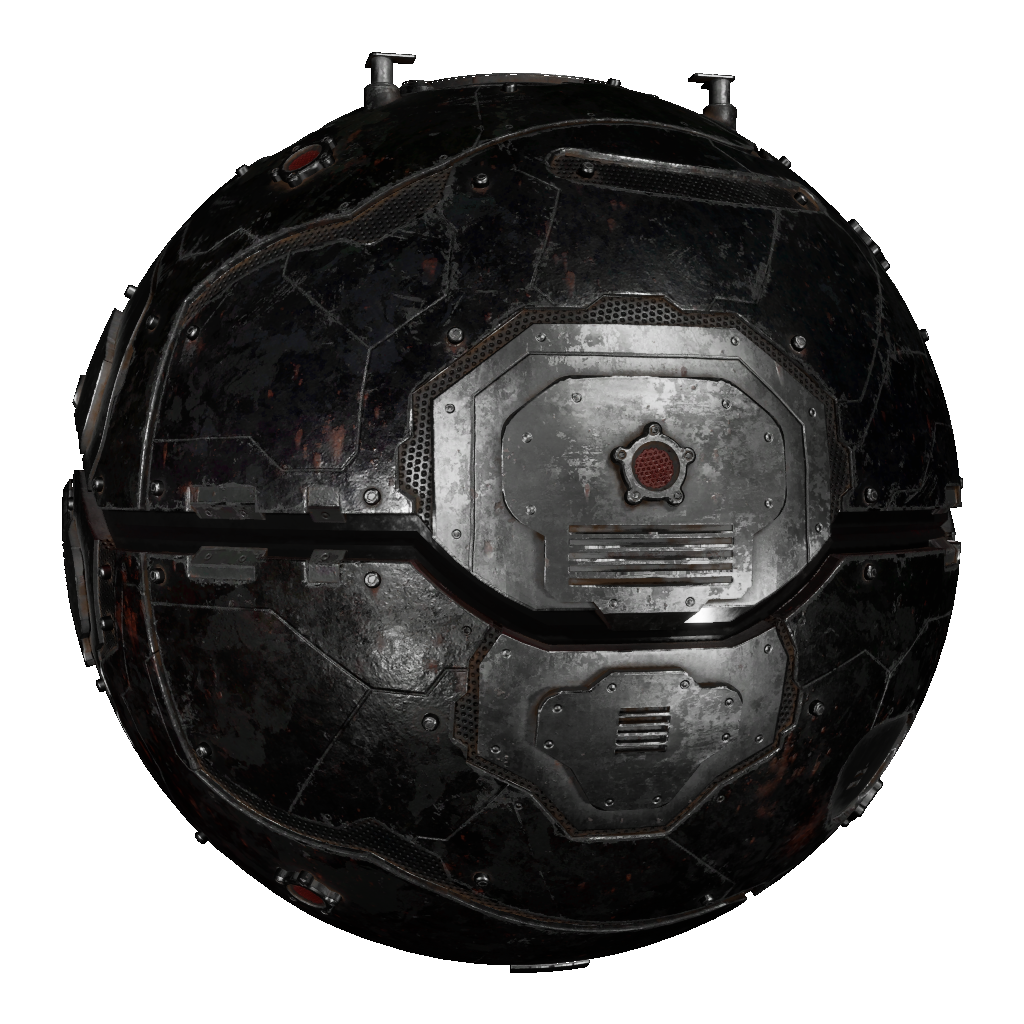
Mines and Turrets form the guardians of the land you're crafting. When the player is getting up close, mines will attempt to kill the player. Mines can also take Cubes, meaning that they can carry items around.
When placed, a mine will just act stationary and does not move - but that behavior can be changed using Path Markers.
If no Path Marker setup is present yet, a first Path Marker can be created by clicking the Place marker button in the properties. The newly created Path Marker is placed at the mine's position and automatically assigned as the first marker.
If a Path Marker is setup, the mine will follow the path endlessly.
| Property | Description | Type | Default Value |
|---|---|---|---|
| Wait time | If set to something greater than 0.0, the Mine will wait this time (in seconds) before starting to patrol |
Number | 0.0 |
| First marker | The first path marker of the route this Mine should follow (if any) | Path Marker Reference | None |
| Turret kill range | The range (in meters) in which the Mine can kill a Turret | Number | 5.0 |
Passive Mine
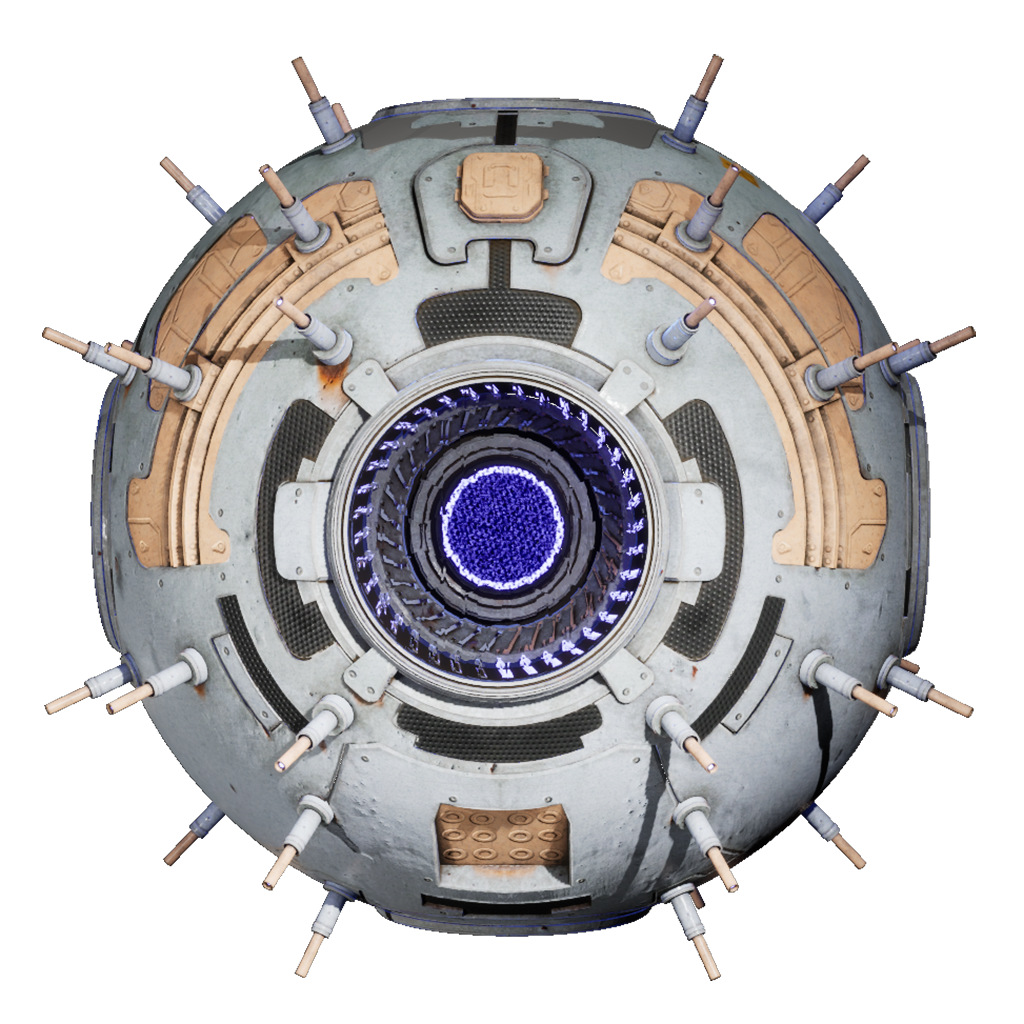
The Passive Mine is not as dangerous as the classic Mine, since it will not kill the player in a specific range, but just hit the player and "buzz" it away. Similar to the Mine, it can be set up to follow a route, and carry items around.
| Property | Description | Type | Default Value |
|---|---|---|---|
| Wait time | If set to something greater than 0.0, the Passive Mine will wait this time (in seconds) before starting to patrol |
Number | 0.0 |
| First marker | The first path marker of the route this Passive Mine should follow (if any) | Path Marker Reference | None |
Path Marker
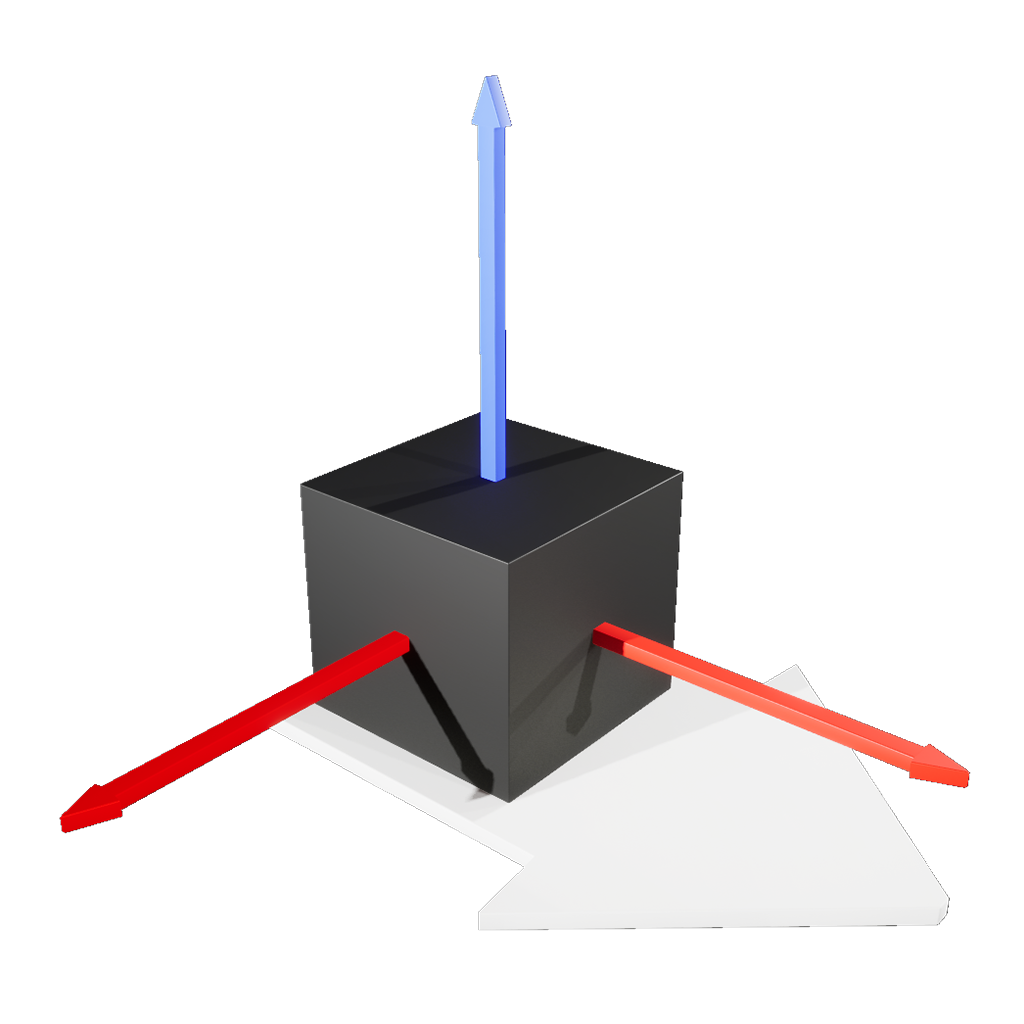
Path Markers can be used for Mines to indicate a path which the Mine should travel along.
| Property | Description | Type | Default Value |
|---|---|---|---|
| Next marker | If set, then the Mine will travel to the next marker after reaching this one. If not set, the Mine will switch directions and go back the route | Path Marker Reference | None |
Auto Turret
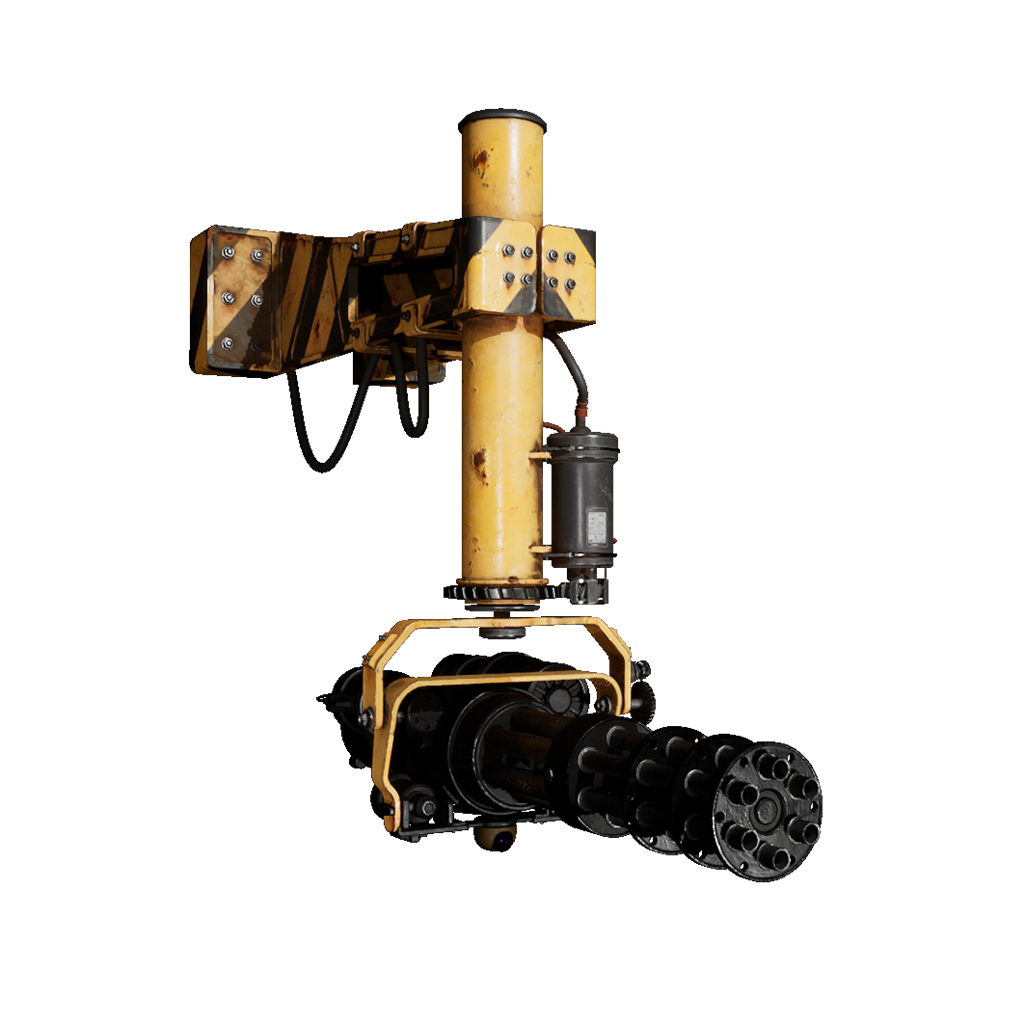
Another rather dangerous guardian. Auto turrets are usually placed on a wall, guarding objectives or devices. Their angle and range can be freely set up.
The editor features a visualizer that helps estimating where a player would be affected by the turret. The Auto turret can be activated and deactivated by Activators.
| Property | Description | Type | Default Value |
|---|---|---|---|
| Min yaw | The minimum yaw angle of the turret's range | Number | -45° |
| Max yaw | The maximum yaw angle of the turret's range | Number | 45° |
| Fire range | Number | 10.0 |
|
| Min range | Number | 1.0 |
|
| Force kill range | Number | 0.0 |
|
| Floor offset | Number | 2.0 |
|
| Condition | Whether this actor requires any, or all activators to be active in order to activate | Condition | Any |
| Invert activation | Whether the activation state should be inverted | Boolean | false |
| Activators | List of actors that activate this actor | Activator list | Empty |
Invisible Wall
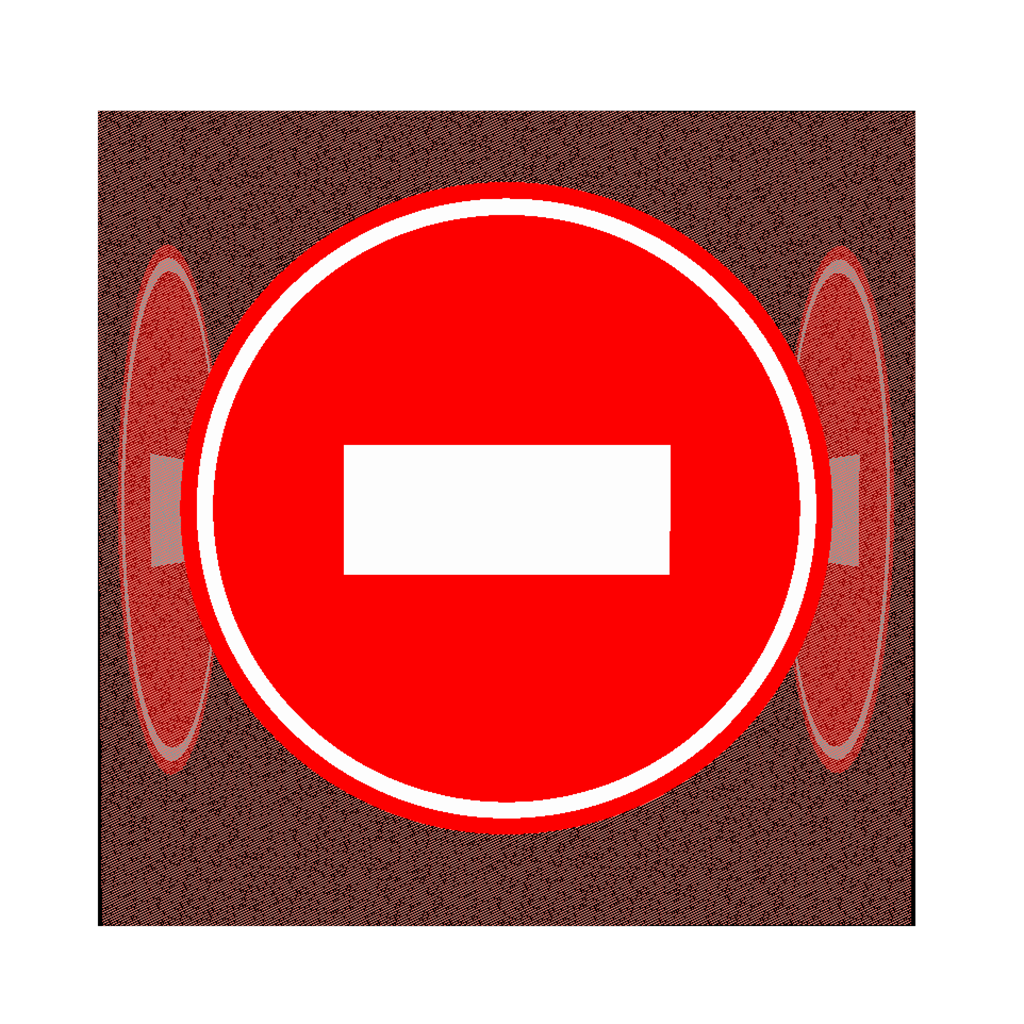
The Invisible Wall is a very simple device which only has one purpose: block players from reaching certain areas. Common use cases include the placement on walls or around puzzles to prevent cheesing them and letting players escape the boundaries.
The size of the Invisible Wall can be adjusted using the width, height and length scaling property.
The Invisible Wall has no properties.
Death Area
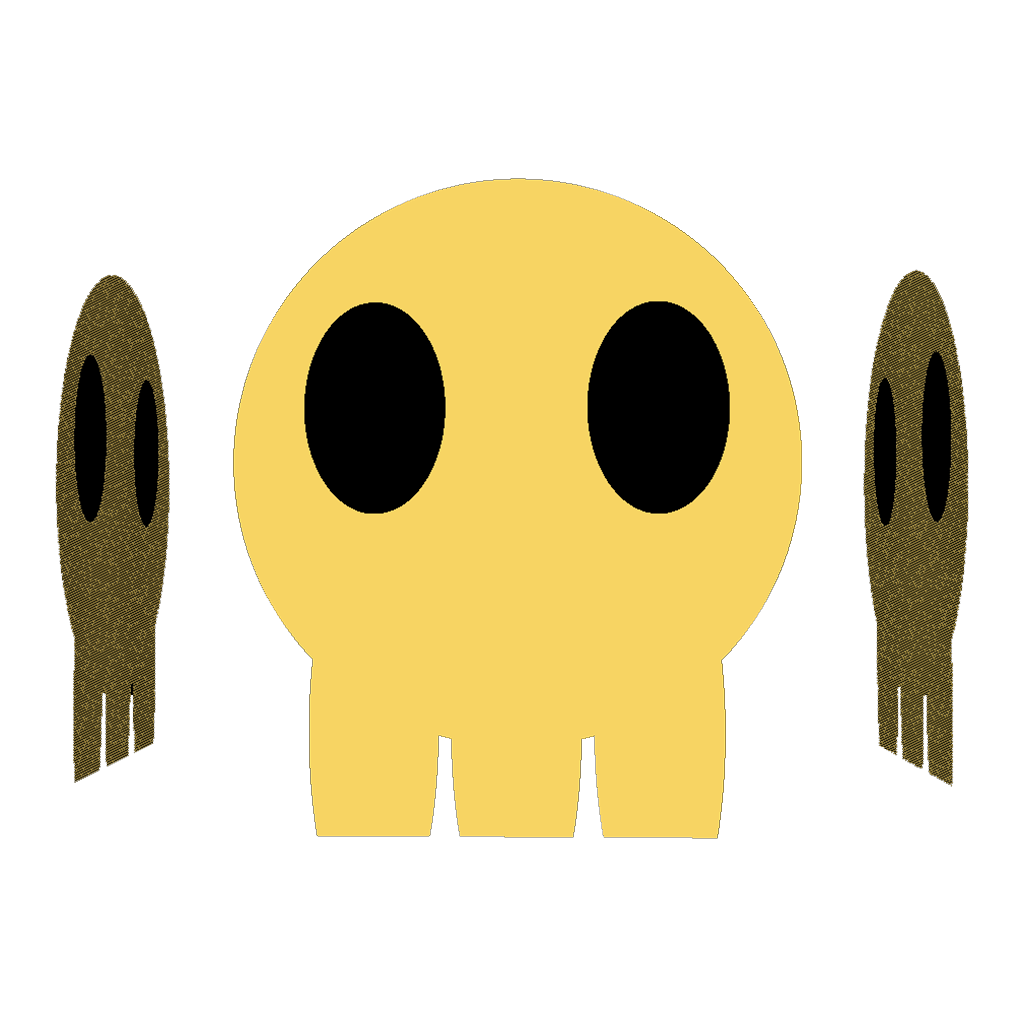
The Death Area is another simple device that simply kills the player upon entering the area. Similar to the Invisible Wall, the area can be resized using the width, height and length scaling property.
The Death Area has no properties.
Guided Jump
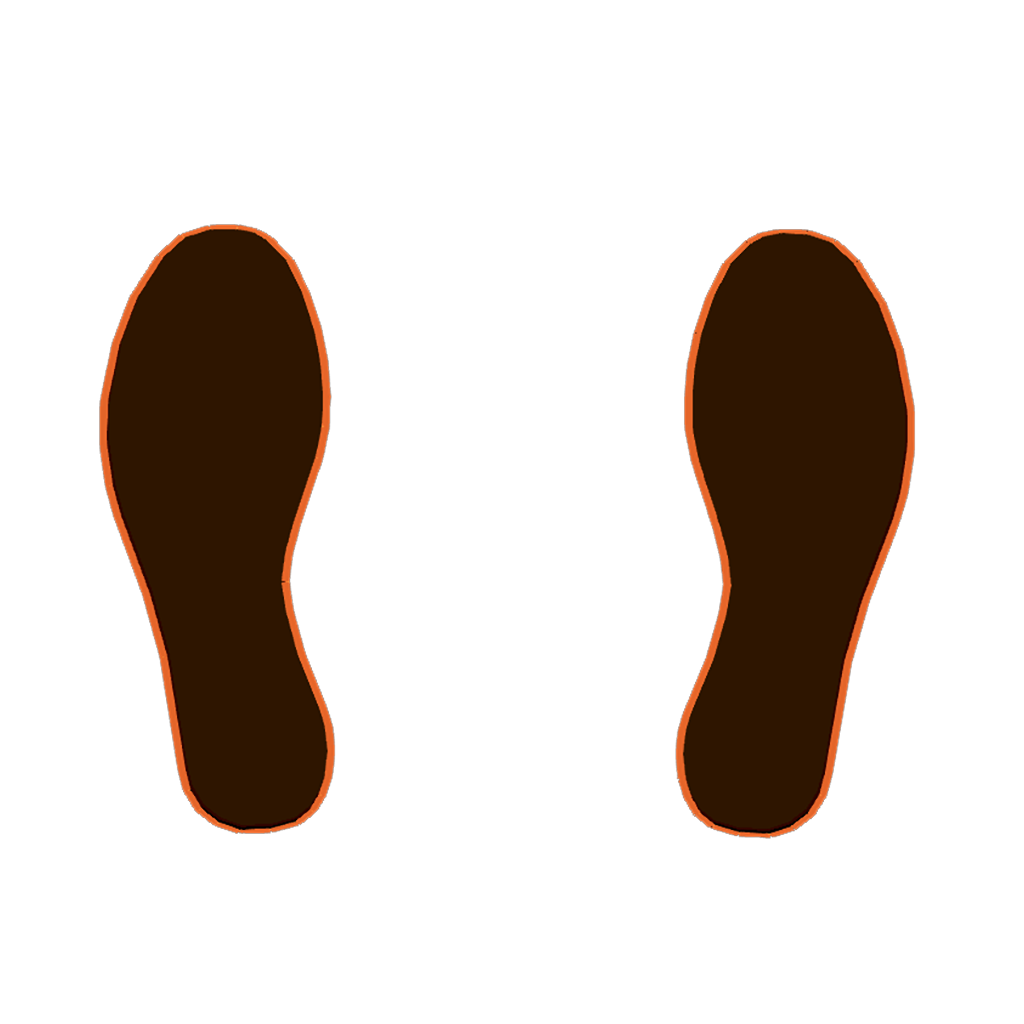
In the base game, the puzzle creators often designed a specific path for the player to follow. Those paths often include walls or cliffs that the player should jump to. While the game often automatically detects situations like these, it sometimes might not be clear if a path is "jumpable" or not. To combat this, we're using Guided Jump areas.
The idea is simple: once the player enters the area of a Guided Jump, the game offers the player to jump to one of the next Guided Jump areas, defined in the Targets property.
Note
Only the closest Guided Jump to the player's crosshair is displayed.
The below image is a classic example of a Guided Jump device placed on top of a wall.

| Property | Description | Type | Default Value |
|---|---|---|---|
| Targets | List of "next" Guided Jump devices, which will be offered to the player upon reaching this Guided Jump | List of Guided Jump devices | Empty |
Water
The Water device serves no gameplay purpose and it's sole purpose is to aid the level setdressing. The Water device acts as a simple plane which can be resized using the width, height and length scaling property.
The Water has no additional properties.

Fog
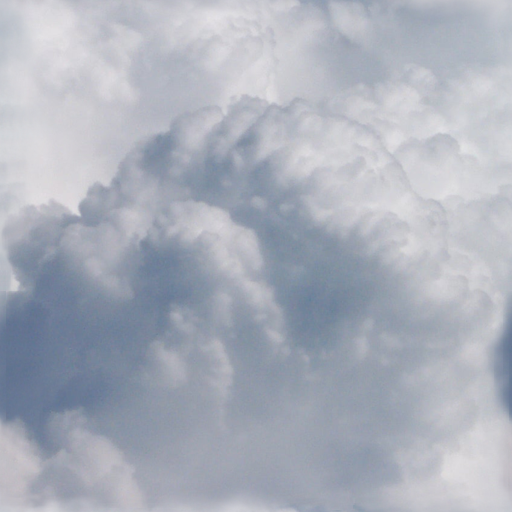
The Fog device is a cosmetical device that can be placed in the level to generate fog. When configured with an activating condition, the fog can be enabled or disabled dynamically. The fog is not cast globally, but rendered volumetrically in the given shape.
| Property | Description | Type | Default Value |
|---|---|---|---|
| Condition | Whether this actor requires any, or all activators to be active in order to activate | Condition | Any |
| Invert activation | Whether the activation state should be inverted | Boolean | false |
| Activators | List of actors that activate this actor | Activator list | Empty |
| Shape | The shape of the fog volume in which the fog is rendered. Options are Box, Sphere, Cylinder and Cone |
Shape list | Box |
| Color | The color of the fog | Color | #CDCDCD |
| Density | The density of the fog inside the volume | Number | 0.05 |
Portal
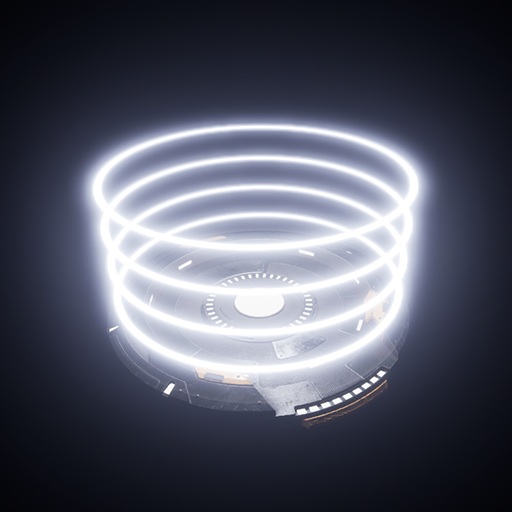
Similar to the behavior of Portals in the base game, they're able to teleport the player, once they enter the portal, to another level within the same episode.
Additionally, Portals can be set up so they require a number of unlocked Stars for the teleportation to work.
| Property | Description | Type | Default Value |
|---|---|---|---|
| Stars to unlock | The amount of Stars needed for this Portal to initiate the teleporting process | Number | 0 |
| End game | When checked, the game will be ended upon traveling with this portal. The player will be brought back to the main menu | Boolean | false |
| Next level | The level to load when the player enters the Portal. Has to be within the same episode | Level | (none) |
Stationary Connector
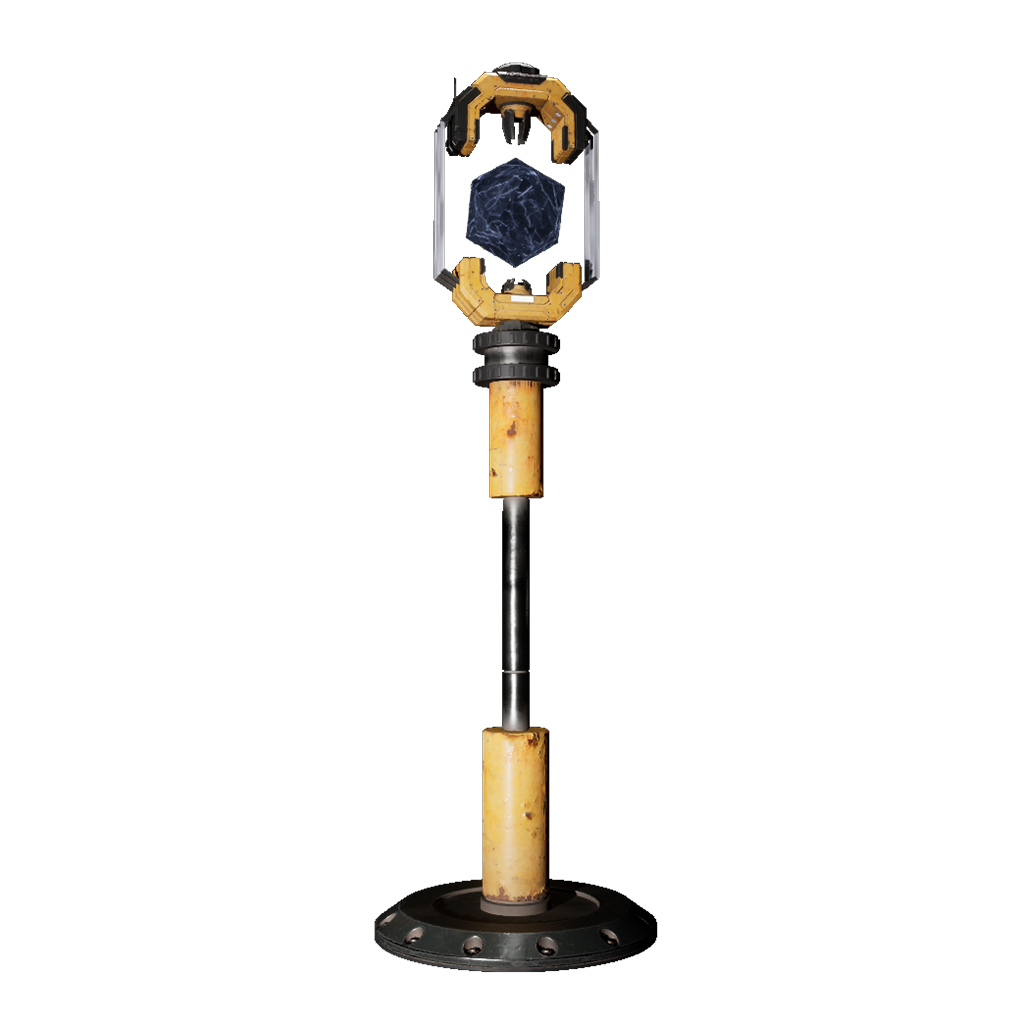
Stationary Connectors are, instead of the regular Connectors, not movable by the player and therefore are a fixed part of the puzzle's design.
Players can connect to the Stationary Connector with other Connectors.
| Property | Description | Type | Default Value |
|---|---|---|---|
| Energy nodes | The Stationary Connector will connect to these energy nodes (other connectors, generators and receivers) by default upon starting the level | Energy node list | Empty |
Wire Marker
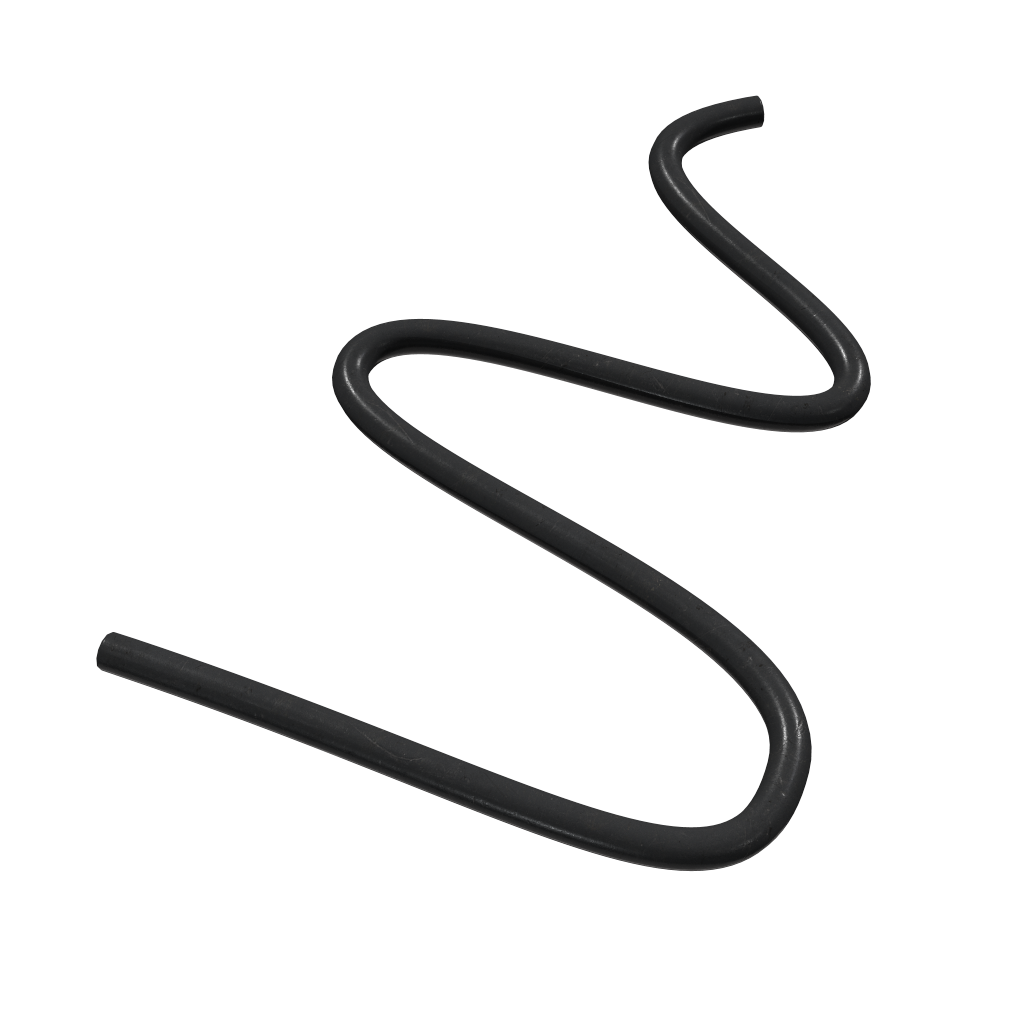
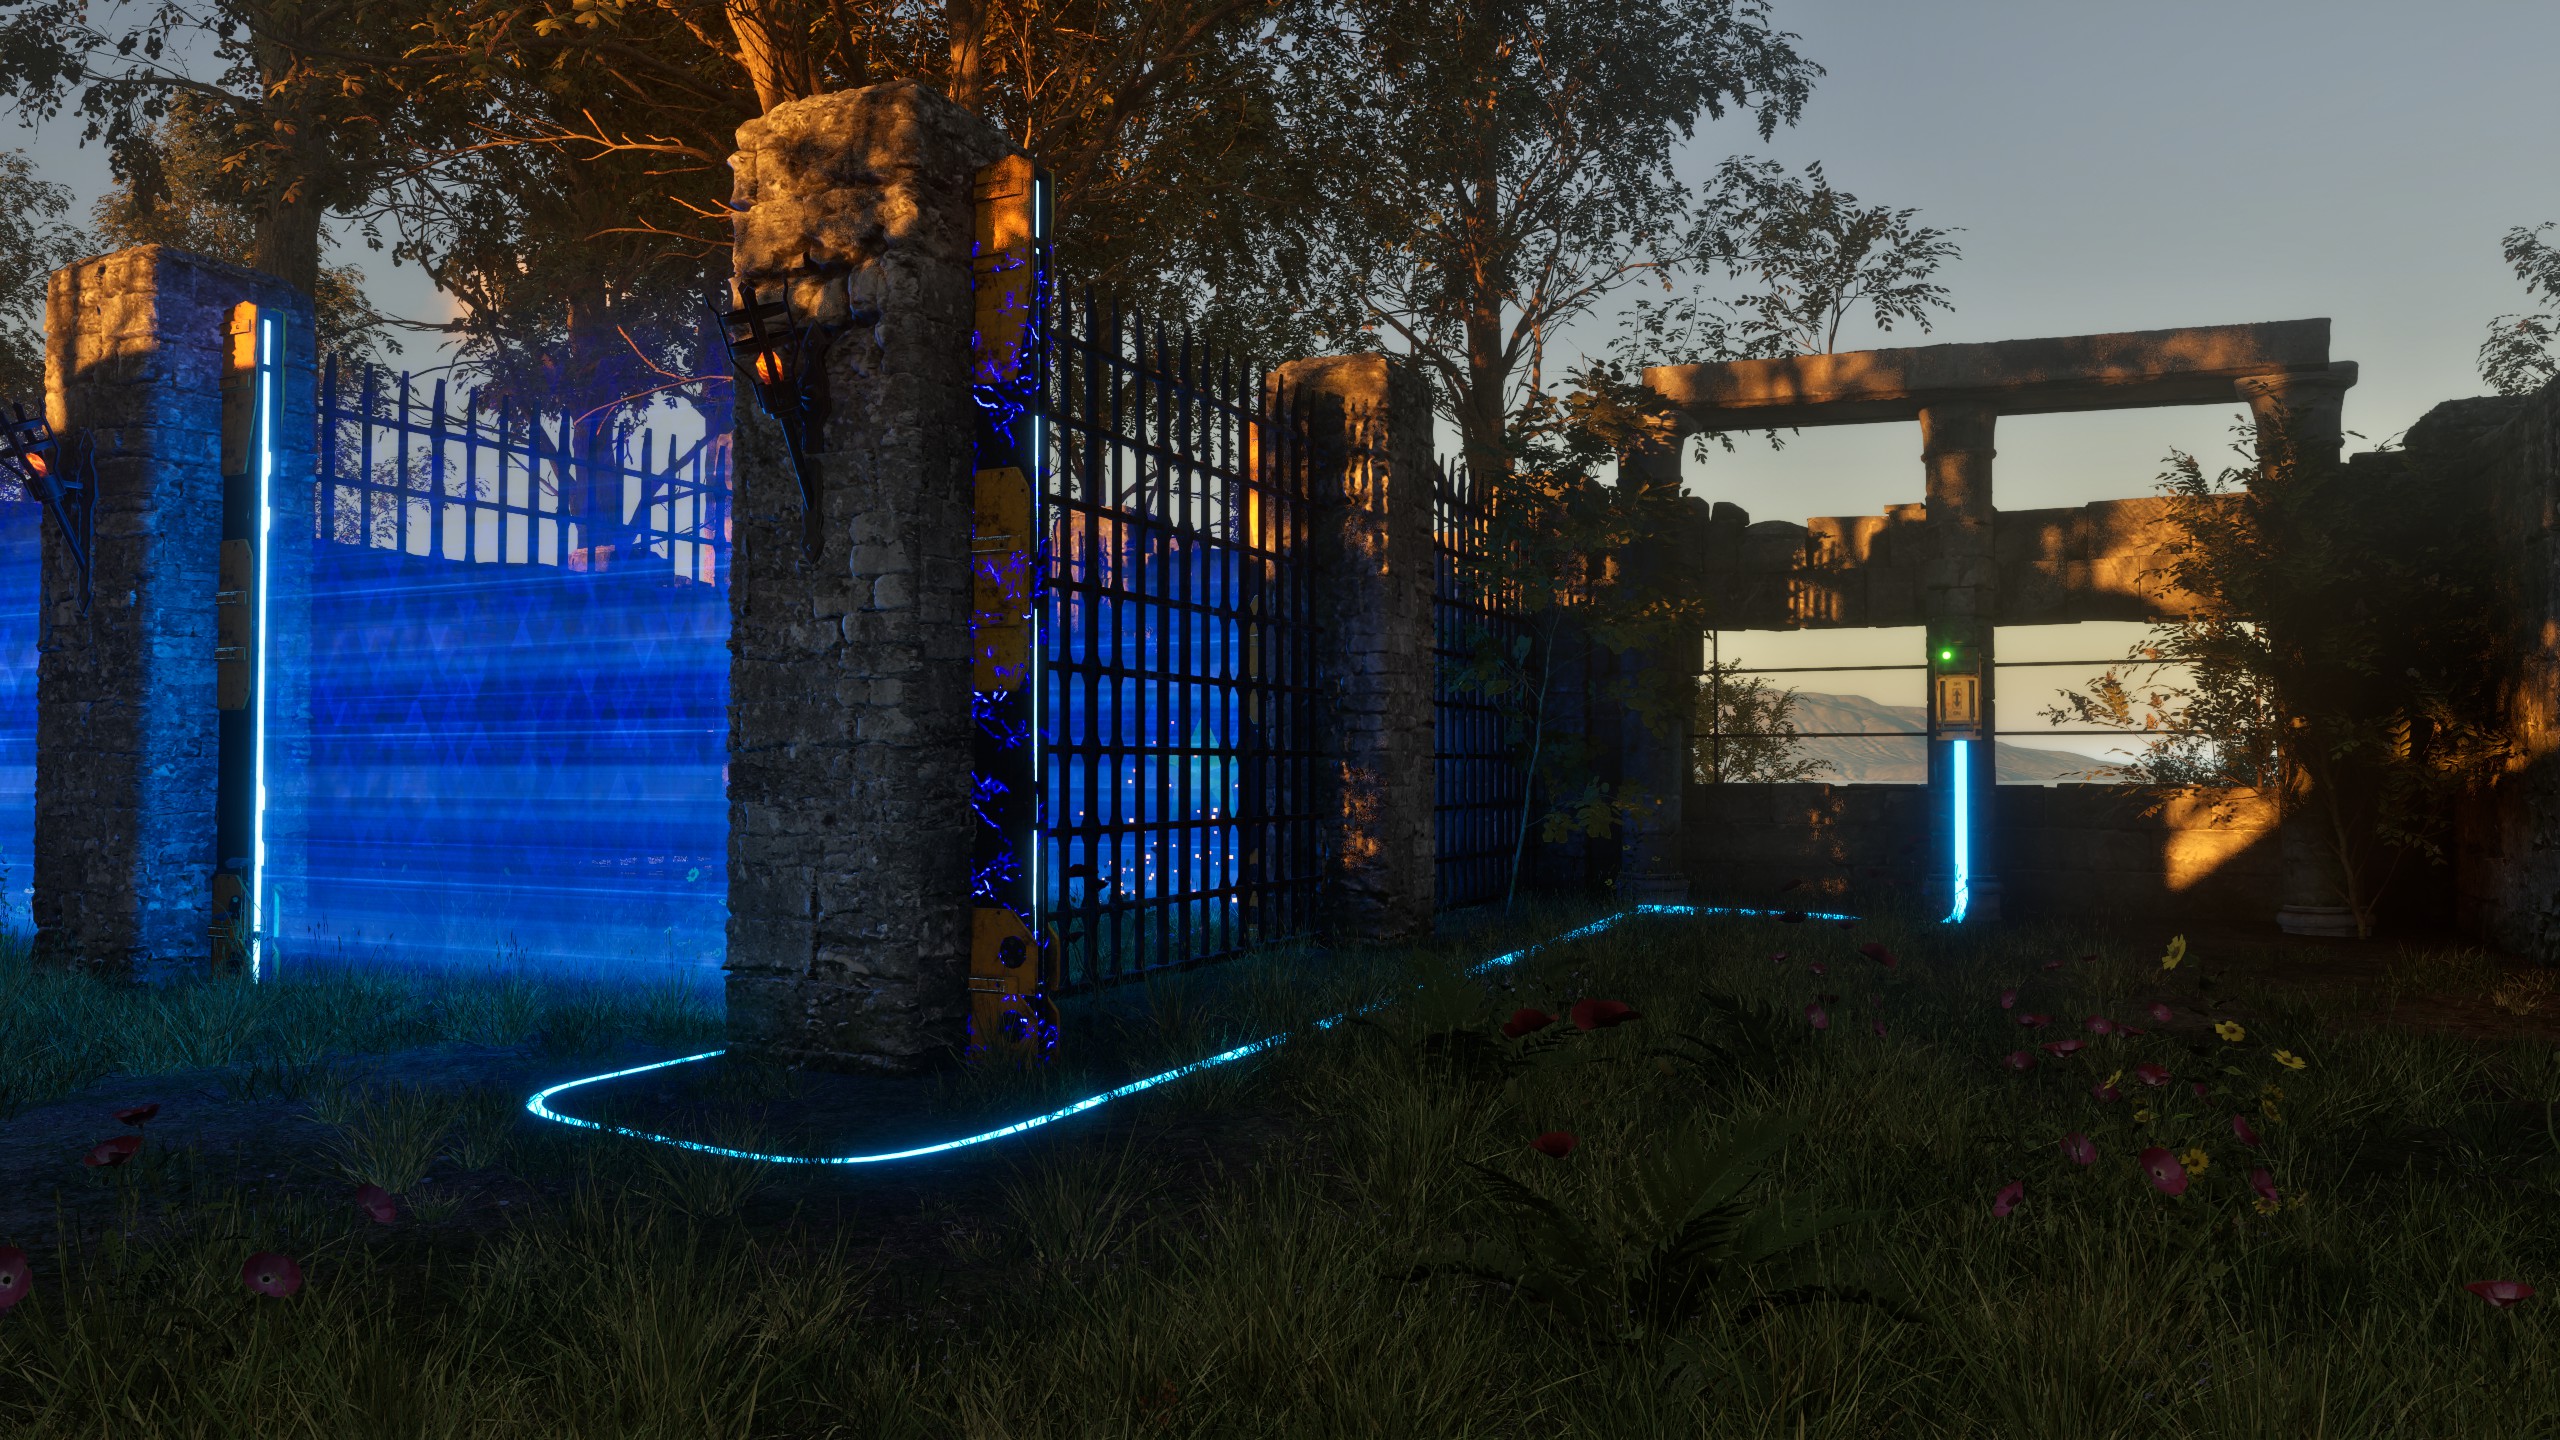
Wire Markers are used to place wires in the level. Wires don't have a gameplay purpose, but can act as visual links to symbolize the connection between devices.
To create a wire, at least two Wire Markers are needed. With the Next marker property (or the auto-link hotkey L), Wire Markers are connected to each other, and a wire is formed.
When one of the Wire Markers in a chain is hooked up to an Activator, the whole wire will emit a glow if the Activation conditions are met.
| Property | Description | Type | Default Value |
|---|---|---|---|
| Next marker | The next Wire Marker to connect to | Wire Marker reference | None |
| Tangent size | The size of the tangent. Increasing this number makes any edges rounder | Number | 1.0 |
| Intensity | The strength of the glow emitted by the wire if the activation conditions are met | Number | 20.0 |
| Color | The color this wire will emit when the activation conditions are met | Color | Light blue |
| Condition | Whether this actor requires any, or all activators to be active in order to activate | Condition | Any |
| Invert activation | Whether the activation state should be inverted | Boolean | false |
| Activators | List of actors that activate this actor | Activator list | Empty |
Mover
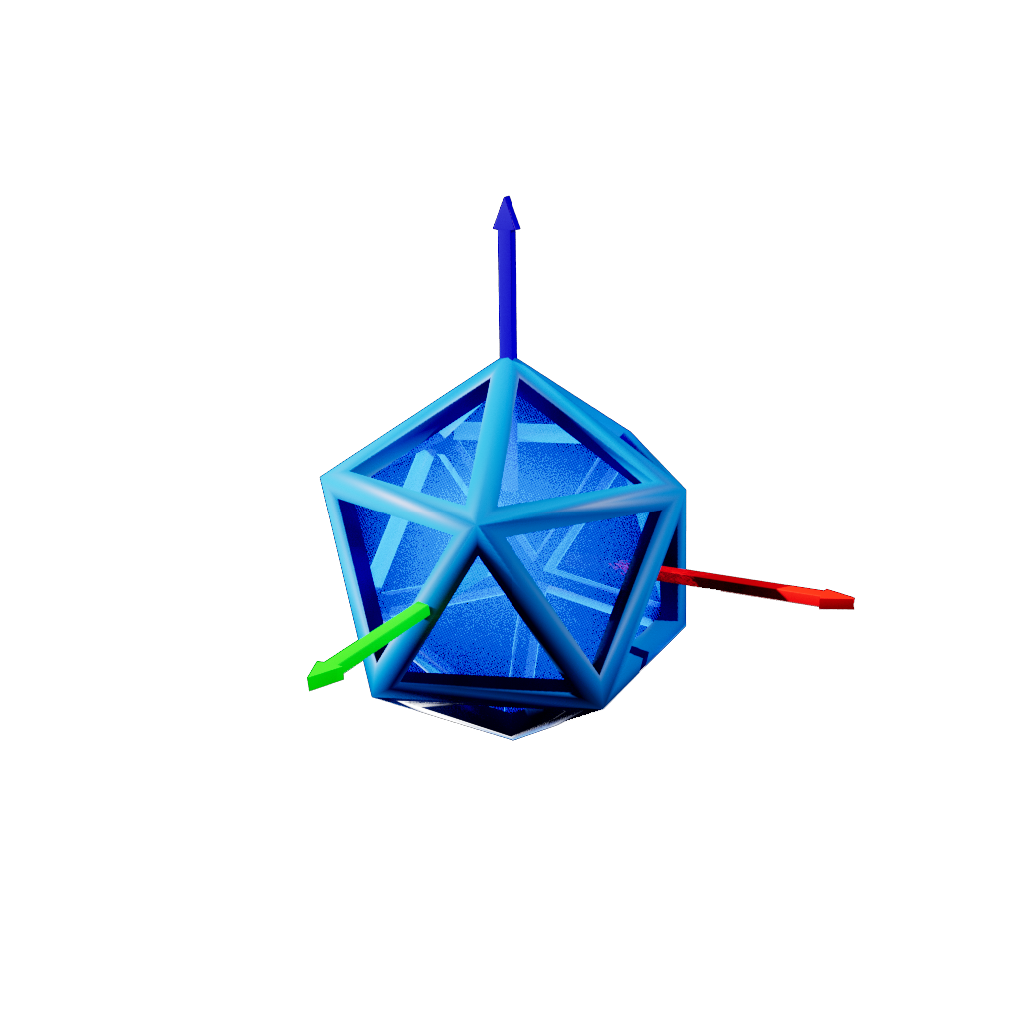
The Mover is a fictional device that is introduced with The Talos Principle 2. The Mover can be used to move actors along a path defined by Move Markers.
| Property | Description | Type | Default Value |
|---|---|---|---|
| Condition | Whether this actor requires any, or all activators to be active in order to activate | Condition | Any |
| Invert activation | Whether the activation state should be inverted | Boolean | false |
| Activators | List of actors that activate this actor | Activator list | Empty |
| Path Start Marker | The first Move Marker of the path that the movable actor should follow | Move Marker reference | None |
| Movables | List of actors that should be moved along the path | Actor list | Empty |
Move Marker
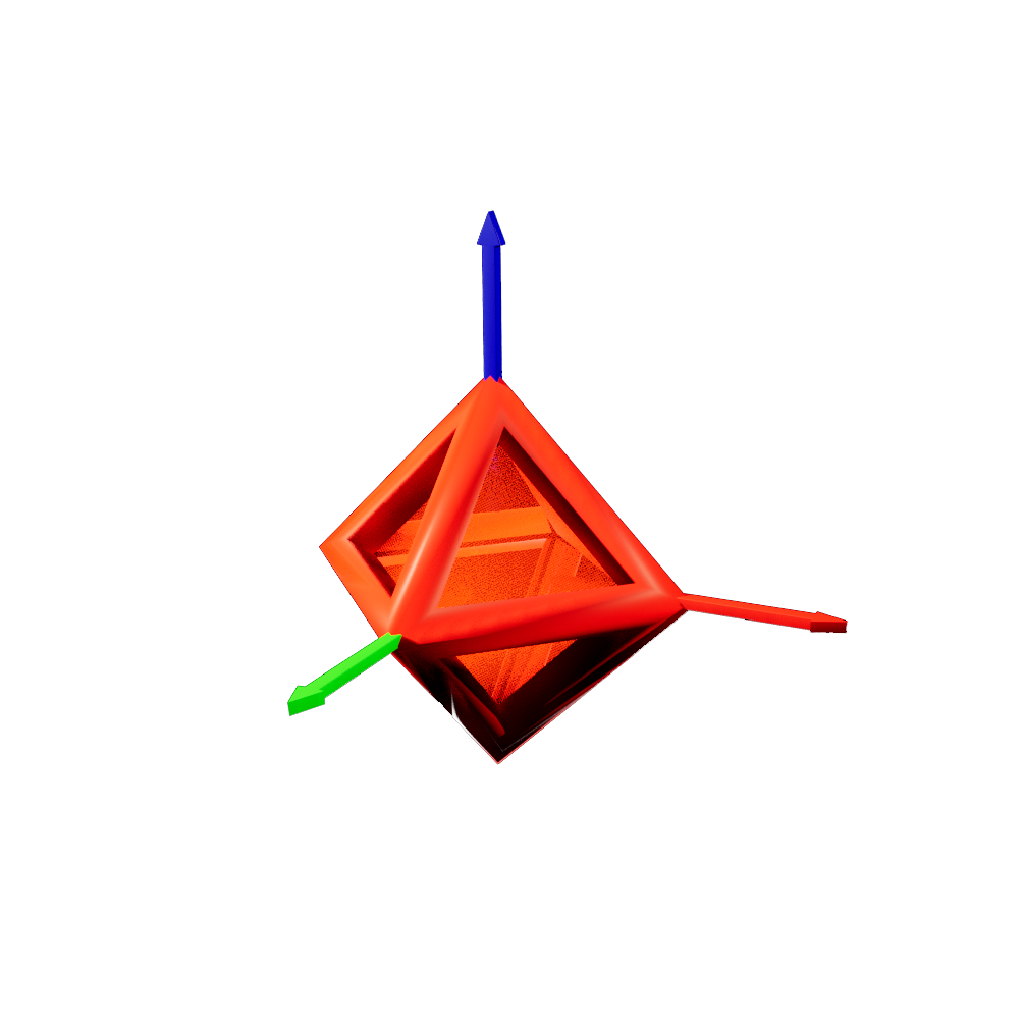
The Move Marker is the marker device for Movers. Move Markers are connected up together and can form an arbitrary long chain.
| Property | Description | Type | Default Value |
|---|---|---|---|
| Next Marker | Next marker on the chain of markers that form a path. Set to None to make it the end of the chain |
Move Marker Reference | None |
| Move Time | The time it takes (in seconds) to move from this marker to the next one | Number | 1.0 |
| Wait Time | The time to wait (in seconds) until the movables continue to move | Number | 0.0 |
| Smoothness | Whether an easing curve is applied to the move | Number | 0.0 |
| Scale | Additionally, this scale can be applied to the movable entity | Vector | 1.0, 1.0, 1.0 |
Move Path Changer
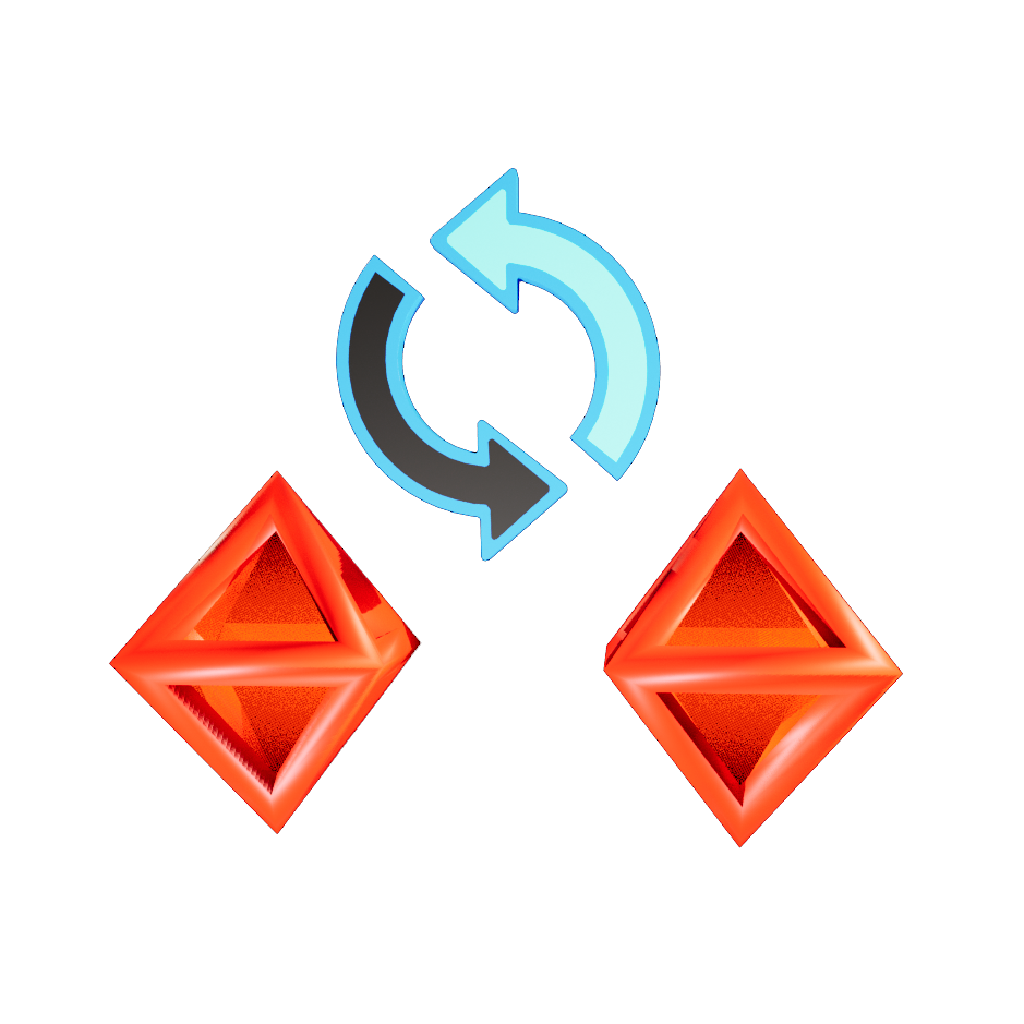
The Move Path Changer is a device to be used in combination with Movers and Move Markers. Upon activation, this device will set a Mover to change to a new path, specified by the first Move Marker of the new path.
| Property | Description | Type | Default Value |
|---|---|---|---|
| Condition | Whether this actor requires any, or all activators to be active in order to activate | Condition | Any |
| Invert activation | Whether the activation state should be inverted | Boolean | false |
| Activators | List of actors that activate this actor | Activator list | Empty |
| Custom Mover | The Mover to change the path for | Mover Reference | None |
| Custom Move Marker | The Move Marker of the new path | Move Marker Reference | None |
Attach Actors
The Attach Actors device is a fictional device and is used to create physical links between two devices actors. For example, a simple mesh can be attached to a another mesh controlled by a Mover, or any entity can be attached to the player. This behavior can be configured to happen upon activation.
| Property | Description | Type | Default Value |
|---|---|---|---|
| Condition | Whether this actor requires any, or all activators to be active in order to activate | Condition | Any |
| Invert activation | Whether the activation state should be inverted | Boolean | false |
| Activators | List of actors that activate this actor | Activator list | Empty |
| Attach to Player | Whether to attach the linked actors to the player or to another actor | Boolean | false |
| PlayerJoint | When attaching to the player, this defines the attachment point | List | Default |
| Attach To | When not attaching to a player, reference to an actor which is the attachment target | Actor reference | None |
| Attached Actors | List of actors that should be attached to either the player or another actor | Actor list | Empty |
NPCs
NPC
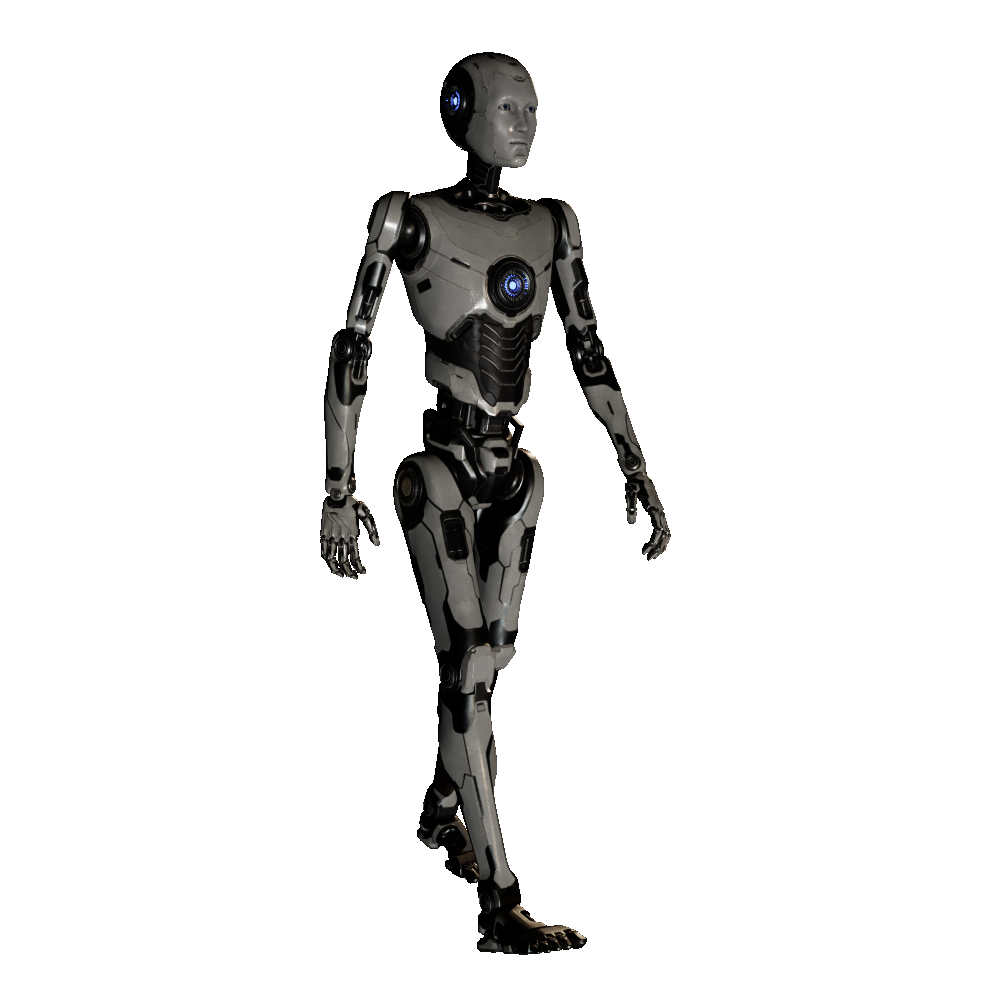
NPCs were introduced in The Talos Principle 2 and are used as a story vessel, in contrary to Terminals used in the original The Talos Principle. NPCs can be set up to walk a specified path, interact with objects, their appearance can be customized freely and they can engage in conversations with the player.
| Property | Description | Type | Default Value |
|---|---|---|---|
| Condition | Whether this actor requires any, or all activators to be active in order to activate | Condition | Any |
| Invert activation | Whether the activation state should be inverted | Boolean | false |
| Activators | List of actors that activate this actor | Activator list | Empty |
| Path Start Marker | Reference to a first NPC Marker of a path | NPC Marker Reference | None |
| Title | Name of the NPC | Text | Empty |
| Rank | "Rank" of the NPC, displayed below the name | Text | Empty |
| Head Material | Use this to customize the robots appearance | List | Robot Head |
| Arm Material | Use this to customize the robots appearance | List | Robot Arm |
| Torso Material | Use this to customize the robots appearance | List | Robot Torso |
| Leg Material | Use this to customize the robots appearance | List | Robot Leg |
| Animation | Animation to play by default | List | Default |
| Look At Target | When specified, the NPC will look at the selected actor | Actor Reference | None |
| Glow Intensity | Intensity of the glowing center piece of the robot's torso | Number | 1.0 |
| Eye Glow Intensity | Intensity of the eye glow effect | Number | 1.0 |
| Title Color | Color of the NPC's name tag | Color | Black |
| Rank Color | Color of the NPC's rank tag | Color | White |
| Color Slot 0 | Use this to customize the robots appearance | Color | White |
| Color Slot 1 | Use this to customize the robots appearance | Color | White |
| Color Slot 2 | Use this to customize the robots appearance | Color | White |
| Color Slot 3 | Use this to customize the robots appearance | Color | White |
| Glow Color | Color of the glowing eyes and the robot's torso center piece | Color | White |
NPC Editor
The fictive NPC Editor device can be used to alter any trait of an NPC dynamically, based on Activations. Use the Trait Kind property to select which trait should be modified, and give it a new value. This is useful to dynamically change NPC appearances based on conditions in the level.
| Property | Description | Type | Default Value |
|---|---|---|---|
| Condition | Whether this actor requires any, or all activators to be active in order to activate | Condition | Any |
| Invert activation | Whether the activation state should be inverted | Boolean | false |
| Activators | List of actors that activate this actor | Activator list | Empty |
| Target NPCs | List of NPCs that should be modified | NPC list | Empty |
| Trait Kind | Specifies the trait that should be modified | List | Rank Text |
NPC Dialog

The NPC Dialog device is used to define a dialog that can be played back by any NPC and are similar to Terminal Page Texts. The dialogue content is organized into "pages", which essentially depict on "line" being said by the NPC, followed by an interaction by the player. Players can then specify a number of answers which can exit the dialog, trigger different dialogue pages and interact with objects from the level. With these tools, NPCs can be used to create complex story-driven gameplay elements.
| Property | Description | Type | Default Value |
|---|---|---|---|
| Activators | List of actors that activate this actor | Activator list | Empty |
| Path Start Marker | The first Move Marker of the path that the movable actor should follow | Move Marker reference | None |
| Movables | List of actors that should be moved along the path | Actor list | Empty |
| Targets | List of actors that the dialogue should be able to interact with | Actor list | Empty |
| NPCs | List of NPCs that should be given this dialogue | NPC list | Empty |
| Allow Talk Animation | When enabled, NPCs that engage in this dialogue will play a generic talking animation | Boolean | true |
| Force Begin | When enabled, this conversation is automatically started at level start, no matter whether the player is actually located near the NPC | Boolean | false |
NPC Path Changer
The NPC Path Changer, similar to the Move Path Changer, is used to dynamically modify the path a NPC is taking.
| Property | Description | Type | Default Value |
|---|---|---|---|
| Condition | Whether this actor requires any, or all activators to be active in order to activate | Condition | Any |
| Invert activation | Whether the activation state should be inverted | Boolean | false |
| Activators | List of actors that activate this actor | Activator list | Empty |
| NPC | The NPC that should be targeted by this path change | NPC Reference | None |
| New Path Marker | The NPC Marker of the new, changed path | NPC Marker Reference | None |
NPC Marker

NPC Markers are used to design paths and interactions for NPCs. Similar to Path Markers and Move Markers, they can be configured to form a chain, but in addition, markers can be given actions which the NPC performs when reaching a marker.
| Property | Description | Type | Default Value |
|---|---|---|---|
| Targets | Actor List | Empty |
|
| Next Marker | The next marker in the chain | NPC Marker Reference | None |
| Action | What to perform when reaching this marker | List | None |
| Wait Time | Number in seconds to wait until the NPC walks up to the next marker | Number | 0.0 |
| Reach Distance | Distance the NPC needs to be away from the marker to count it as reached | Number | 1.0 |
| Speed | Walk speed which the NPC uses to reach this marker | Number | 1.0 |
| Carriable Actor | When "Pick up Carriable" is the selected Action, specifies the device which should be picked up by the NPC | Carriable Reference | None |
| Drop Location | When "Drop Carriable" is the selected Action, specifies on which device (e.g. a Pressure Plate) the current carriable should be dropped | Actor List | None |
Bank
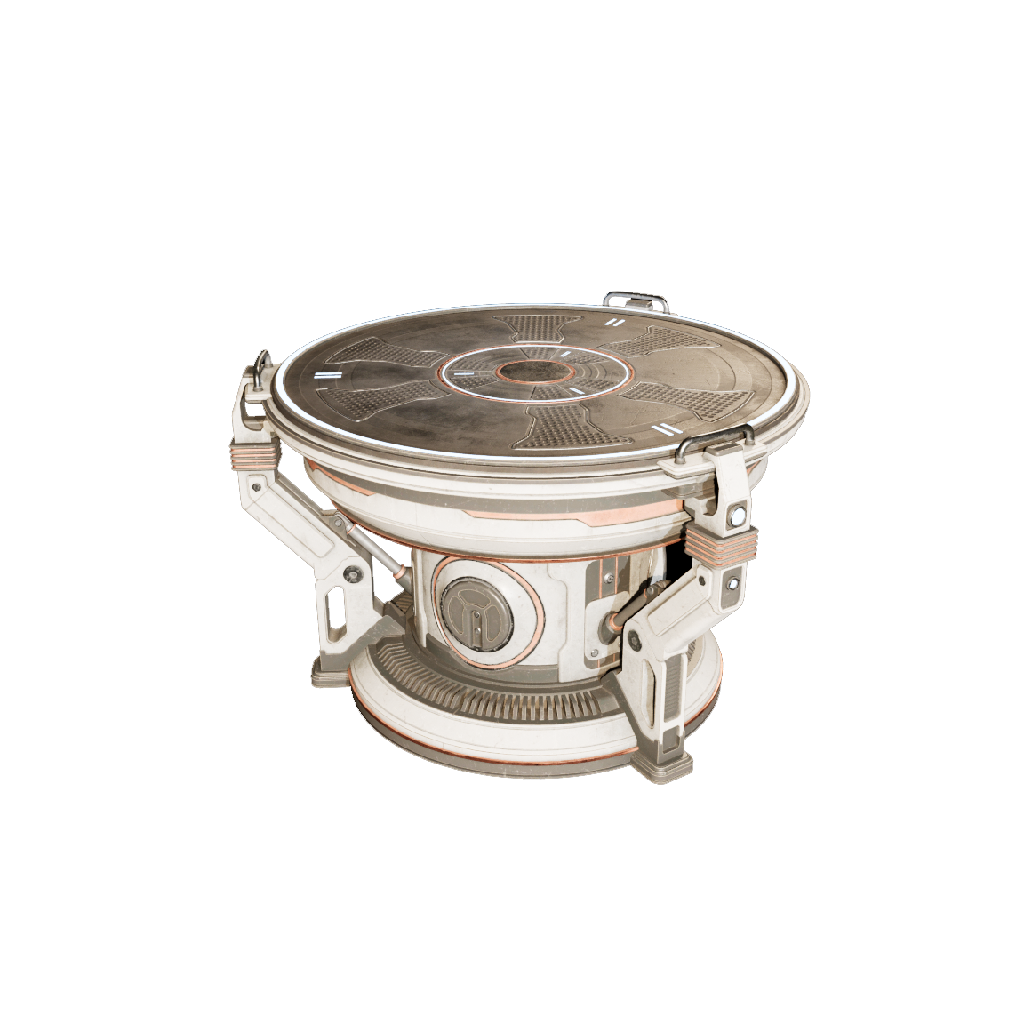
The Bank is a new puzzle mechanic introduced into the The Talos Principle 2. Players can drop items into the Bank and exchange them with another item that can be stored on the Bank.
| Property | Description | Type | Default Value |
|---|---|---|---|
| Carriable Class | The device that should be placed on the Bank by default | Carriable Reference | None |
Clone
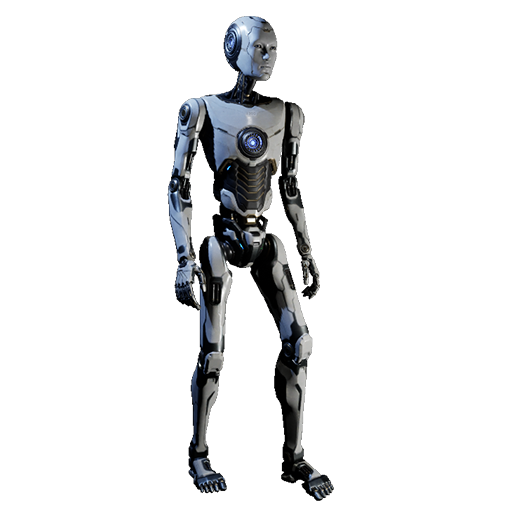
The Clone is a passive puzzle mechanic introduced in The Talos Principle 2. It has no properties and can be placed anywhere in a level. When a player has a direct line of sight to the Clone, they are offered to take control of the Clone.
Teleporter
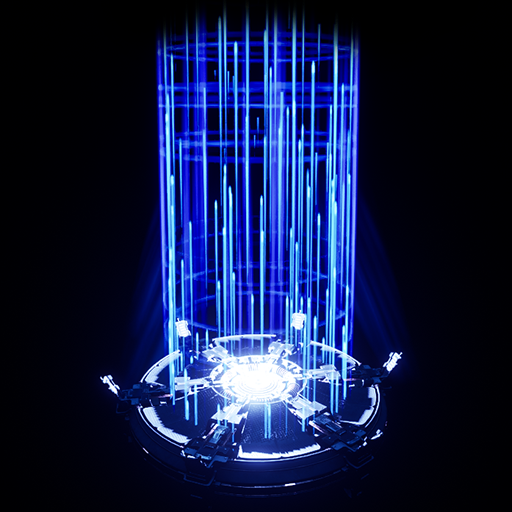
The Teleporter is a passive puzzle mechanic introduced in The Talos Principle 2. It has no properties and can be placed anywhere in a level. When a player has a direct line of sight to the Teleporter, they can teleport to the Teleporter.
Rail Drone
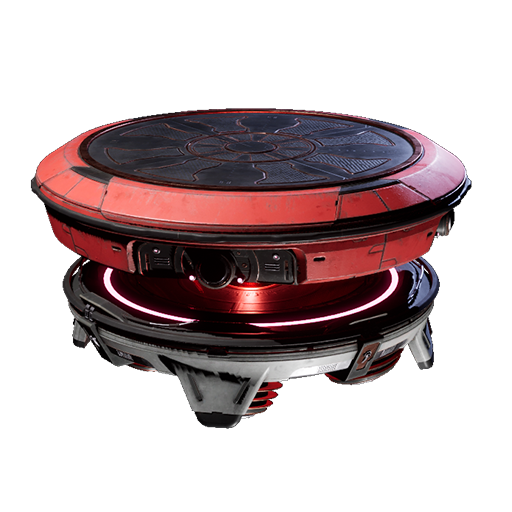
The Rail Drone is a puzzle mechanic introduced in The Talos Principle 2. It can be set up to move along Path Markers upon activation. Players need to connect an Energy Source of the matching color to make the Rail Drone move along the path. Additionally, items can be placed on a Rail Drone, and the player can stand on it.
| Property | Description | Type | Default Value |
|---|---|---|---|
| Condition | Whether this actor requires any, or all activators to be active in order to activate | Condition | Any |
| Invert activation | Whether the activation state should be inverted | Boolean | false |
| Activators | List of actors that activate this actor | Activator list | Empty |
| Color | The color of the energy source required to start this Rail Drone | Color | Red |
| First Marker | The first Path Marker of the path that this Rail Drone take | Path Marker Reference | None |
| Charge Duration | Number of seconds this Rail Drone takes to fully charge up and start moving | Number | 1.5 |
| Connections | The connector will connect to these energy nodes by default upon starting the level | Energy node list | Empty |
Sound

The Sound device is a fictive device that can be used to play back any sound of The Talos Principle upon activation, e.g. for gameplay or ambience purposes.
| Property | Description | Type | Default Value |
|---|---|---|---|
| Condition | Whether this actor requires any, or all activators to be active in order to activate | Condition | Any |
| Invert activation | Whether the activation state should be inverted | Boolean | false |
| Activators | List of actors that activate this actor | Activator list | Empty |
| Custom Sound | The sound to be played back | Sound list | None |
| Play Until End | Whether to play the sound until it fully finished | Boolean | true |
| Looping | Whether to keep looping the sound until activation is removed | Boolean | false |
| Attenuation | The attenuation radius of this sound source in the world | Number | 1.0 |
| Fade Duration | Length in seconds of a fade in/out when the sound is started or stopped | Number | 0.0 |
Music Changer
The Music Changer device is a fictive device that can be used to change the level's music and ambience upon activation.
| Property | Description | Type | Default Value |
|---|---|---|---|
| Condition | Whether this actor requires any, or all activators to be active in order to activate | Condition | Any |
| Invert activation | Whether the activation state should be inverted | Boolean | false |
| Activators | List of actors that activate this actor | Activator list | Empty |
| Music | The music to play | Music list | East 1 |
| Ambience | The ambience to play | Ambience list | Desert |
Lowering Fence
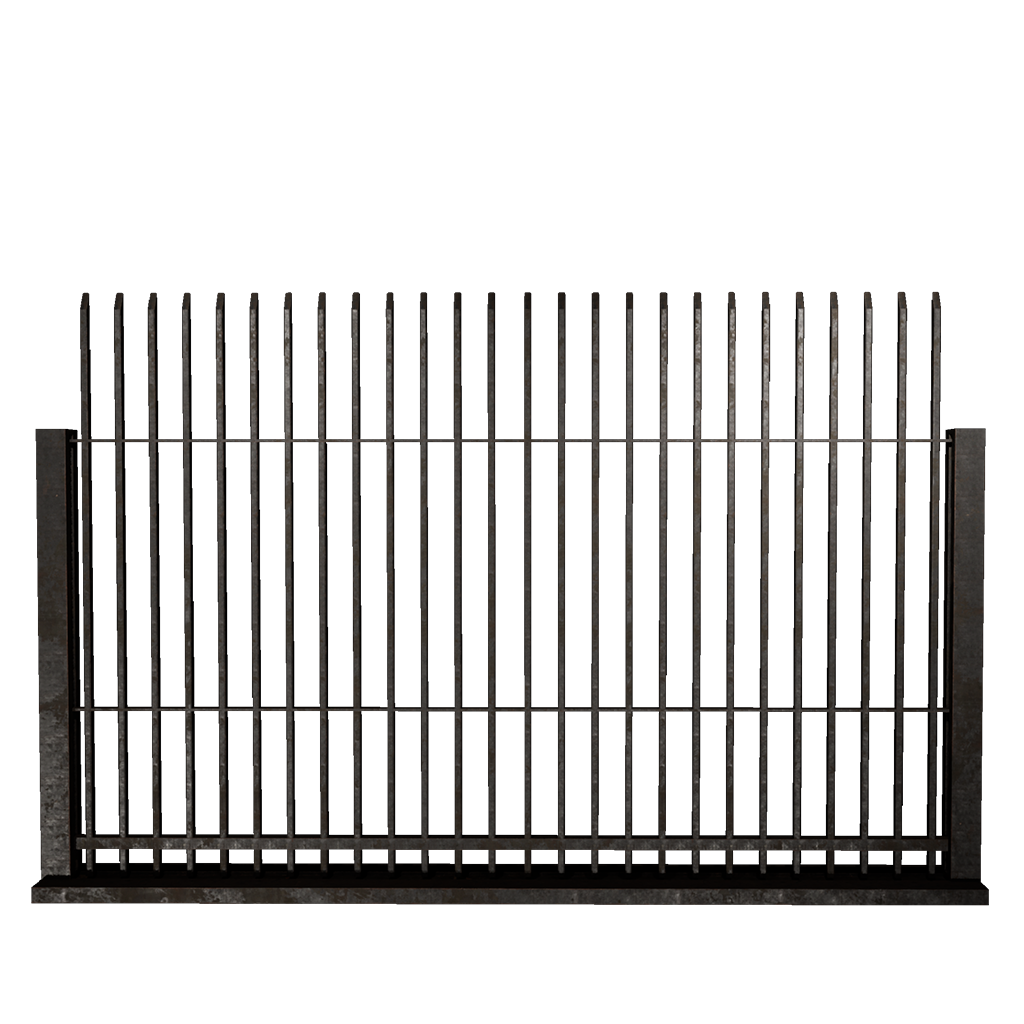
The Lowering Fence is a rather simple device. Similar to a Plasma Door, the Lowering Fence acts as a toggleable door to block the player's way - with the exception that the Lowering Fence cannot be jammed.
In the original The Talos Principle, Lowering Fences were often used to enable shortcuts for the player after picking up the main objective.
| Property | Description | Type | Default Value |
|---|---|---|---|
| Condition | Whether this actor requires any, or all activators to be active in order to activate | Condition | Any |
| Invert activation | Whether the activation state should be inverted | Boolean | false |
| Activators | List of actors that activate this actor | Activator list | Empty |
Tetromino Door
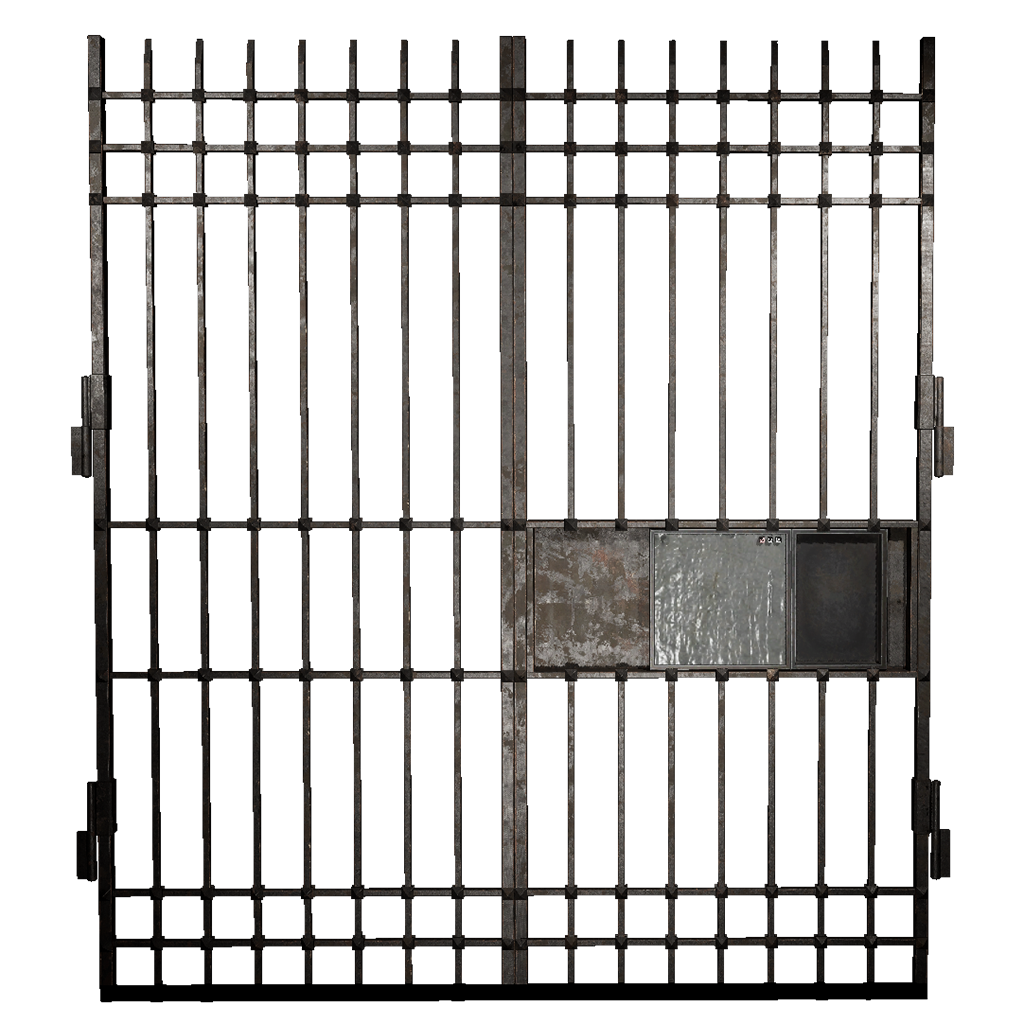
Tetromino Doors were used in original levels to require a certain set of collected tetrominos before the player could continue.
To design your own tetromino puzzle, select a Sigil type in the actor's properties and click the Setup puzzle button in the properties panel.
Protip
Tetromino doors can also be used to set up arranger puzzles for Stars.

On the bottom right corner, you can select the size of the puzzle board, ranging from 1x1 to 8x8. Then, you can freely design a tetromino puzzle by dragging the available shapes in the puzzle. When you're finished, click the red Checkmark button at the top.
| Property | Description | Type | Default Value |
|---|---|---|---|
| Sigil | The type of sigil this Tetromino Door should use. Can be Green, Gold, Red, Star, White, Blue and Purple. | List | Gold |
Star Door

In contrary to the Tetromino Door, the Star Door does not require a tetromino puzzle to be solved, but just needs an amount of Stars collected to be able to be opened.
| Property | Description | Type | Default Value |
|---|---|---|---|
| Stars count | Number of stars required to open this door | Number | 1 |
Locked Gate
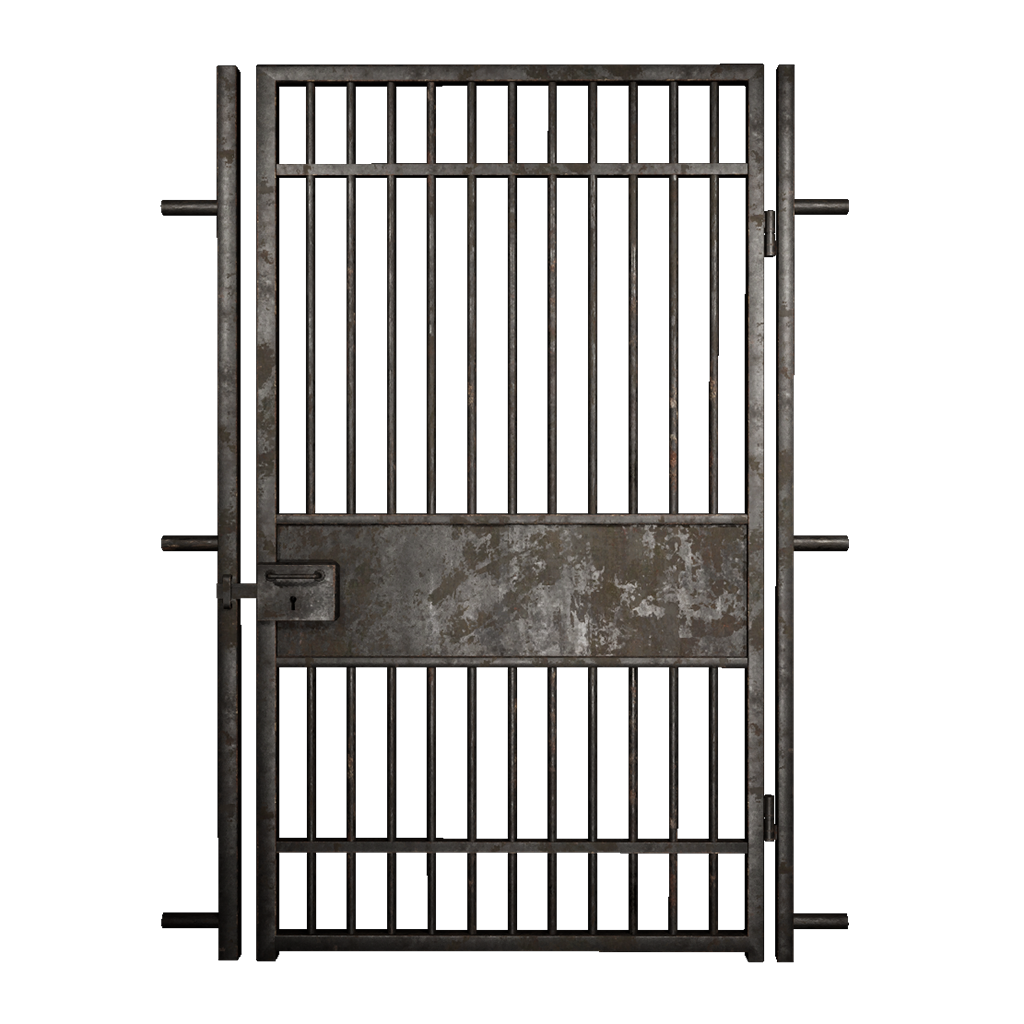
Locked Gates are doors that require a Key to unlock. A level can have multiple Gates and Keys, therefore linking a specific Key to a Gate is required.
| Property | Description | Type | Default Value |
|---|---|---|---|
| Gate key | The Key that opens this door | Key Reference | (none) |
Terminal
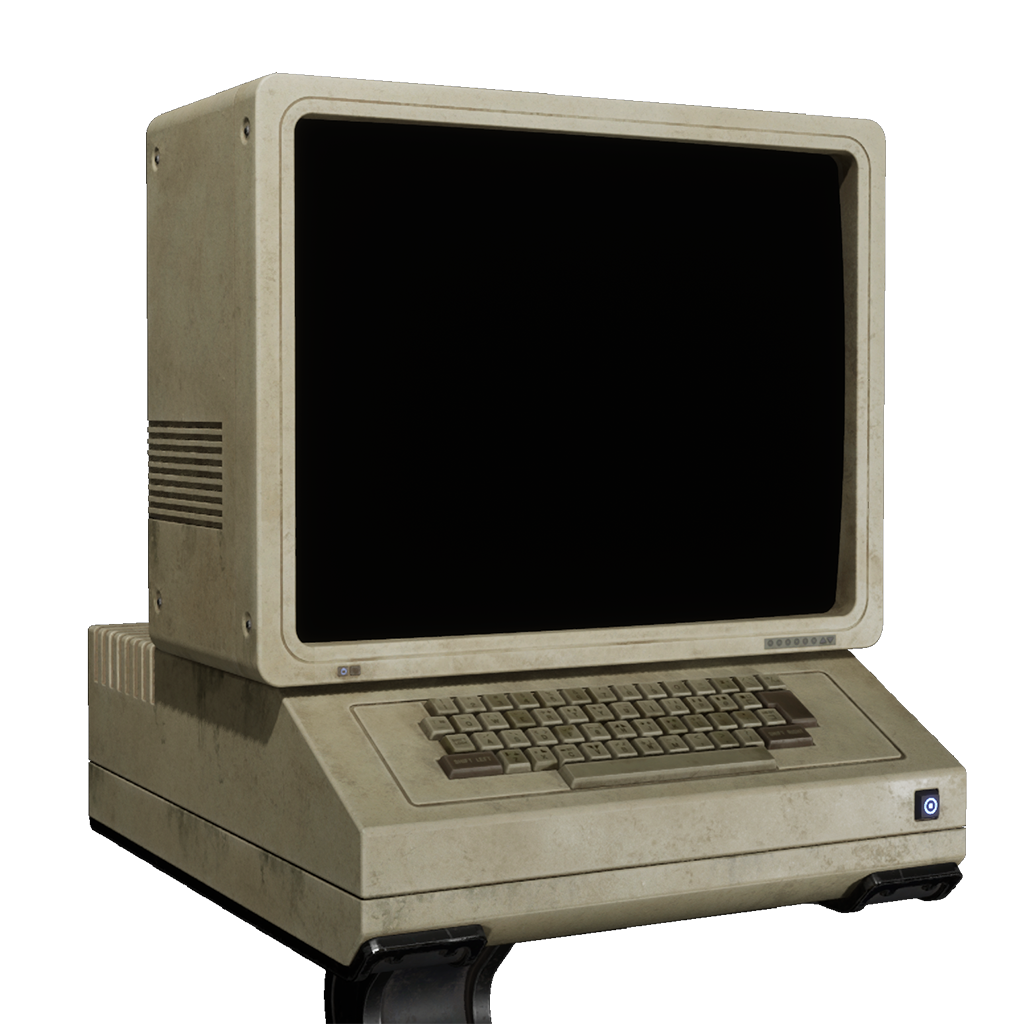
Terminals were the main story vessel in the original The Talos Principle.
Players can interact with a Terminal by selecting different dialogue options - so they can be used for storytelling or for activating other devices.
| Property | Description | Type | Default Value |
|---|---|---|---|
| Targets | List of actors that can be manipulated through the Terminal's program | Target list | Empty |
To edit a Terminal's "program", click on the Edit text button in the Terminal's properties.

Terminals act upon pages. A Terminal can have multiple pages, where every page can contain some text, together with options (answers) the player can select. Additionally, a page can be marked to be displayed as a document.
Info
The first page in the list of pages will always be the page that's called at Terminal startup. You can reorder the pages if you wish to change this.
Page Text
Terminal page texts can be fully custom, you can write whole paragraphs, or just small prompts. Texts can contain special markers to customize the behavior when the Terminal prints the text:
| Name | Marker Code | Description | Example |
|---|---|---|---|
| Wait | %w<x> |
When the Terminal reads this marker, it waits the length of x until continuing to print. The wait length is a factor of the Terminal's typing speed, and not in seconds. |
Loading%w1.%w1.%w1.Done! |
| Sound | %s<x> |
When this marker is read, the Terminal plays a sound. x indicates the type of sound to play.0: beep |
Beep! %s0 |
| Glitch | %g<x> |
Plays a "glitch" effect on the player. x indicates the strength, ranging from 0 (very soft) to 5 (very strong) |
Error! %g5 |
| Typing Speed | %x<x> |
Adjusts the Terminals typing speed, where x indicates the speed in characters per second. Use 0 to return to the default speed. |
%x10 Slow text! %x100 Fast text! %x0 Standard! |
| Clear | %c |
Clears the screen immediately | You've seen enough.%w10%c |
Additionally, you can use the <text></> formatting directive to further customize your text. The following attributes are supported:
| Attribute | Description | Example |
|---|---|---|
color |
Alters the text color. Color value must be in HEX format (#RRGGBB or #RRGGBBAA) |
<text color="#ff0000">Red Text</> |
size |
Alters the text size, in pt. The default text size is depending on the Terminal text size option. The default is 20. |
<text size="12">Very small text!</> |
case |
Alters text casing. Valid values are upper and lower |
<text case="upper">This text is transformed to uppercase!</> |
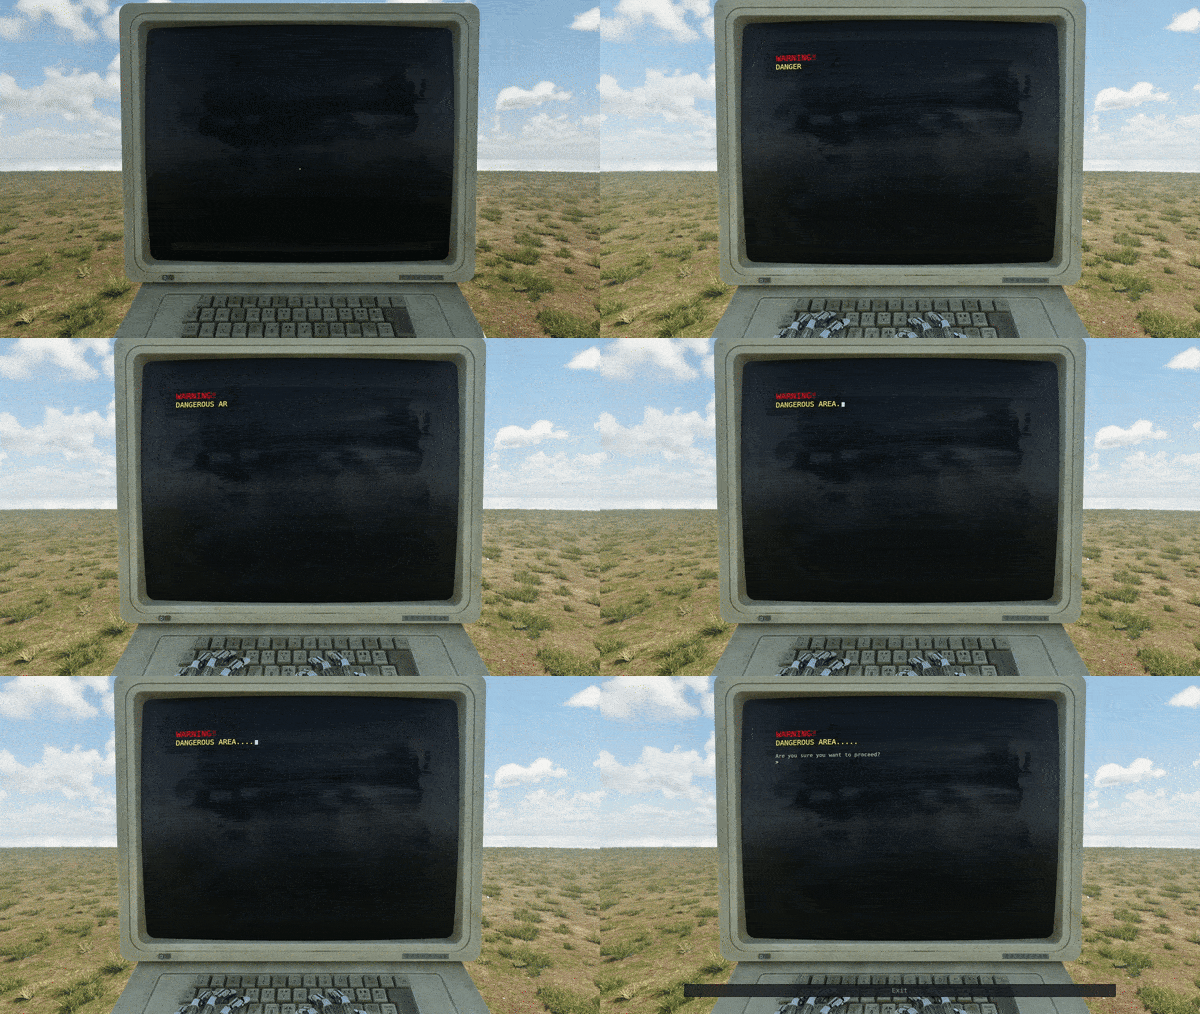
Of course, all of those markers and formatting directives can be combined. The following text produces the output as seen in the GIF:
<text color="#ff0000" size="32" case="upper">Warning!</>
<text color="#fff700" size="28" case="upper">%x5Dangerous Area%w1.%w1.%w1.%w1.%w1.%x0</>

Are you sure you want to proceed?
Protip
To preview how the page would behave on the Terminal, you can click the Preview page button in the top right corner of the program editor.
Answer options
Every Terminal page that's not displayed as a document needs to have answer options which the player can choose from. You can find them below the page text input.
An answer option consists out of a name (that's displayed on the button), a primary action and a secondary action.
A primary action can either be to exit the dialog, or switch to another page.
A secondary action can be used to manipulate the state of the external Targets that can be configured in the Terminal's properties.
See this example setup:
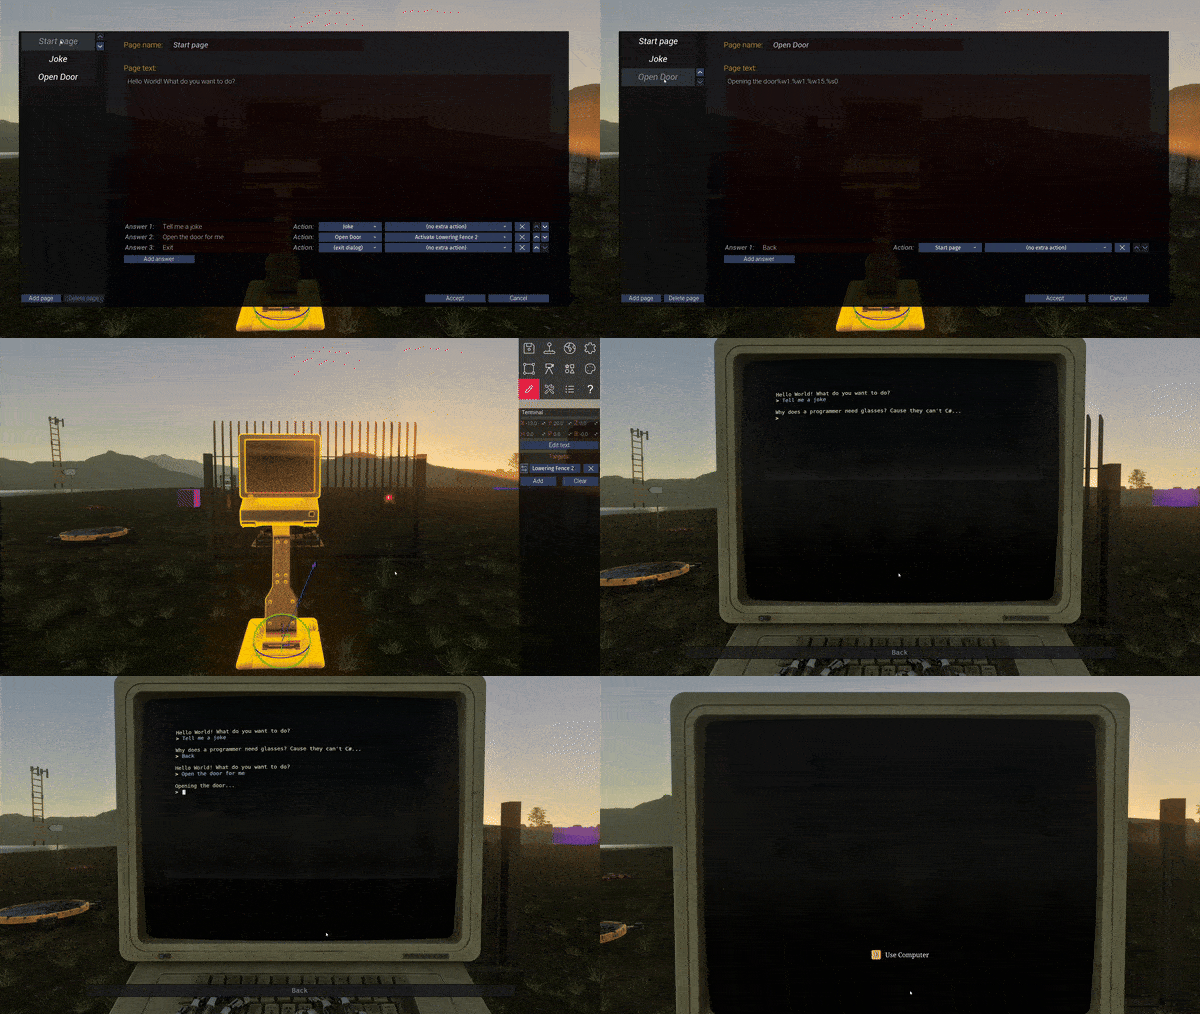
This program has three pages, a "Start page" which introduces the player, a page which tells a joke, and a page which prints "Opening the door...". You can see that the answer option to open the door does switch to the "Open Door" page, but also activate the linked Lowering Fence as a secondary action. When the player selects that option, the Lowering Fence in the background is opened.
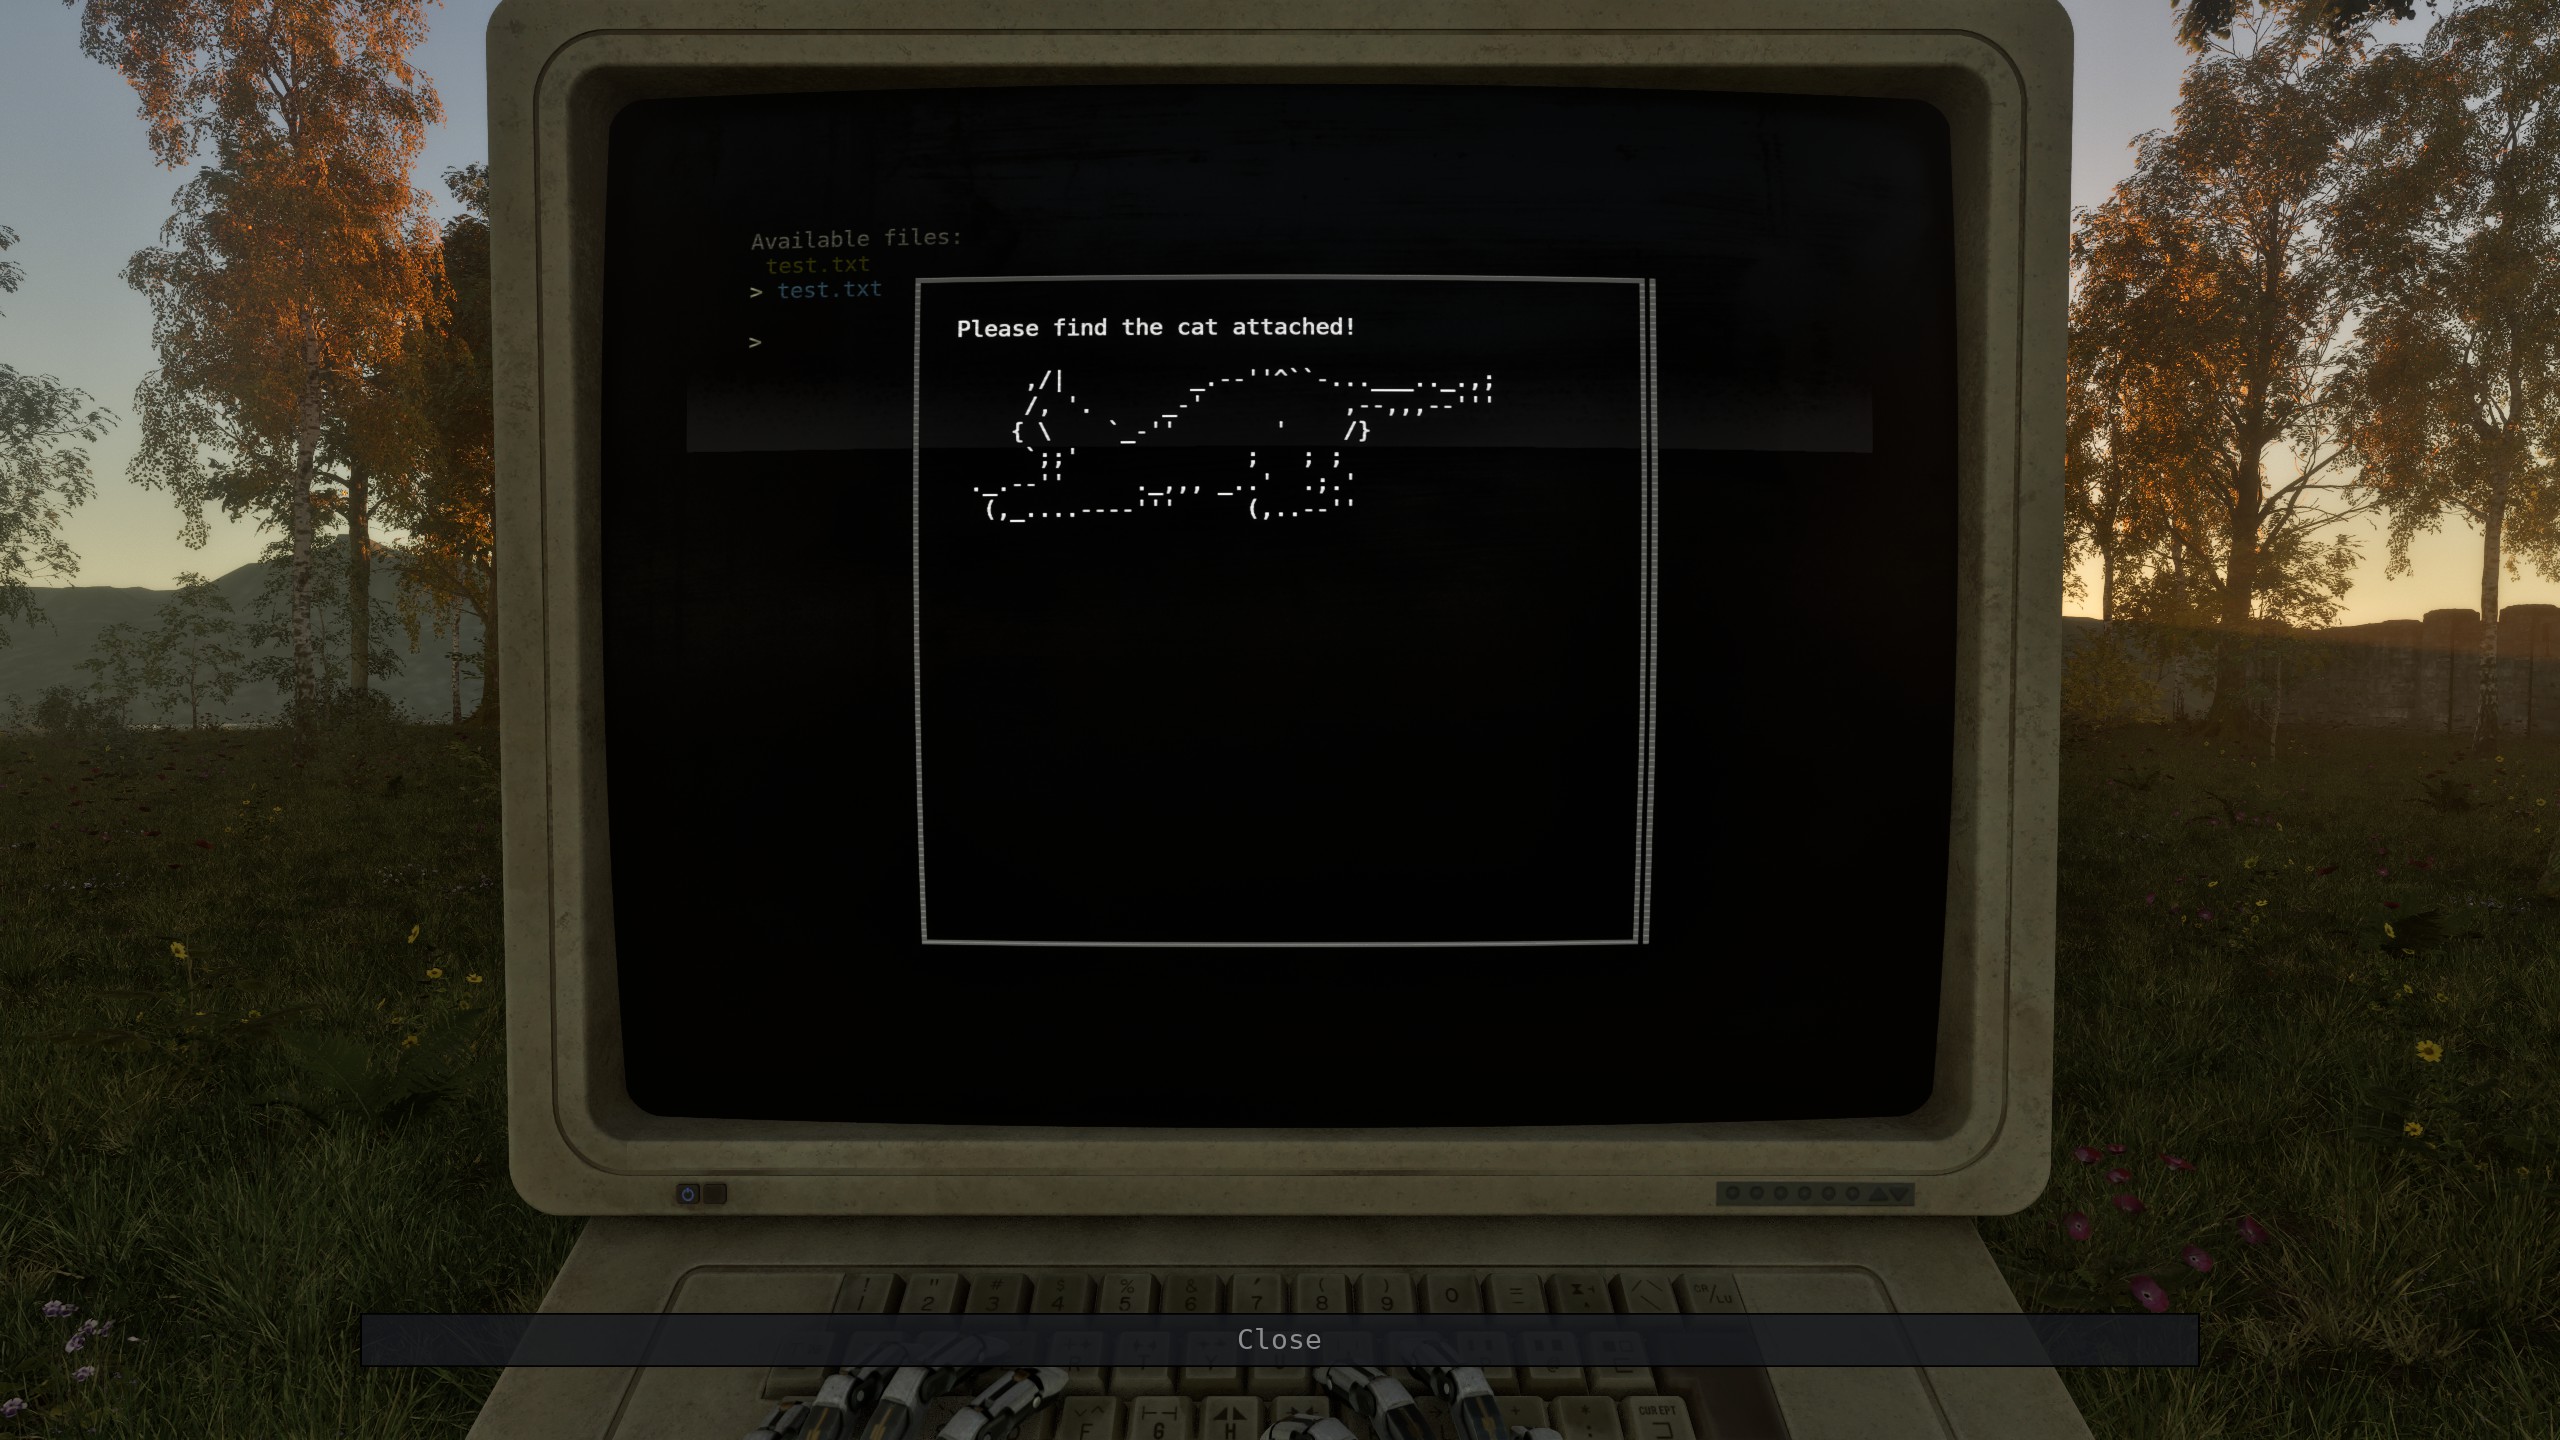
When a Terminal page is marked as a document, it's Page text is displayed in a document popup, like so:
Terminal Swapper
The Terminal Swapper is a meta-device that can swap the contents of two Terminals upon activation. This can become handy if you want Terminals to present very different texts based on certain situations in your level.
A common situation would be to keep multiple Terminals somewhere invisible, and swap contents using the Terminal Swapper as you go.
| Property | Description | Type | Default Value |
|---|---|---|---|
| Terminal A | Reference to the first terminal | Terminal reference | (none) |
| Terminal B | Reference to the second terminal | Terminal reference | (none) |
| Condition | Whether this actor requires any, or all activators to be active in order to activate | Condition | Any |
| Invert activation | Whether the activation state should be inverted | Boolean | false |
| Activators | List of actors that activate this actor | Activator list | Empty |
PDA
PDA Log
PDAs were introduced in The Talos Principle 2 and are used to communicate story elements, such as log entries or conversations between characters to the player. To add a Log entry to the player's PDA upon activation, the PDA Log device is used. The title and message can be customized, and optionally, a Camera can be linked, whose perspective will be included in the log entry.
| Property | Description | Type | Default Value |
|---|---|---|---|
| Condition | Whether this actor requires any, or all activators to be active in order to activate | Condition | Any |
| Invert activation | Whether the activation state should be inverted | Boolean | false |
| Activators | List of actors that activate this actor | Activator list | Empty |
| Label | Title of the PDA log entry | Text | Empty |
| Message | Message body of the PDA log entry | Text | Empty |
| Camera | Optionally, reference to a Camera that takes a photo to include it in the log entry | Camera Reference | None |
PDA Research Log
Essentially the same as the PDA Log, but the entry appears under the "Research" tab rather than the "Log" tab.
| Property | Description | Type | Default Value |
|---|---|---|---|
| Condition | Whether this actor requires any, or all activators to be active in order to activate | Condition | Any |
| Invert activation | Whether the activation state should be inverted | Boolean | false |
| Activators | List of actors that activate this actor | Activator list | Empty |
| Label | Title of the PDA research entry | Text | Empty |
| Message | Message body of the PDA research entry | Text | Empty |
| Camera | Optionally, reference to a Camera that takes a photo to include it in the research entry | Camera Reference | None |
PDA Social Media
Upon activation, the PDA Social Media device creates a new conversation in the "Social Media" tab. These threads can be commented or replied using the PDA Comment or PDA Reply devices.
| Property | Description | Type | Default Value |
|---|---|---|---|
| Condition | Whether this actor requires any, or all activators to be active in order to activate | Condition | Any |
| Invert activation | Whether the activation state should be inverted | Boolean | false |
| Activators | List of actors that activate this actor | Activator list | Empty |
| Author | Author name of this conversation | Text | Empty |
| Label | Title of the conversation | Text | Empty |
| Message | Message body of the conversation | Text | Empty |
| Camera | Optionally, reference to a Camera that takes a photo to include it in the message | Camera Reference | None |
PDA Comment

Upon activation, the PDA Comment device adds a new message to an existing conversation created by the PDA Social Media device. This can be used to mimic whole conversations.
| Property | Description | Type | Default Value |
|---|---|---|---|
| Condition | Whether this actor requires any, or all activators to be active in order to activate | Condition | Any |
| Invert activation | Whether the activation state should be inverted | Boolean | false |
| Activators | List of actors that activate this actor | Activator list | Empty |
| Author | Author name of this comment | Text | Empty |
| Comment | Message body of the comment | Text | Empty |
| Original Post | The PDA Social Media conversation this comment should be added to | PDA Social Media Referemce | Empty |
| Camera | Optionally, reference to a Camera that takes a photo to include it in the message | Camera Reference | None |
| Portrait Camera | Optionally, reference to a Camera that takes a photo of the message sender | Camera Reference | None |
PDA Reply
Similar to the PDA Comment, but adds a message that appears to be from the player.
| Property | Description | Type | Default Value |
|---|---|---|---|
| Condition | Whether this actor requires any, or all activators to be active in order to activate | Condition | Any |
| Invert activation | Whether the activation state should be inverted | Boolean | false |
| Activators | List of actors that activate this actor | Activator list | Empty |
| Targets | List of activatable targets that can be activated once this message is sent | Activatable List | Empty |
| Author | Author name of this comment | Text | Empty |
| Comment | Message body of the comment | Text | Empty |
| Original Post | The PDA Social Media conversation this comment should be added to | PDA Social Media Referemce | Empty |
| Camera | Optionally, reference to a Camera that takes a photo to include it in the message | Camera Reference | None |
| Portrait Camera | Optionally, reference to a Camera that takes a photo of the message sender | Camera Reference | None |
Camera
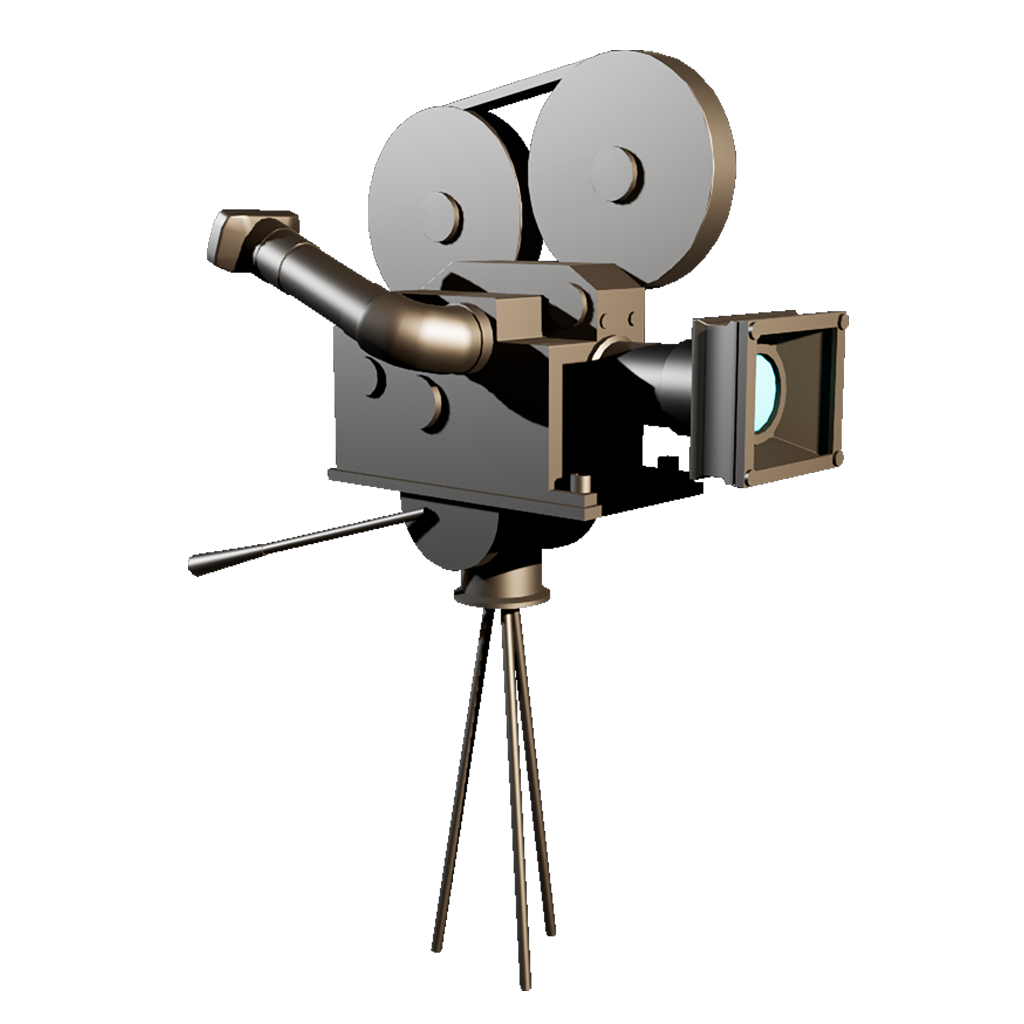
The Camera is a new device that can be used to alter the perspective of the player based on activations, e.g. to play "cutscenes" or give another view on some part of a level. Cameras are also used for PDA contents.
| Property | Description | Type | Default Value |
|---|---|---|---|
| Condition | Whether this actor requires any, or all activators to be active in order to activate | Condition | Any |
| Invert activation | Whether the activation state should be inverted | Boolean | false |
| Activators | List of actors that activate this actor | Activator list | Empty |
| Fade in Duration | Length of the fade in (in seconds) | Number | 0.0 |
| Fade out Duration | Length of the fade out (in seconds) | Number | 0.0 |
| Block Player Movement | Whether to block the player's movement while the camera is active | Boolean | true |
Particles

The Particles device is a purely cosmetical device that can spawn particle effects upon activation.
| Property | Description | Type | Default Value |
|---|---|---|---|
| Condition | Whether this actor requires any, or all activators to be active in order to activate | Condition | Any |
| Invert activation | Whether the activation state should be inverted | Boolean | false |
| Activators | List of actors that activate this actor | Activator list | Empty |
| Particle System | The particle effect to play | List | No Particles |
Prometheus Token
Prometheus Tokens were introduced in The Talos Principle 2 and function as a help system to aid players with a puzzle. Prometheus Tokens are picked up and then used in Prometheus Terminals, which can then execute actions to help the player solve a puzzle. Prometheus Tokens can also activate any activatable device when it is picked up.
| Property | Description | Type | Default Value |
|---|---|---|---|
| Targets | List of targets that should be activated when the token is picked up | Activatable List | Empty |
Prometheus Terminal

Prometheus Terminals are the other part of Prometheus Tokens. Once the player has gained a Prometheus Token, they can interact with the Prometheus Terminal. Once done, the Prometheus Terminal will activate all targets, so e.g. a door could open to simplify the puzzle.
| Property | Description | Type | Default Value |
|---|---|---|---|
| Targets | List of targets that should be activated when the terminal is used | Activatable List | Empty |
Progress Wheel
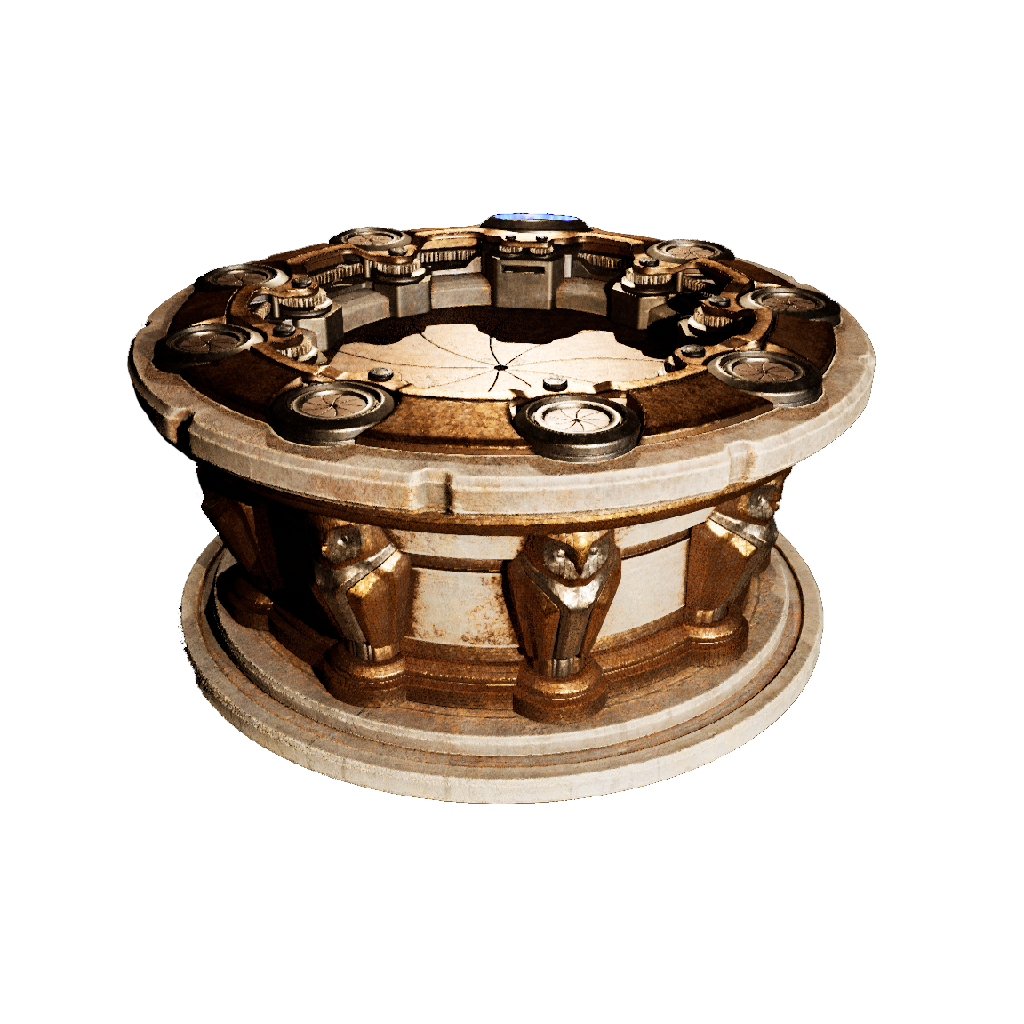
The Progress Wheel was introduced in The Talos Principle 2 as a level-wide collector of reachable goals, either Stars or Tetrominos. Once the Progress Wheel is filled up with eight collectibles, it activates all targets so the level can react accordingly.
| Property | Description | Type | Default Value |
|---|---|---|---|
| Targets | List of targets that should be activated when the Progress Wheel is completed | Activatable List | Empty |
| Collectibles | List of collectibles that are required by this Progress Wheel | Collectible List | Empty |
QR Code
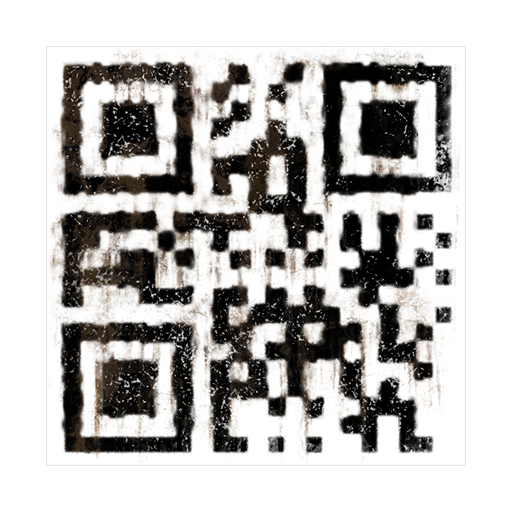
QR Codes are decals that are automatically generated by the game based on the to-be-encoded text. In order to appear correctly, they should be placed facing a flat surface.
| Property | Description | Type | Default Value |
|---|---|---|---|
| Message Text | The text to encode in the QR code | String | Empty |
Trigger

The Trigger is, similar to the Detector Area, an invisible device that can be used to control behavior on levels.
A good use for a Trigger is to delay activations, display messages to the user, or end the game. They can also be used to relay activations to other devices.
| Property | Description | Type | Default Value |
|---|---|---|---|
| Only once | When enabled, this Trigger can only trigger once | Boolean | false |
| Wait time | If >= 0, the Trigger waits this time (in seconds) before activating |
Number | 0 |
| On screen message | If set, this message is displayed to the user when the Trigger activates | String | Empty |
| End game | If true, activating this Trigger will end the game, bringing the player back to the main menu | Boolean | false |
| Condition | Whether this actor requires any, or all activators to be active in order to activate | Condition | Any |
| Invert activation | Whether the activation state should be inverted | Boolean | false |
| Activators | List of actors that activate this actor | Activator list | Empty |
| Targets | List of actors that should be activated by this actor | Target list | Empty |