Building A Level
With all the tools under your belt now, we're finally ready to build a puzzle! Every puzzle should have two things at a minimum: a Plasma Barrier for entrance, and an objective (either a Tetromino or a Star) to collect.
Since one level can hold multiple puzzles at once, the recommended design is to frame puzzles into walls. Not only does this help to reduce visual clutter in the level but also aids the player to grasp a puzzle and what elements belong to it - a design philosophy that's been used on all The Talos Principle games extensively.
Before starting to build a level, we can think about the style we want to achieve. For example, whether we want the Egypt, Rome, Medieval or Wood theme. See Changing a level's theme - but long story short: you don't have to decide this now! It can be changed easily afterwards, so you can try out different styles and pick what you like the most.
Drawing tools
To help with this task, we invented the drawing tools. While you could place walls, pillars or doors yourself with the Meshes tab, the drawing tools make it a lot easier and faster.
Info
All drawing tools follow a grid and only allow right angles.
Furthermore, the drawing tools leave the actual meshes behind, rather than the whole construct. That means that after drawing, every mesh can be altered by your likings.
Drawing walls and fences
To activate the wall drawing tool, select Draw walls ![]() from the Drawing tools
from the Drawing tools ![]() menu (or activate it with the shortcut 2). You can then select a style (egypt, medieval, rome, wood) and a wall height (2, 3, 6 and 8 meters).
menu (or activate it with the shortcut 2). You can then select a style (egypt, medieval, rome, wood) and a wall height (2, 3, 6 and 8 meters).
To draw, simply hold down your Left Mouse Button, and release it when you're done.
The wall drawing tool will automatically pick a combination of different wall and pillar variants to meet the wanted length.
Fences are drawn in almost the same fashion. Select the Draw fences ![]() (shortcut 4) from the Drawing tools
(shortcut 4) from the Drawing tools ![]() menu, select a style and a height, and go for it!
menu, select a style and a height, and go for it!
Drawing windows
Similar to the wall drawing tool, you can paint walls with openings. To do so, simply select the Draw walls with openings ![]() from the Drawing tools
from the Drawing tools ![]() menu (or activate it with the shortcut 3). You can again choose a style and a desired wall height.
menu (or activate it with the shortcut 3). You can again choose a style and a desired wall height.
Warning
You cannot paint openings on existing walls. You need to delete the relevant wall first, and then repaint using the Draw walls with openings ![]() tool.
tool.
See this example of where the back wall of the room painted above was removed, and replaced with a smaller regular wall, and two window walls.
And just like that, we got some nice looking windows to enjoy the view.
Drawing plasma barriers
As mentioned earlier, every puzzle should have an entry. In classic The Talos Principle fashion, this is done using the purple plasma barriers.
Select the Draw plasma barrier ![]() drawing tool (or activate it with 6). You can then choose a desired height (2, 3, 4, 6 and 8 meters), and paint it in same fashion, using Left Mouse Button.
drawing tool (or activate it with 6). You can then choose a desired height (2, 3, 4, 6 and 8 meters), and paint it in same fashion, using Left Mouse Button.
In our little example, there's an intentional gap in the walls - which is where the plasma barrier goes:
Awesome! Usually, when players enter a plasma barrier, the name of the current puzzle is presented. Let's replicate that. Select the plasma barrier you just painted, and observe it's actor properties ![]() .
.
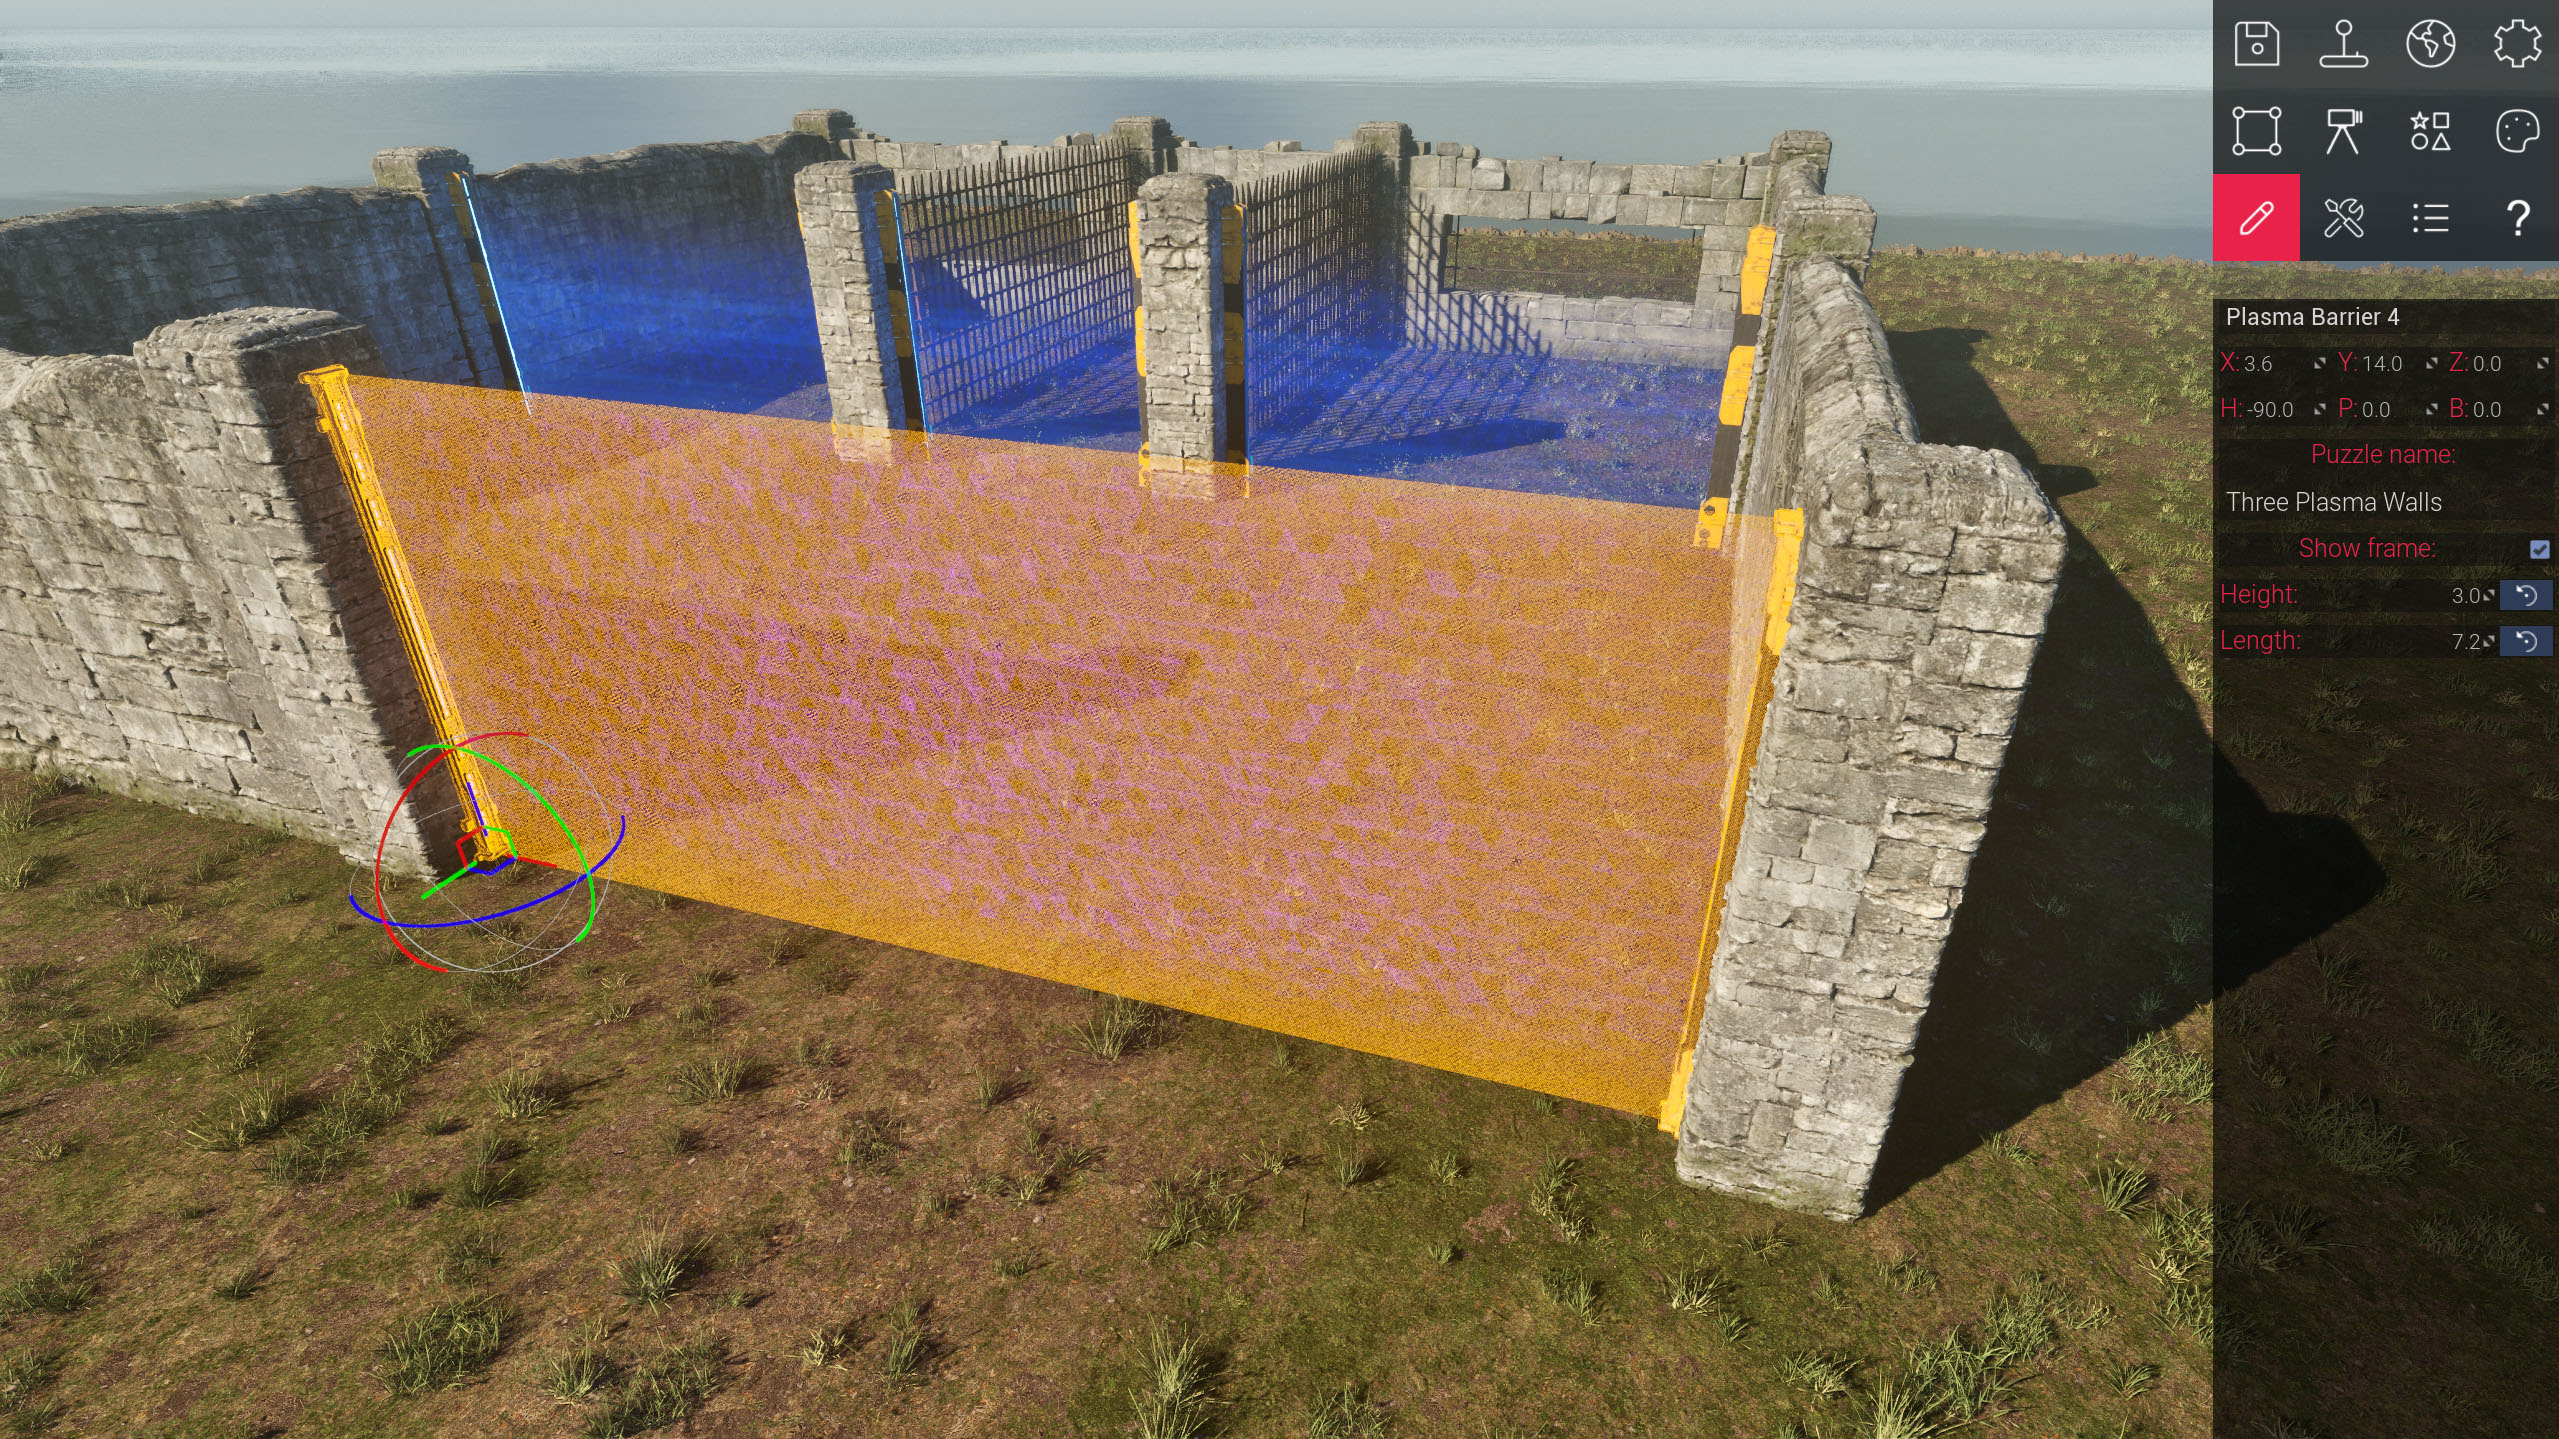
You can observe that next to the plasma barrier's height and length (which is automatically set by the drawing tool) we can decide on a puzzle name that's displayed upon passing it.
Additionally, you can choose to hide the frame meshes around the plasma barrier (which is useful for more a complex level geometry where you wish to "embed" the barrier into your design).
Drawing plasma walls
While the purple barriers (mostly placed on puzzle entrances) are just for making sure players can't enter with any carried items, the blue so-called plasma walls are classic The Talos Principle gameplay elements. They can be jammed by a Jammer and/or toggled by activators (more on that in a minute).
To draw plasma walls, we have another drawing tool handy for you. Select the Draw plasma wall ![]() drawing tool (or activate it with 5). You can again specify the plasma door's height before painting.
drawing tool (or activate it with 5). You can again specify the plasma door's height before painting.
Using devices
Awesome, you've now learnt how to draw basic puzzle geometry, with walls, windows, fences, plasma barriers and plasma walls. To make the puzzle functional, we'll now need devices. Devices are, as already explained in the previous chapter, gameplay elements such as Jammers, Connectors, Pressure Plates, and so on.
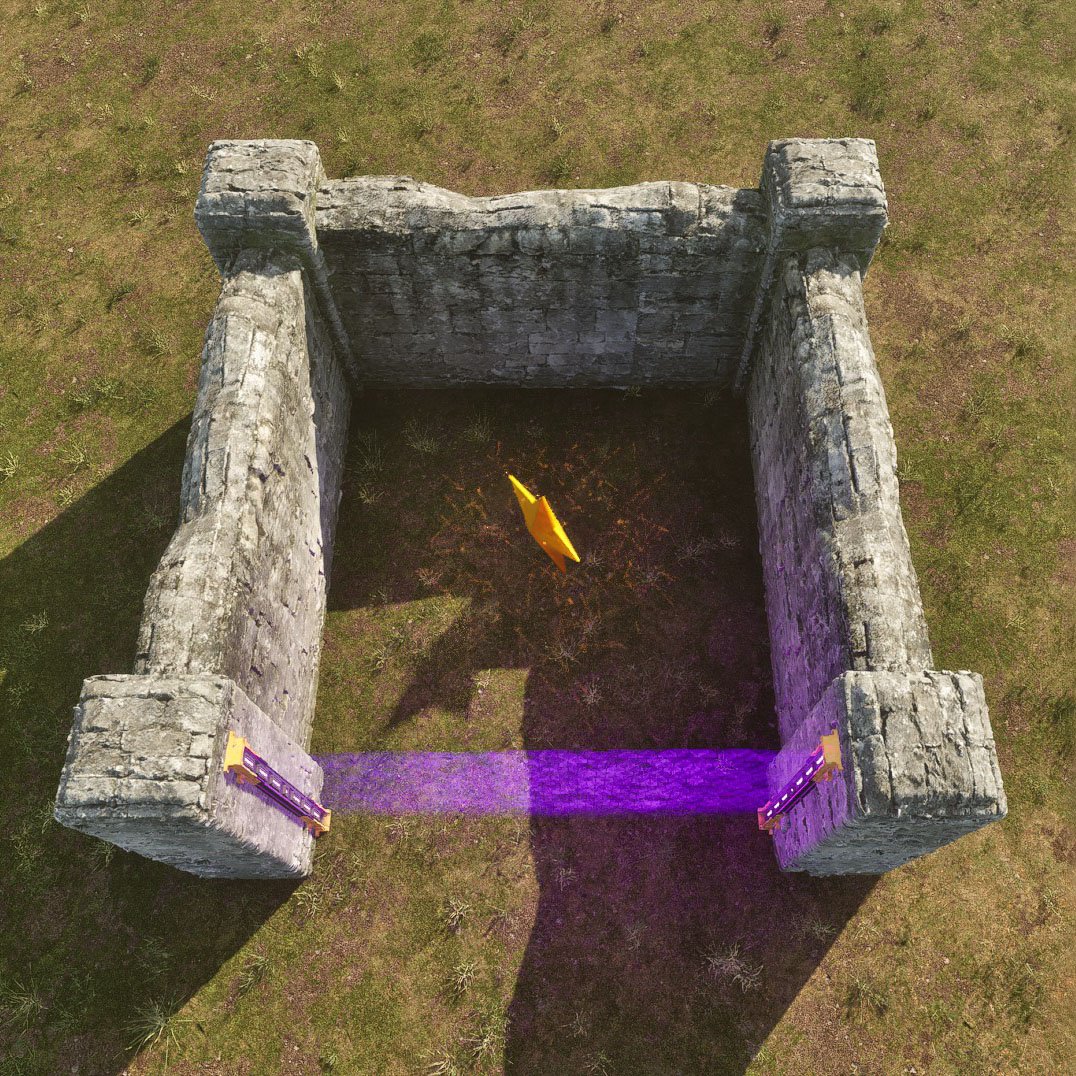
Before we continue, it's helpful to know how the final puzzle is supposed to work, so we can set it up like that. See this GIF as a little foreshadowing of what we're going to achieve:

Placing devices
For this puzzle design, we will need a Jammer, a Hexahedron, a Pressure Plate and a Switch, as well as a second Plasma Wall - next to the ones we already painted.
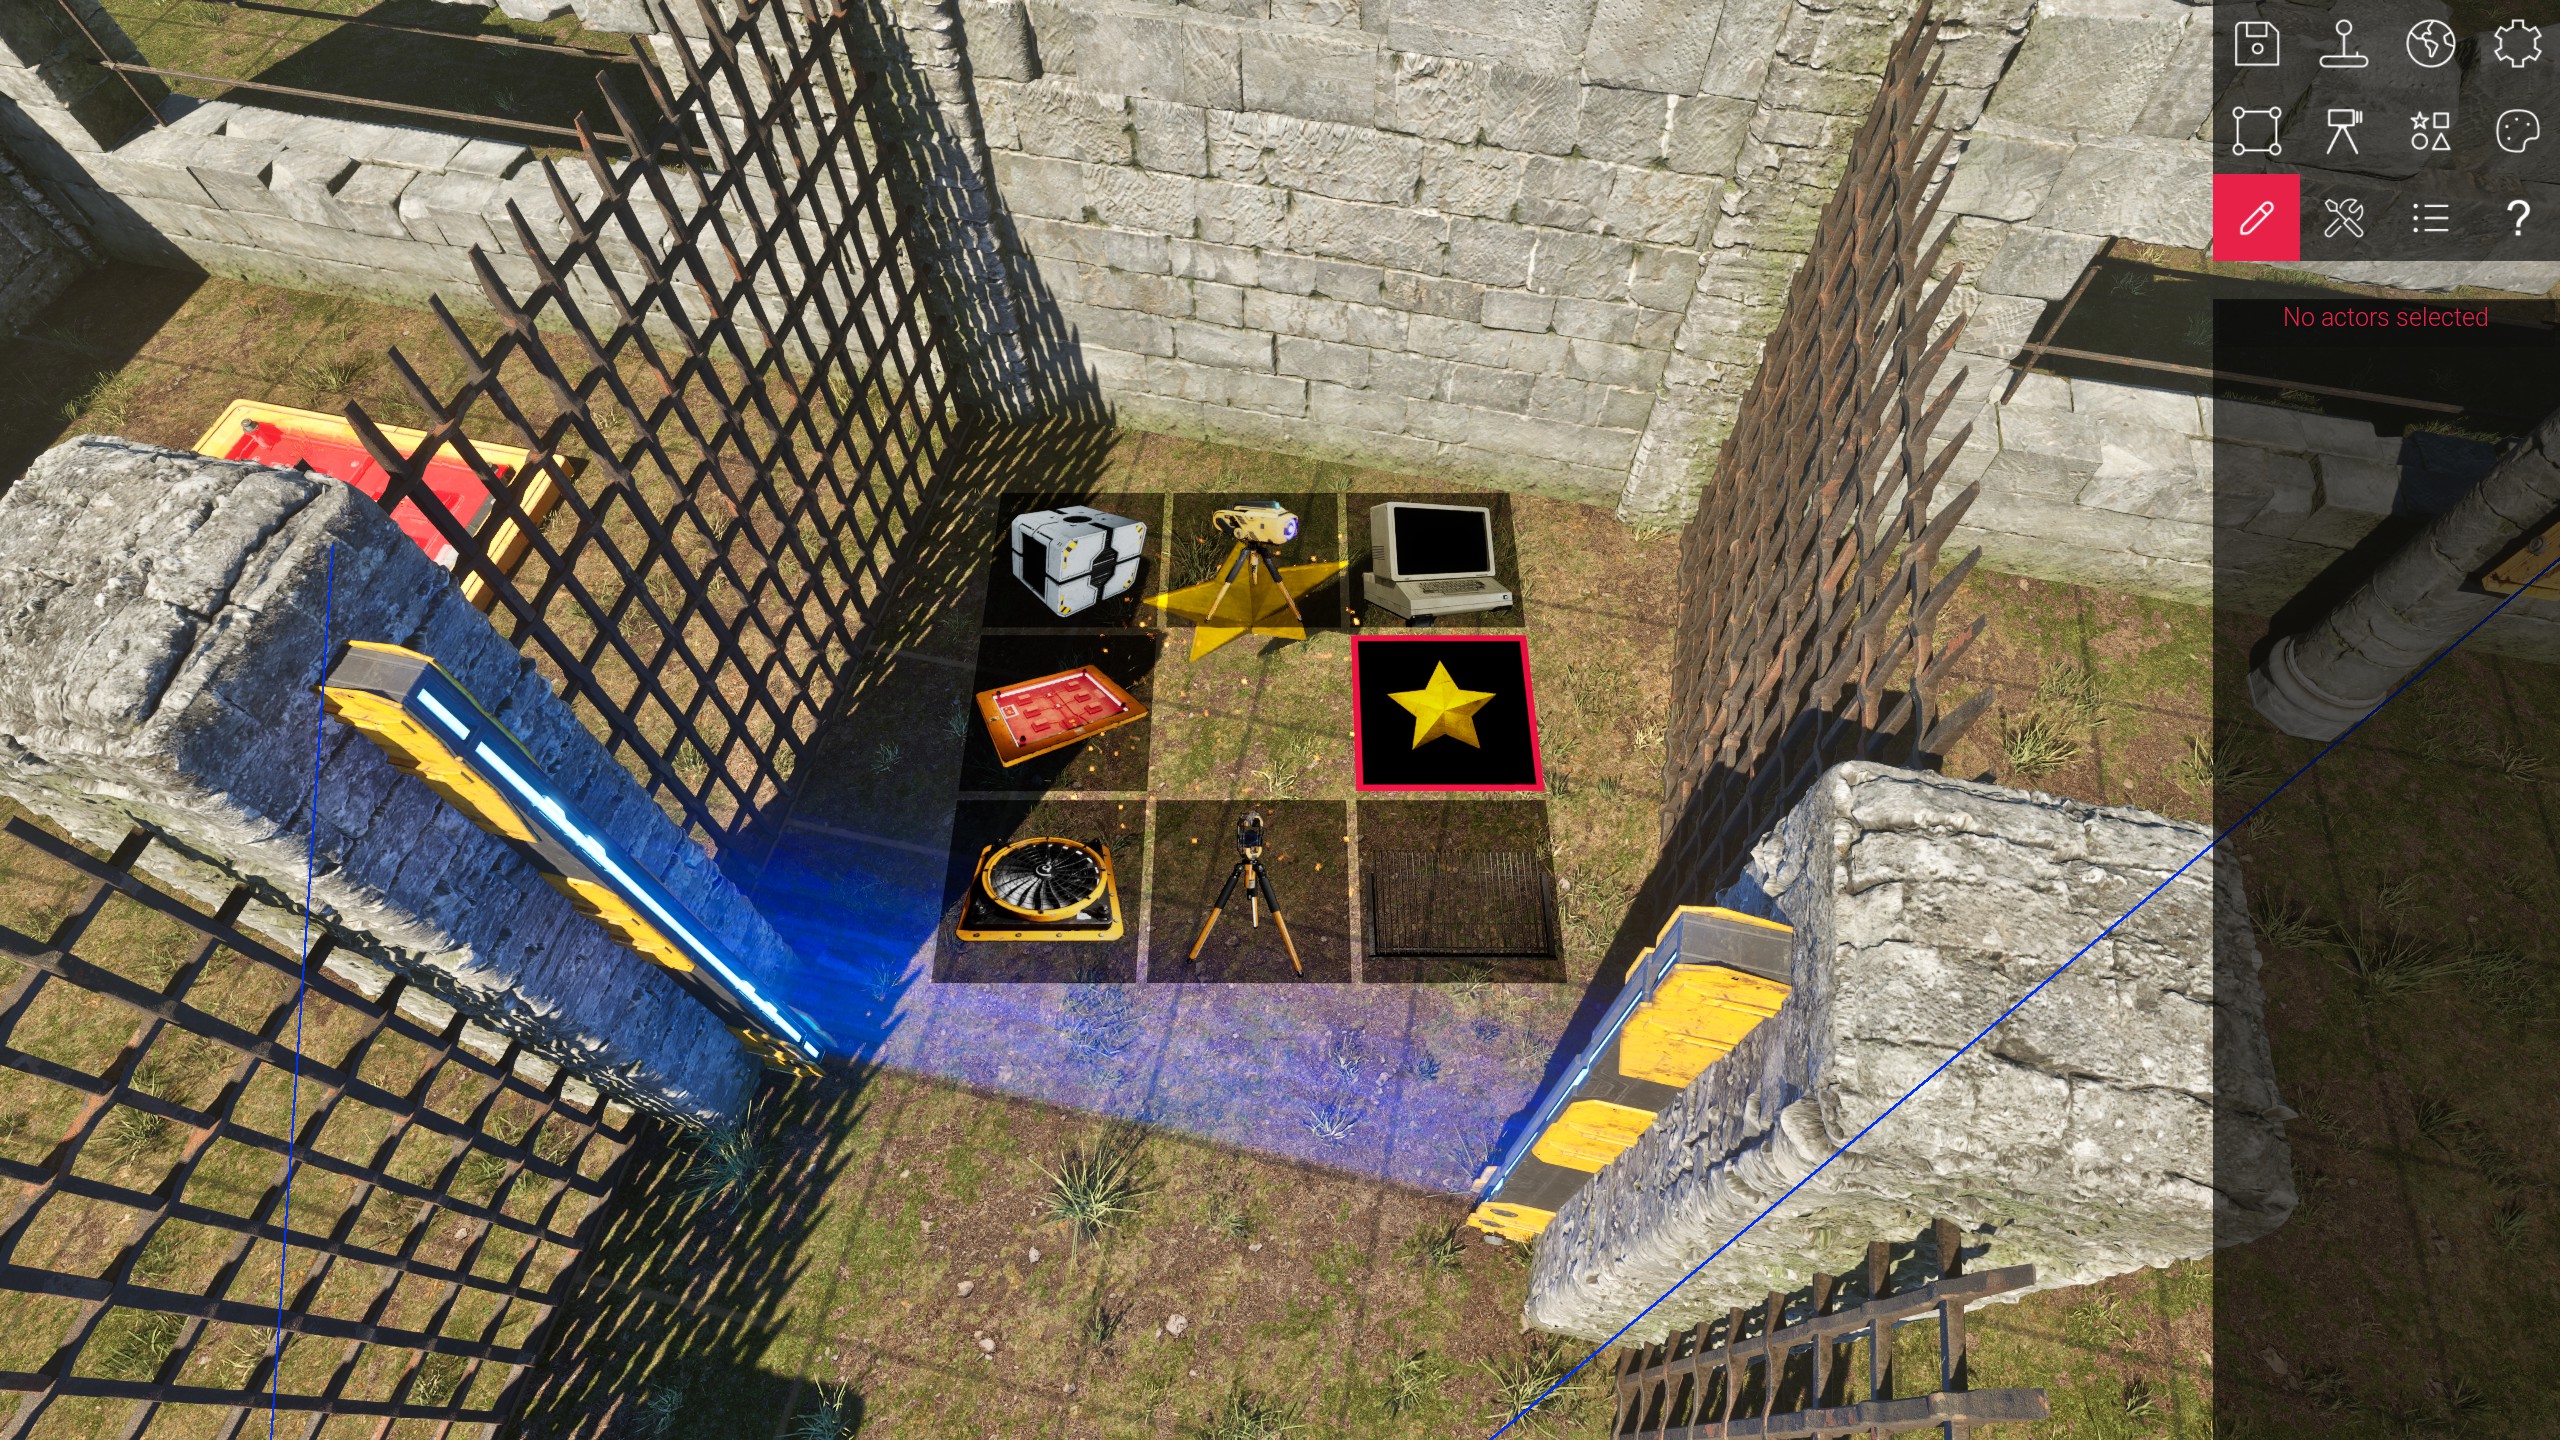
For all of those, we can utilize the Quick Placement menu (as introduced in the Editor Overview chapter) by clicking the Right Mouse Button.
Info
The Quick Placement menu is context-sensitive, so it will show different devices when opened on the ground than on a wall.
The following GIF shows the placement of the devices. In addition to the Quick Placement menu, the Tab shortcut was used to rotate the Pressure Plate around, and Alt + S was used to snap the placed Switch to the grid, before moving it up (while holding Shift to disable snapping while moving).
Linking devices
Now that the devices have been placed, they need to be logically connected. The idea of this puzzle is that both the Pressure Plate and the Switch need to be activated to open the first Plasma Wall.
To link two actors together, select both of them, and use either the Auto-link selected actors ![]() tool from the Tools
tool from the Tools ![]() menu, or press L.
menu, or press L.
Info
Note that the blue arrows that visualize linked actors are only visible if you enabled the Render Actor Links ![]() option in the Tweak editor settings
option in the Tweak editor settings ![]() menu.
menu.
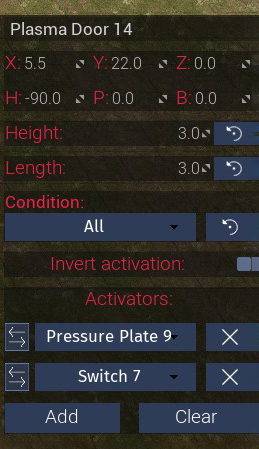
To observe that the links have been made, we can jump over to the Plasma Door's actor properties ![]() .
.
Under Activators, we can now observe that both the Pressure Plate and the Switch are linked as actors that activate this Plasma Door. From here, individual links can also be removed, or inverted.
Another important property for this puzzle is the Condition property. This can be set to either Any or All. While Any means that any of the linked actors must be triggered in order to activate the target (here the Plasma Door), All means that all actors must be triggered - which is the desired behavior in this instance.
Playtesting
As mentioned earlier, every puzzle should have a main objective (either a Tetromino or a Star).
Great. The functionality of the puzzle can now be playtested, either by clicking Test your level ![]() in the main editor's toolbar - or by pressing the shortcut T.
in the main editor's toolbar - or by pressing the shortcut T.
The functionality is confirmed - the player can reach the star! Of course, in a real-world scenario, it should also be tested whether it's possible to cheese this puzzle by using actors in a different way than imagined. For the sake of this demo, we'll call it done.
Decoration
After confirming the correct behavior and functionality of the puzzle, we can start decorating it by placing meshes, like bushes, trees or floors and more walls.
As for trees and foliage, we can use the Add trees ![]() and Remove trees
and Remove trees ![]() drawing tools to first paint trees over the whole area, and then gradually remove them where they appear annoying.
drawing tools to first paint trees over the whole area, and then gradually remove them where they appear annoying.
Another awesome feature is the Auto decoration feature. By making use of Unreal Engine's procedural generation system, the puzzle editor is able to automatically decorate areas around the puzzle. To start the auto decoration process, navigate to the Tools ![]() menu and select Auto-decorate area surrounding the puzzle
menu and select Auto-decorate area surrounding the puzzle ![]() (or press +).
(or press +).
The actors spawned by the auto decoration feature can be deleted again by using the Delete actors spawned by the "Auto-decorate" ![]() or by pressing -.
or by pressing -.
Changing a level's theme
By default, all levels created are in the Medieval theme, but don't worry, you can change that, even after creating your level.
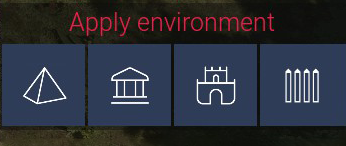
Jump to the level settings ![]() and observe the Apply Environment section at the bottom of the panel.
and observe the Apply Environment section at the bottom of the panel.
Here, you can select the Egypt, Rome, Medieval or Wood theme, as they can be found in the original game. Observe how the vegetation, terrain, and painted walls adapt to the new environment!
Adjusting the music and weather
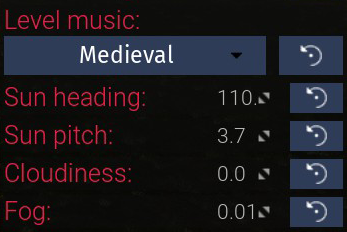
You might want to adjust the default music and weather to customize your level even more to your likings. To do that, visit the level settings ![]() and check the level music, sun, cloudiness and fog properties. Play around with them to find a look you like!
and check the level music, sun, cloudiness and fog properties. Play around with them to find a look you like!
Conclusion
Okay - this was a bunch of work, but we're done! We drew level geometry, placed and linked devices, playtested our brilliant puzzle design skills and decorated to our likings.
Now, there's a lot more you can do, such as setting up custom arrangers, terminals, QR codes or portals... This will be covered in the Device Reference, where we'll go over each actor and document it's capabilities and how to set it up, feel free to check it out!
And remember, we got a Discord server for you to share your creations or ask for help!